So, you’ve dived head-on into the world of gravel riding, negotiating tricky bike purchasing decisions about tyre widths, gear ratios, weighing up the pros and cons of mechanical or electronic shifting, whether or not you need one of those funny flexy stems and figured out that you are supposed to wear a baggy jersey with lycra shorts… or should that be baggy shorts with a tight jersey? Either way, you have a bike, you have some cycling kit and you are out discovering a whole new world of off-road trails directly from your doorstep.
"There’s a whole new level of bike and kit decisions to be made"
That’s excellent. But… hold on, isn’t there something else? What about those murmurs you keep hearing about bikepacking trips, ultra-racing and general long-distance bicycle travel? Oh yes, there’s a whole new level of bike and kit decisions to be made if you want to make a smooth transition from single day rides to back-to-back, multi-day rides.
"Ultimately the best way to dial-in your kit setup is to just get out there and give it a go"
Now before I go any further, it’s worth noting that I’m not going to tell you exactly what you need for your bikepacking debut. However, you can use this as a guide based on my own experiences of bicycle travel over the past 10 years. Ultimately the best way to dial-in your kit setup is to just get out there and give it a go. We are all individuals and as a result, each of us will have our own preferences to exactly what combinations of clothing layers, type of sleeping shelter and pack setup works best.
If this is the first time you are trying bikepacking then start with shorter overnighters close to home with the kit you have to hand to see what works and what you might need to invest in. If it doesn’t work, then you can always bail out early and apply the lessons you learnt for your next trip. For those who are a little more experienced then maybe you’ve already found the basis of your kit, but hopefully there might be a few ideas that might be worth a try.
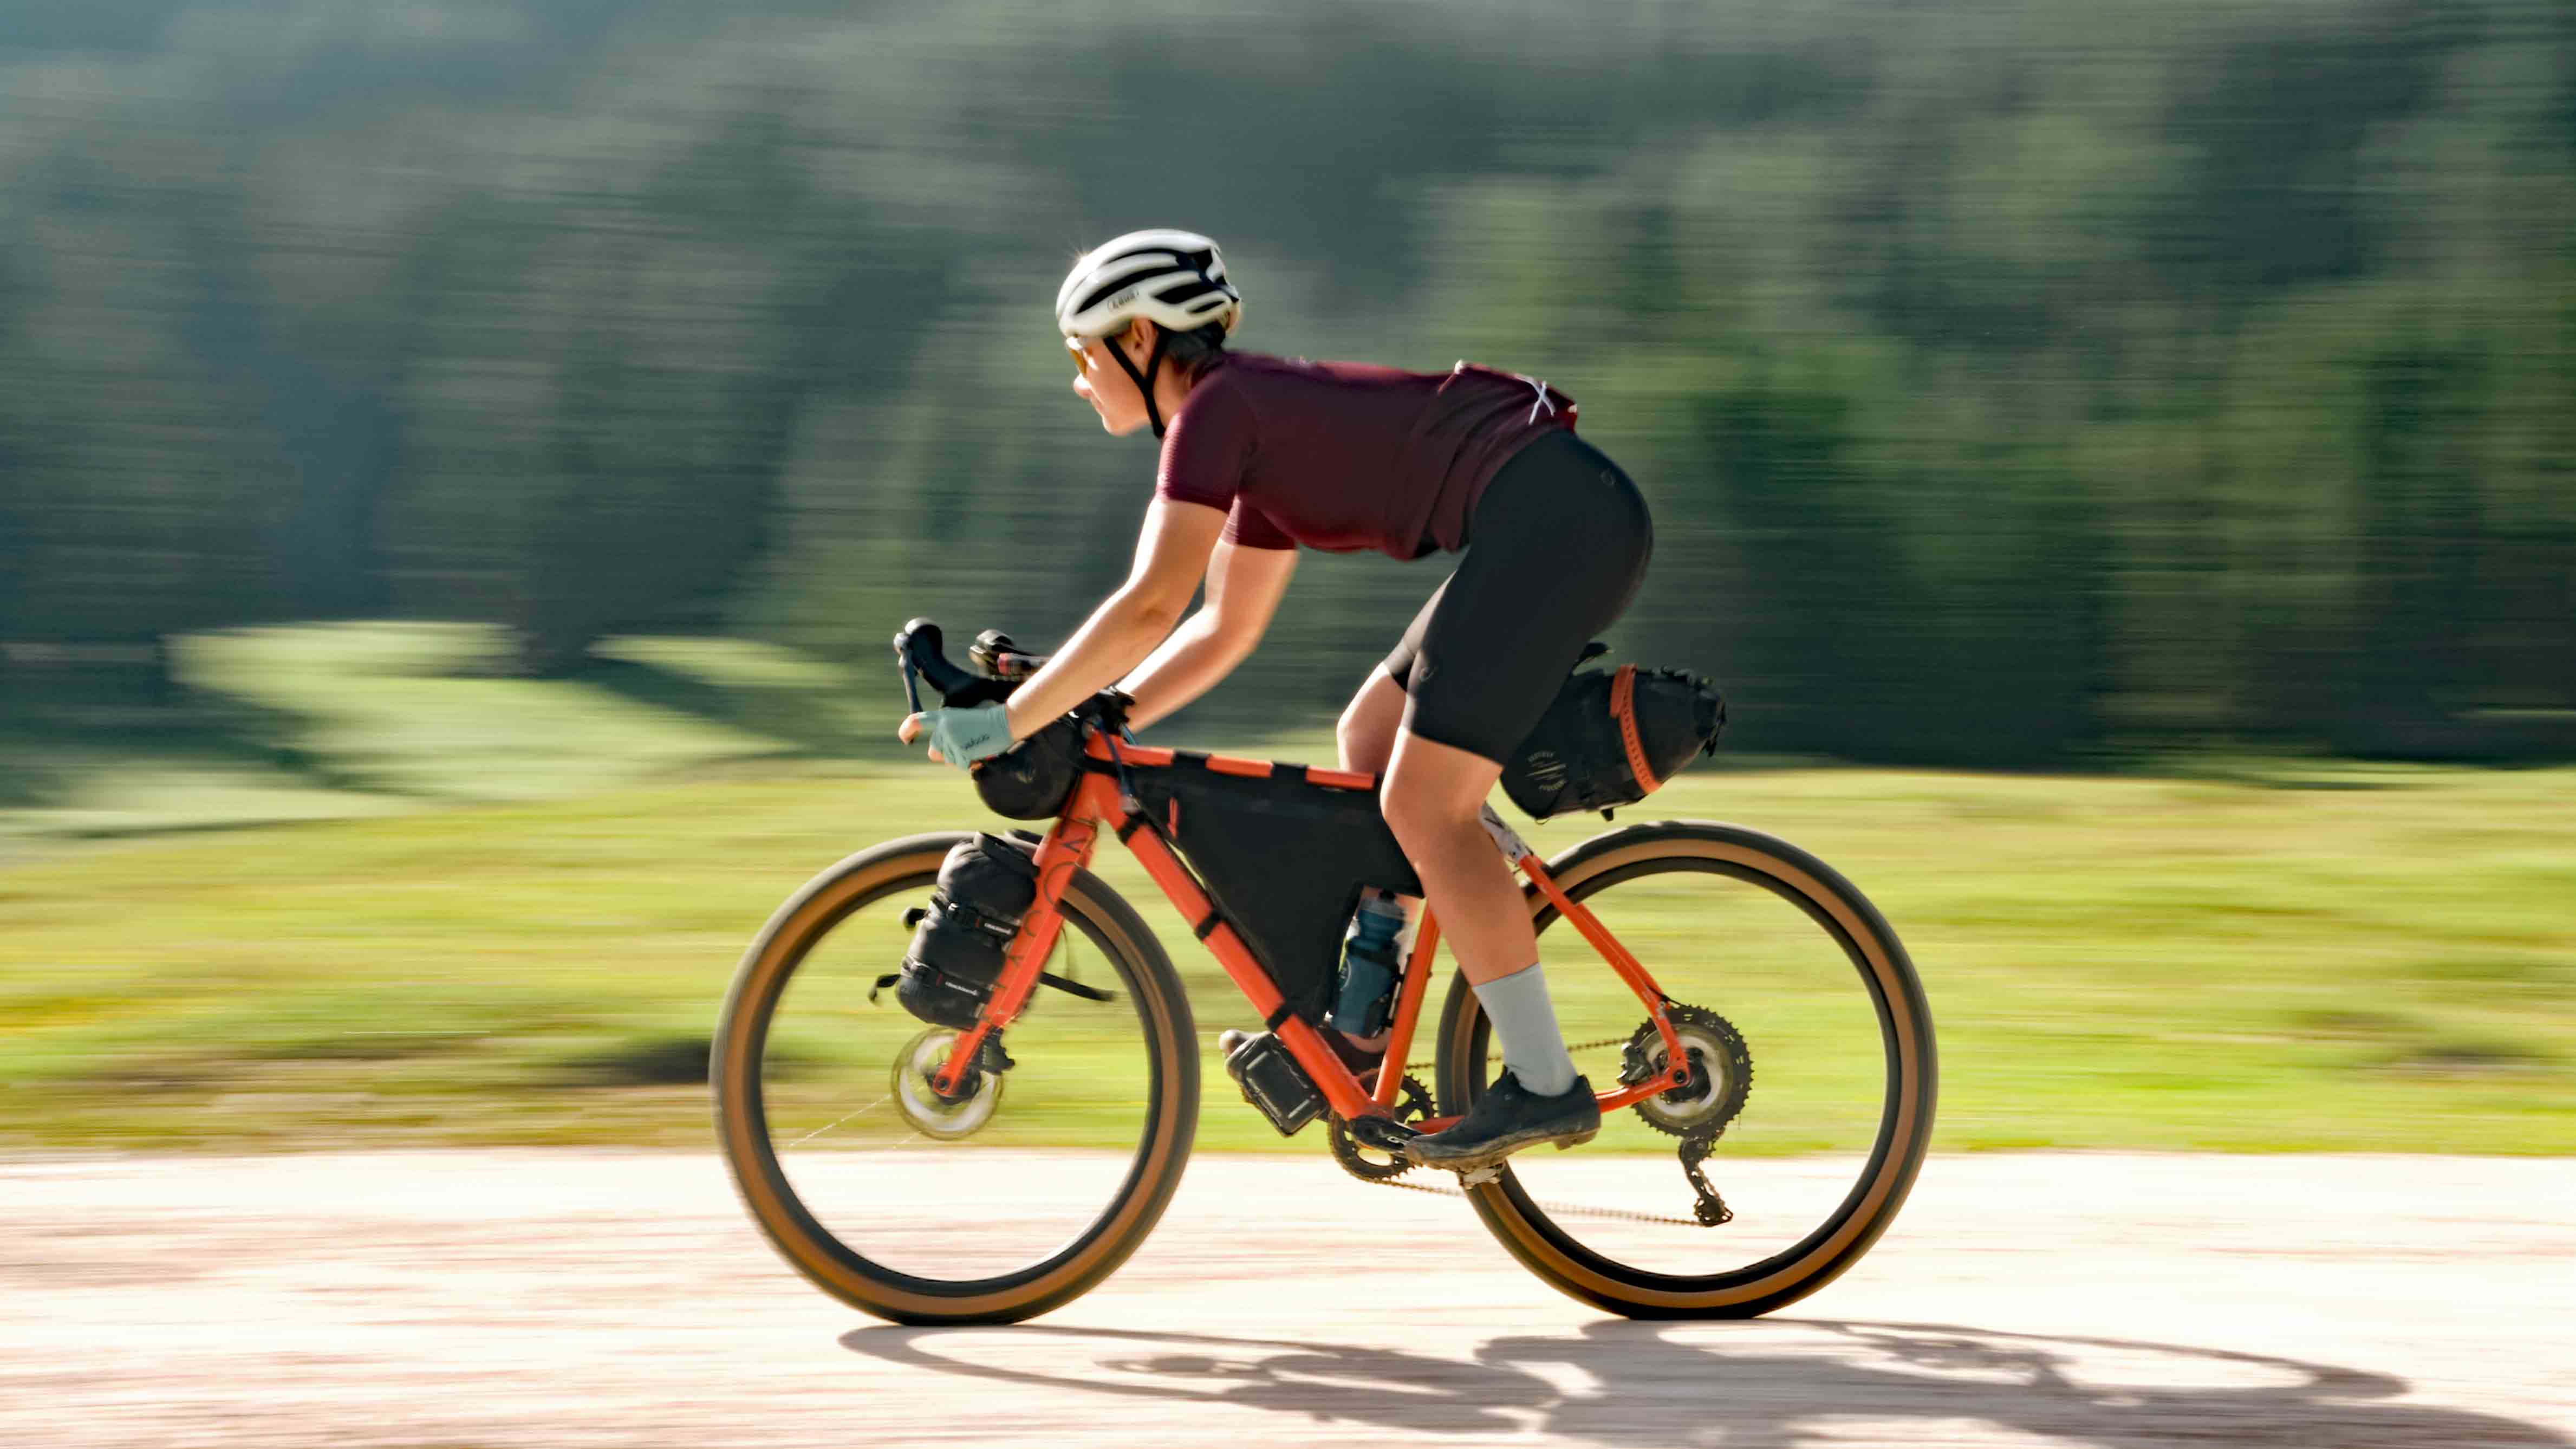
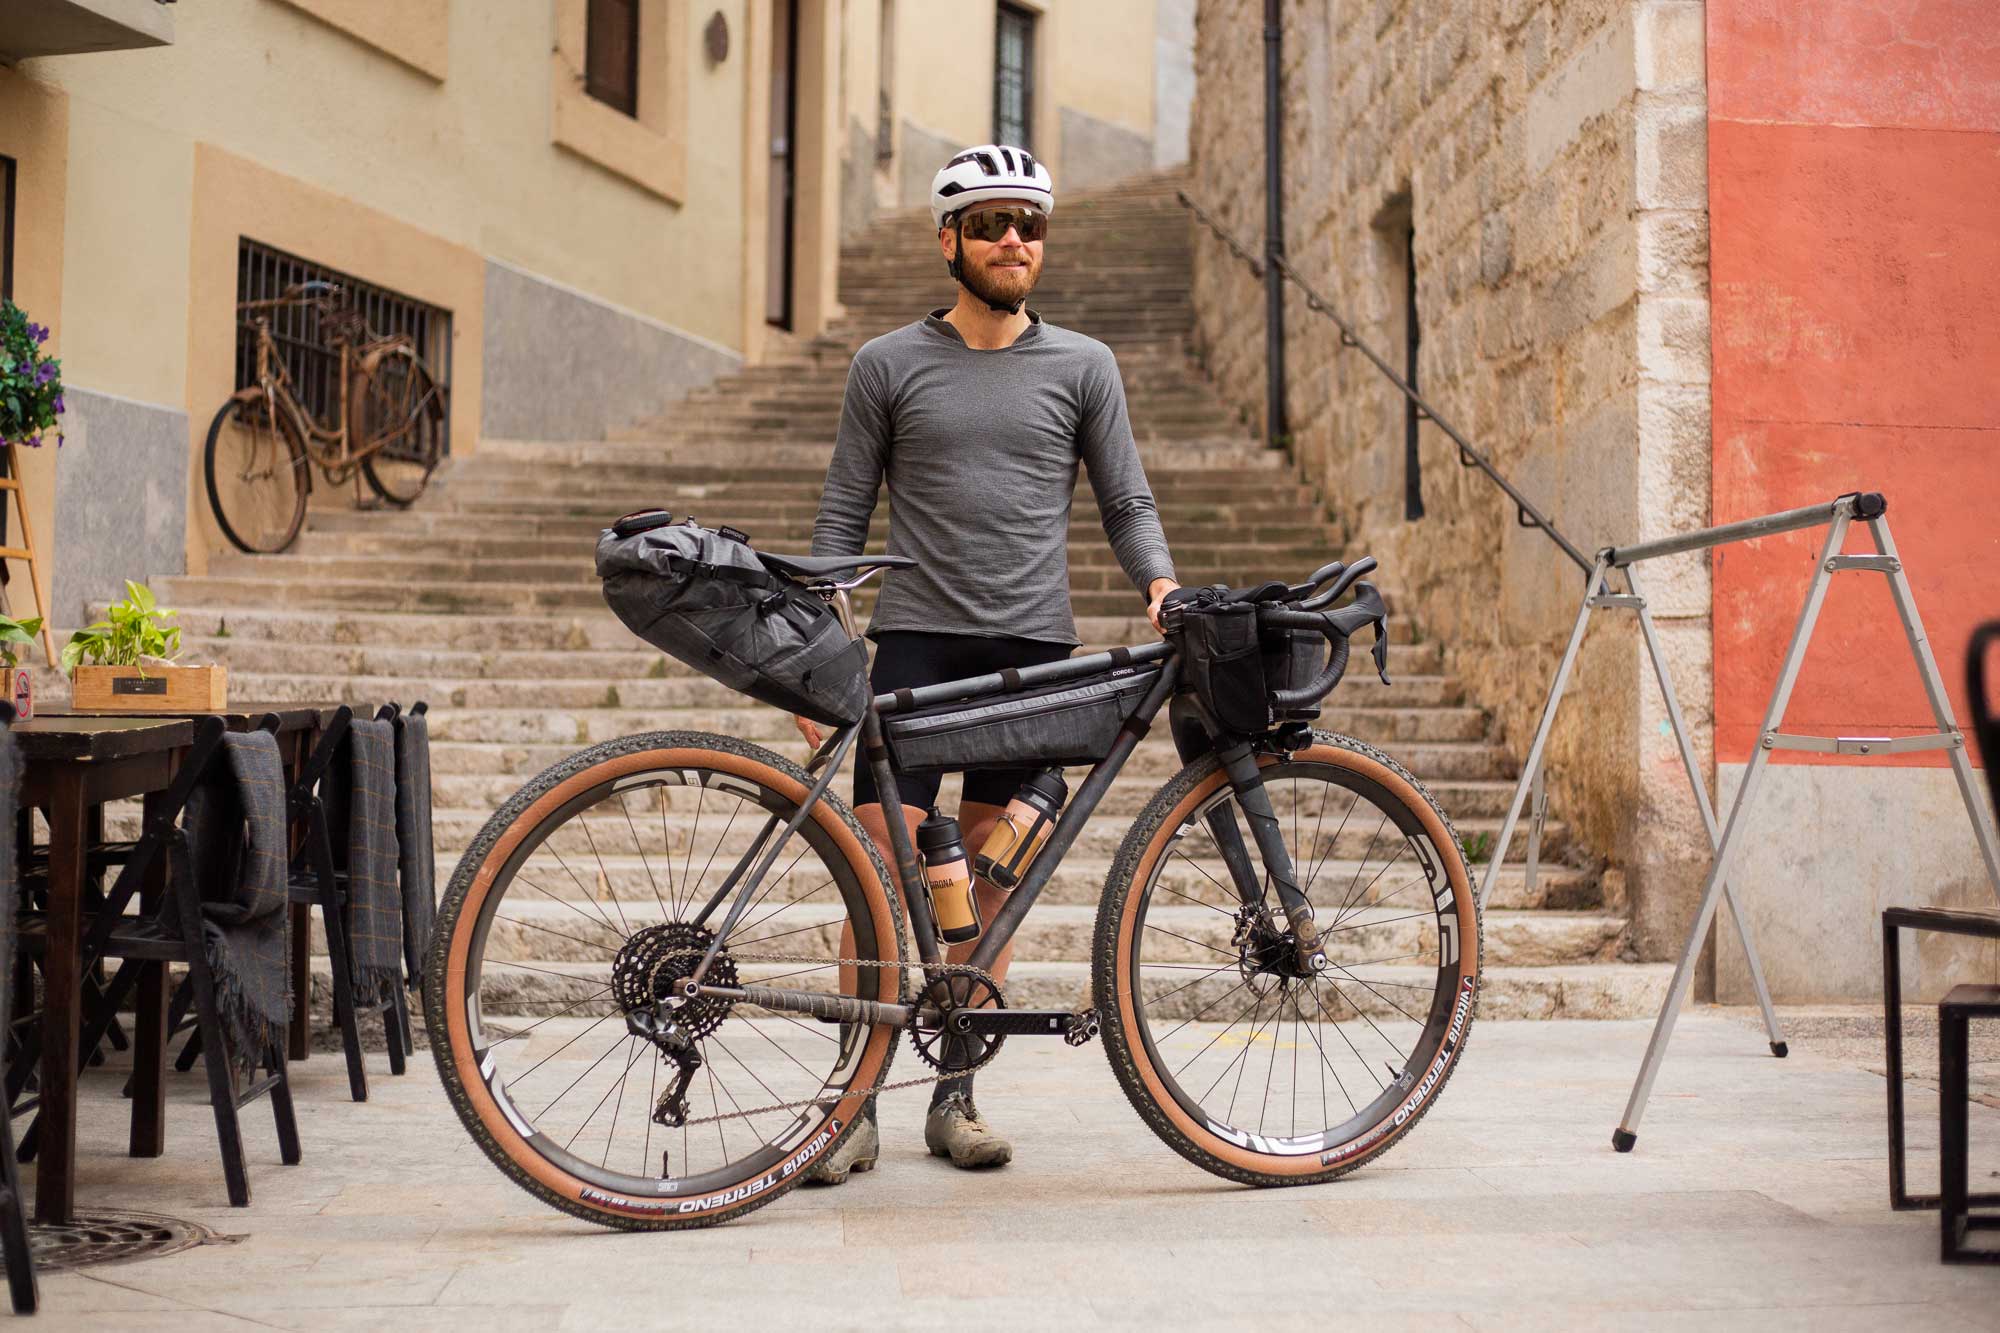
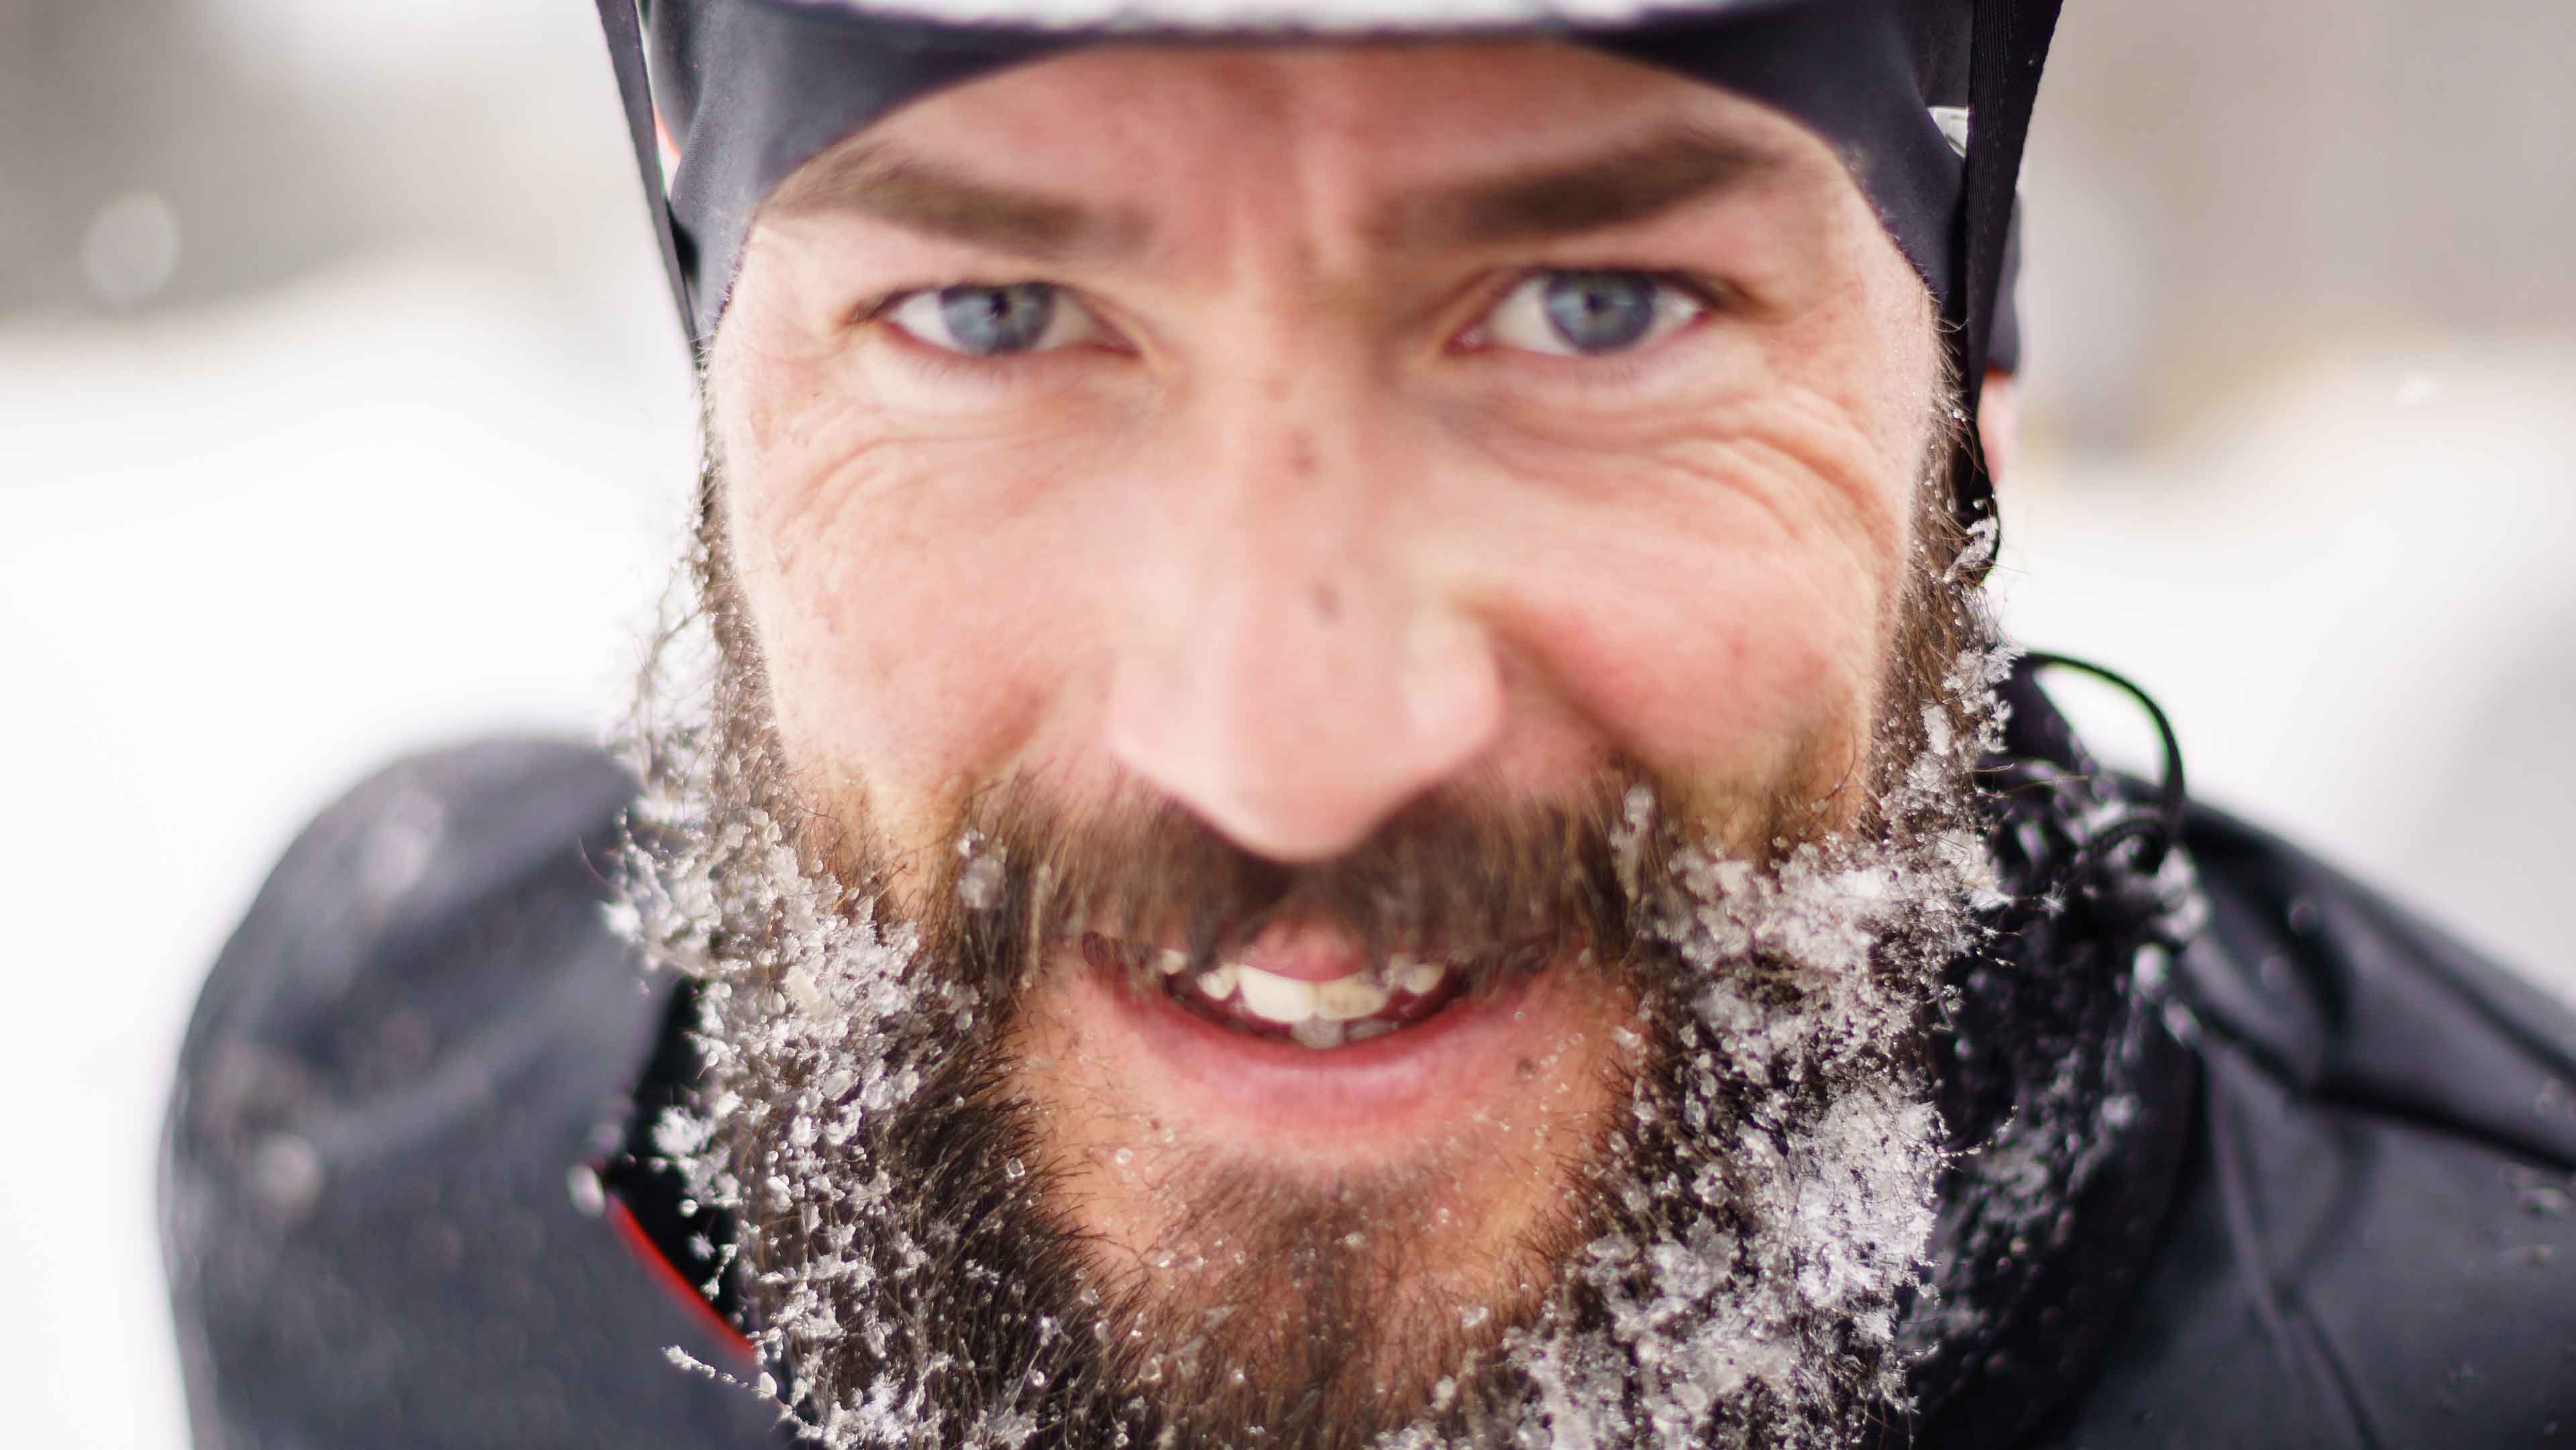
Image courtesy of Matt Minelli
Bikepacking can range from a quick overnighter with a bivvi bag or an ultra-light race setup to the full works with tents, casual clothes and cooking equipment for many weeks on the road. However, the core basics remain the same. Any additional kit and equipment can be added or removed depending on the planned trip. Assuming you already have a bike, I’m going to focus on three main areas - clothing, sleeping gear and packs.
Clothing
When you head out into the wilderness on a bikepacking, trip you are going to be spending a very long time in your cycling kit, so make sure whatever you use works for you. The cycling world is full of adverts selling the very best ‘gravel’ or ‘bikepacking’ kit but ultimately it has to be comfortable for your body type and riding style so it might take a few attempts to find the best solution. (For full transparency, I am supported by Albion cycle clothing so there will be a lot of references to Albion kit, however I work closely with the brand and the kit works very well for me.)
"The basis for all my bikepacking trips and ultra-races is a good pair of shorts"
The basis for all my bikepacking trips and ultra-races is a good pair of shorts. The Albion ABR1 pocket bibs tick all the boxes for me, and I can ride many days in a row without washing them or being uncomfortable (yep, I know that’s grim!). Pairing these with a good baselayer and a short-sleeve jersey gives you the basis for your kit. Depending on the conditions, I may take a merino baselayer if its looking cold or wet, but for warmer climates I’ll just take a mesh vest baselayer and have been known to just ride in that without a jersey when it’s really hot.
Once you have the basis of your kit, you need to think about the next layer for when the temperature begins to dip overnight or if you are about to descend a mountain. I favour arm warmers and knee warmers with a lightweight windproof gilet for these situations. This offers plenty of flexibility and all items pack down small and are very quick and easy to put on and take off.
Next up are the warm layers. This is dependent on conditions and in the past, I’ve used a windproof long-sleeve jersey however more recently I’ve favoured Albion’s Ultralight insulated jacket as it packs down into a tiny ball, weighs 100g but gives plenty of warmth while riding. I also like to pack a snood/buff to keep my neck warm and a good old-fashioned cycling cap keeps the heat in your head. A set of windproof overgloves that will fit over your riding gloves are also very useful to keep your hand warm – life becomes so much more complicated when you can’t move your hands. My current go-to are a set of windproof gloves from Gripgrab, however Dissent 133 also make some excellent overgloves in both windproof and waterproof options.
The kit above may well be enough for riding in warmer climates. However, I’d always recommending packing a rain jacket even if you are riding in hot weather. I recently took part in the Atlas Mountain Race in the deserts of Morocco, and yep, you guessed it, it rained! I pack varying levels of waterproof gear depending on where I am but as a minimum, I pack a lightweight cycling-fit rain cape. This is great for showers or taking the chill off on a descent, but for many hours out in the elements or colder temperatures a rain jacket is not something to skimp on. My preference is the Albion Zoa Rain shell – it’s expensive but well worth the investment.
"If I’m riding up in the mountains I’ll pack waterproof trousers as a matter of course"
During this year’s Tour Divide, the weather conditions were atrocious, but I was able to pull the hood up over my helmet, pull in the collar and ignore the worst of the freezing rain. Speaking of freezing rain, protecting your legs is an important consideration. When you pedal your bike, the blood pumps through your leg muscles, so if they get cold it can really draw the heat out of the rest of your body, not to mention start to give you sore knees. Waterproof trousers or shorts are worth considering to alleviate these problems. Personally, if I’m riding up in the mountains I’ll pack waterproof trousers as a matter of course, however if there’s only a small chance of rain, I’ll opt for the smaller pack size of waterproof shorts.
Sleeping kit
You’ve now survived a whole day of cycling through a variety of conditions but it’s dark, you are in the middle of nowhere and it’s time to go to sleep. So, what do you sleep in?
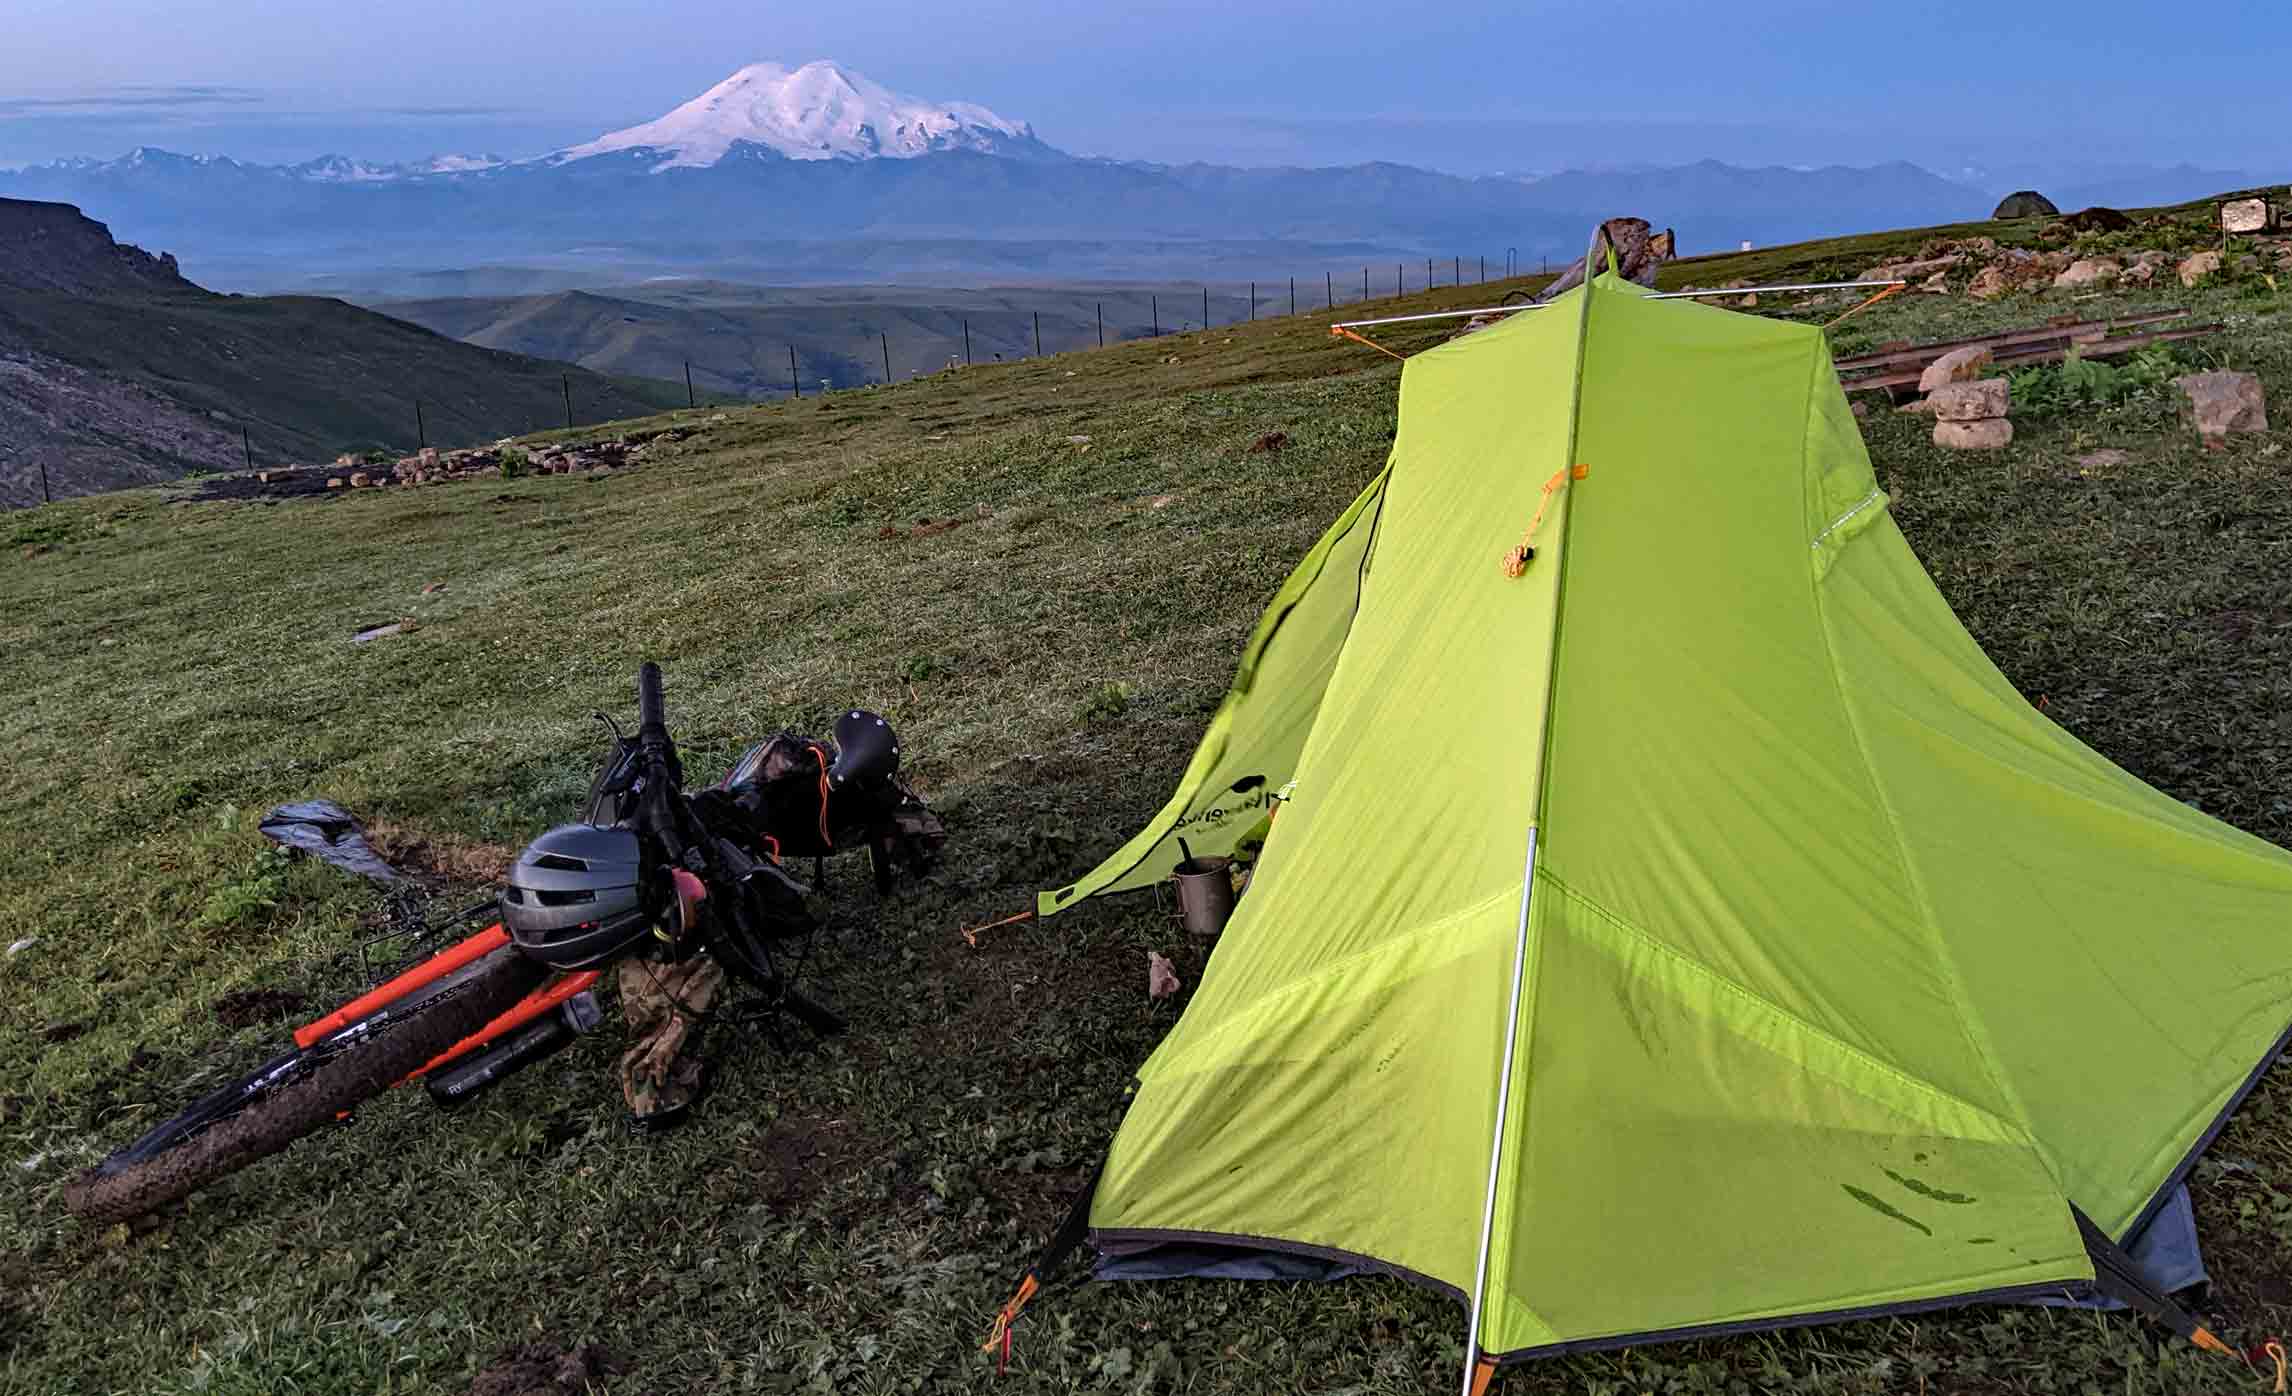
Image courtesy of Aleksey Grebenschikov
"You don’t want to wake up with a wet bag stuck to your face"
As with my kit, I have a base setup which I then adapt to be warmer/drier/more packable depending on the situation and conditions. My go-to sleeping gear is an Outdoor Research Helium hooped bivvi, a ThermaRest Neo Air sleeping pad, acustom PHD sleeping bag and an inflatable pillow. I find this the best compromise between weight, weather-resistance and comfort. I have definitely used much lighter setups in the past - when I won the TCR in 2015 I had a lightweight bivvi bag, a silk sleeping bag liner and nothing else. However, it takes a certain willingness to suffer to sleep like this, which has somewhat faded over time! My hooped bivvi is only marginally heavier than a normal bivvi bag, but the small tent pole around your head gives you a little more space and comfort plus you don’t wake up with a wet bag stuck to your face. For ultimate comfort, a small tent is much better. For around £300 you can buy a tent that weighs around the 1kg mark. It will be heavier and bulkier, but if the conditions are bad, it will offer more protection—and let’s face it, it is a much more civilised way to sleep than in a sweaty bag.

Sleeping bags are a very personal choice and like your cycling kit, it can take a number of trips to figure out. Generally speaking, the more money you spend the warmer and/or more packable your sleeping bag will be. I’ve owned a number of Rab sleeping bags over the years of varying levels of warmth and I’d say they are a good place to start. However, in recent years I’ve gone for the full custom option from PHD, opting for the best quality down, custom zip positioning (I get hot feet so went for a foot zip) and a damp-proof coating. It’s pricey but I figured that I knew exactly what I wanted and will get many nights sleep out of it.
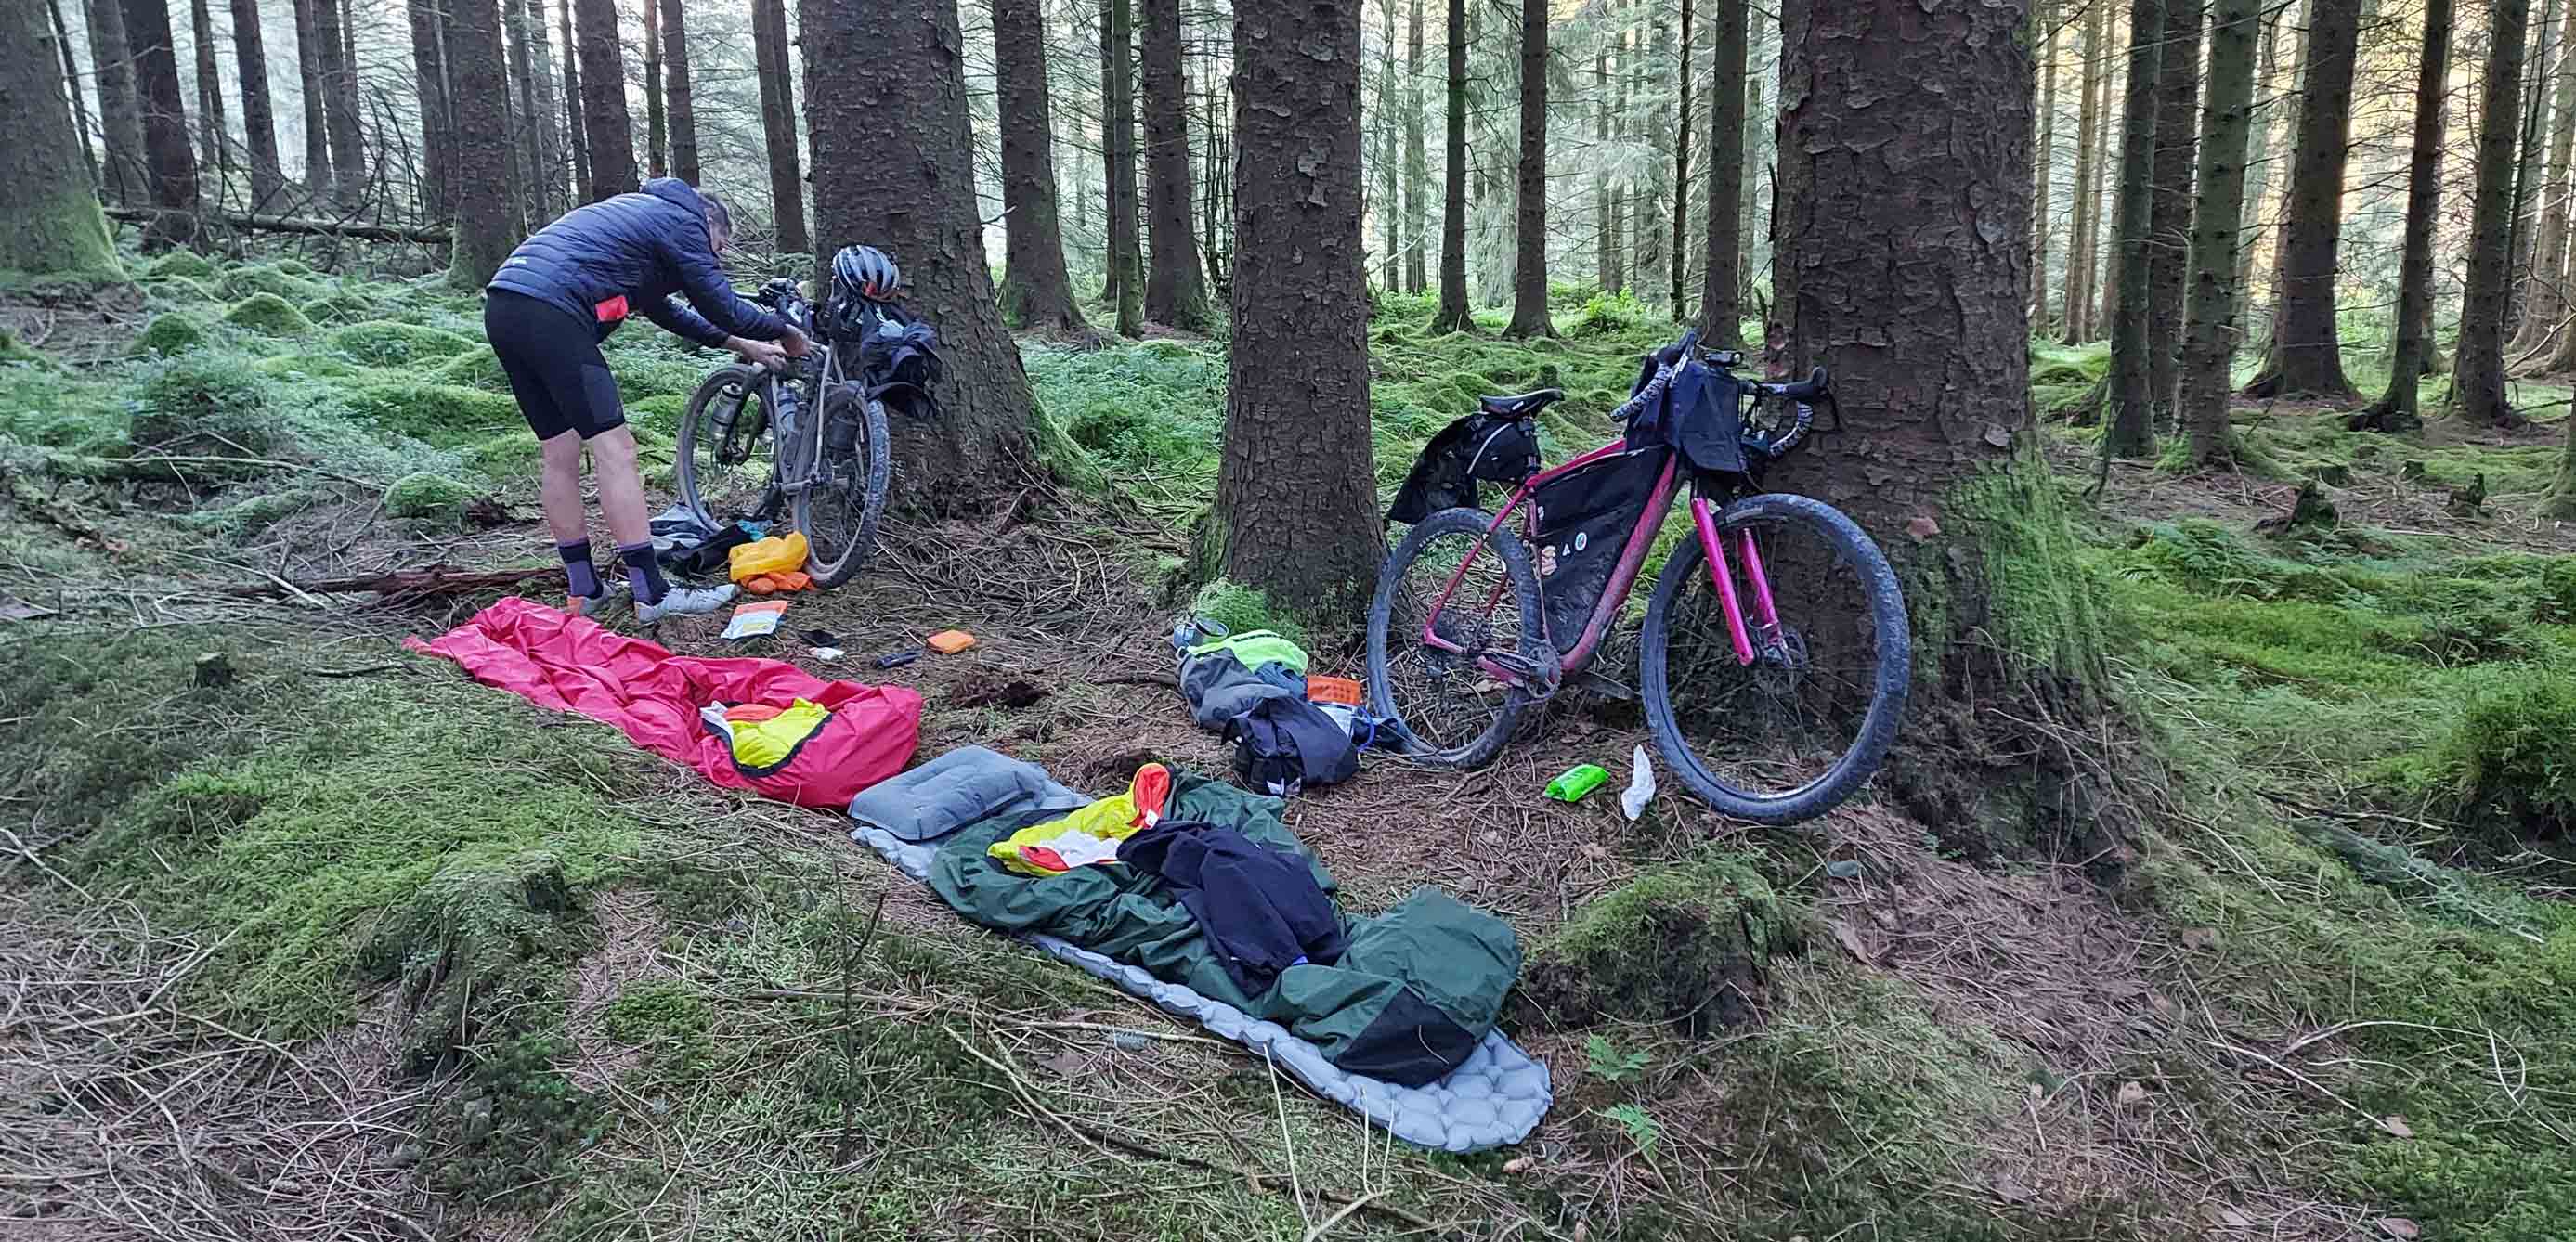
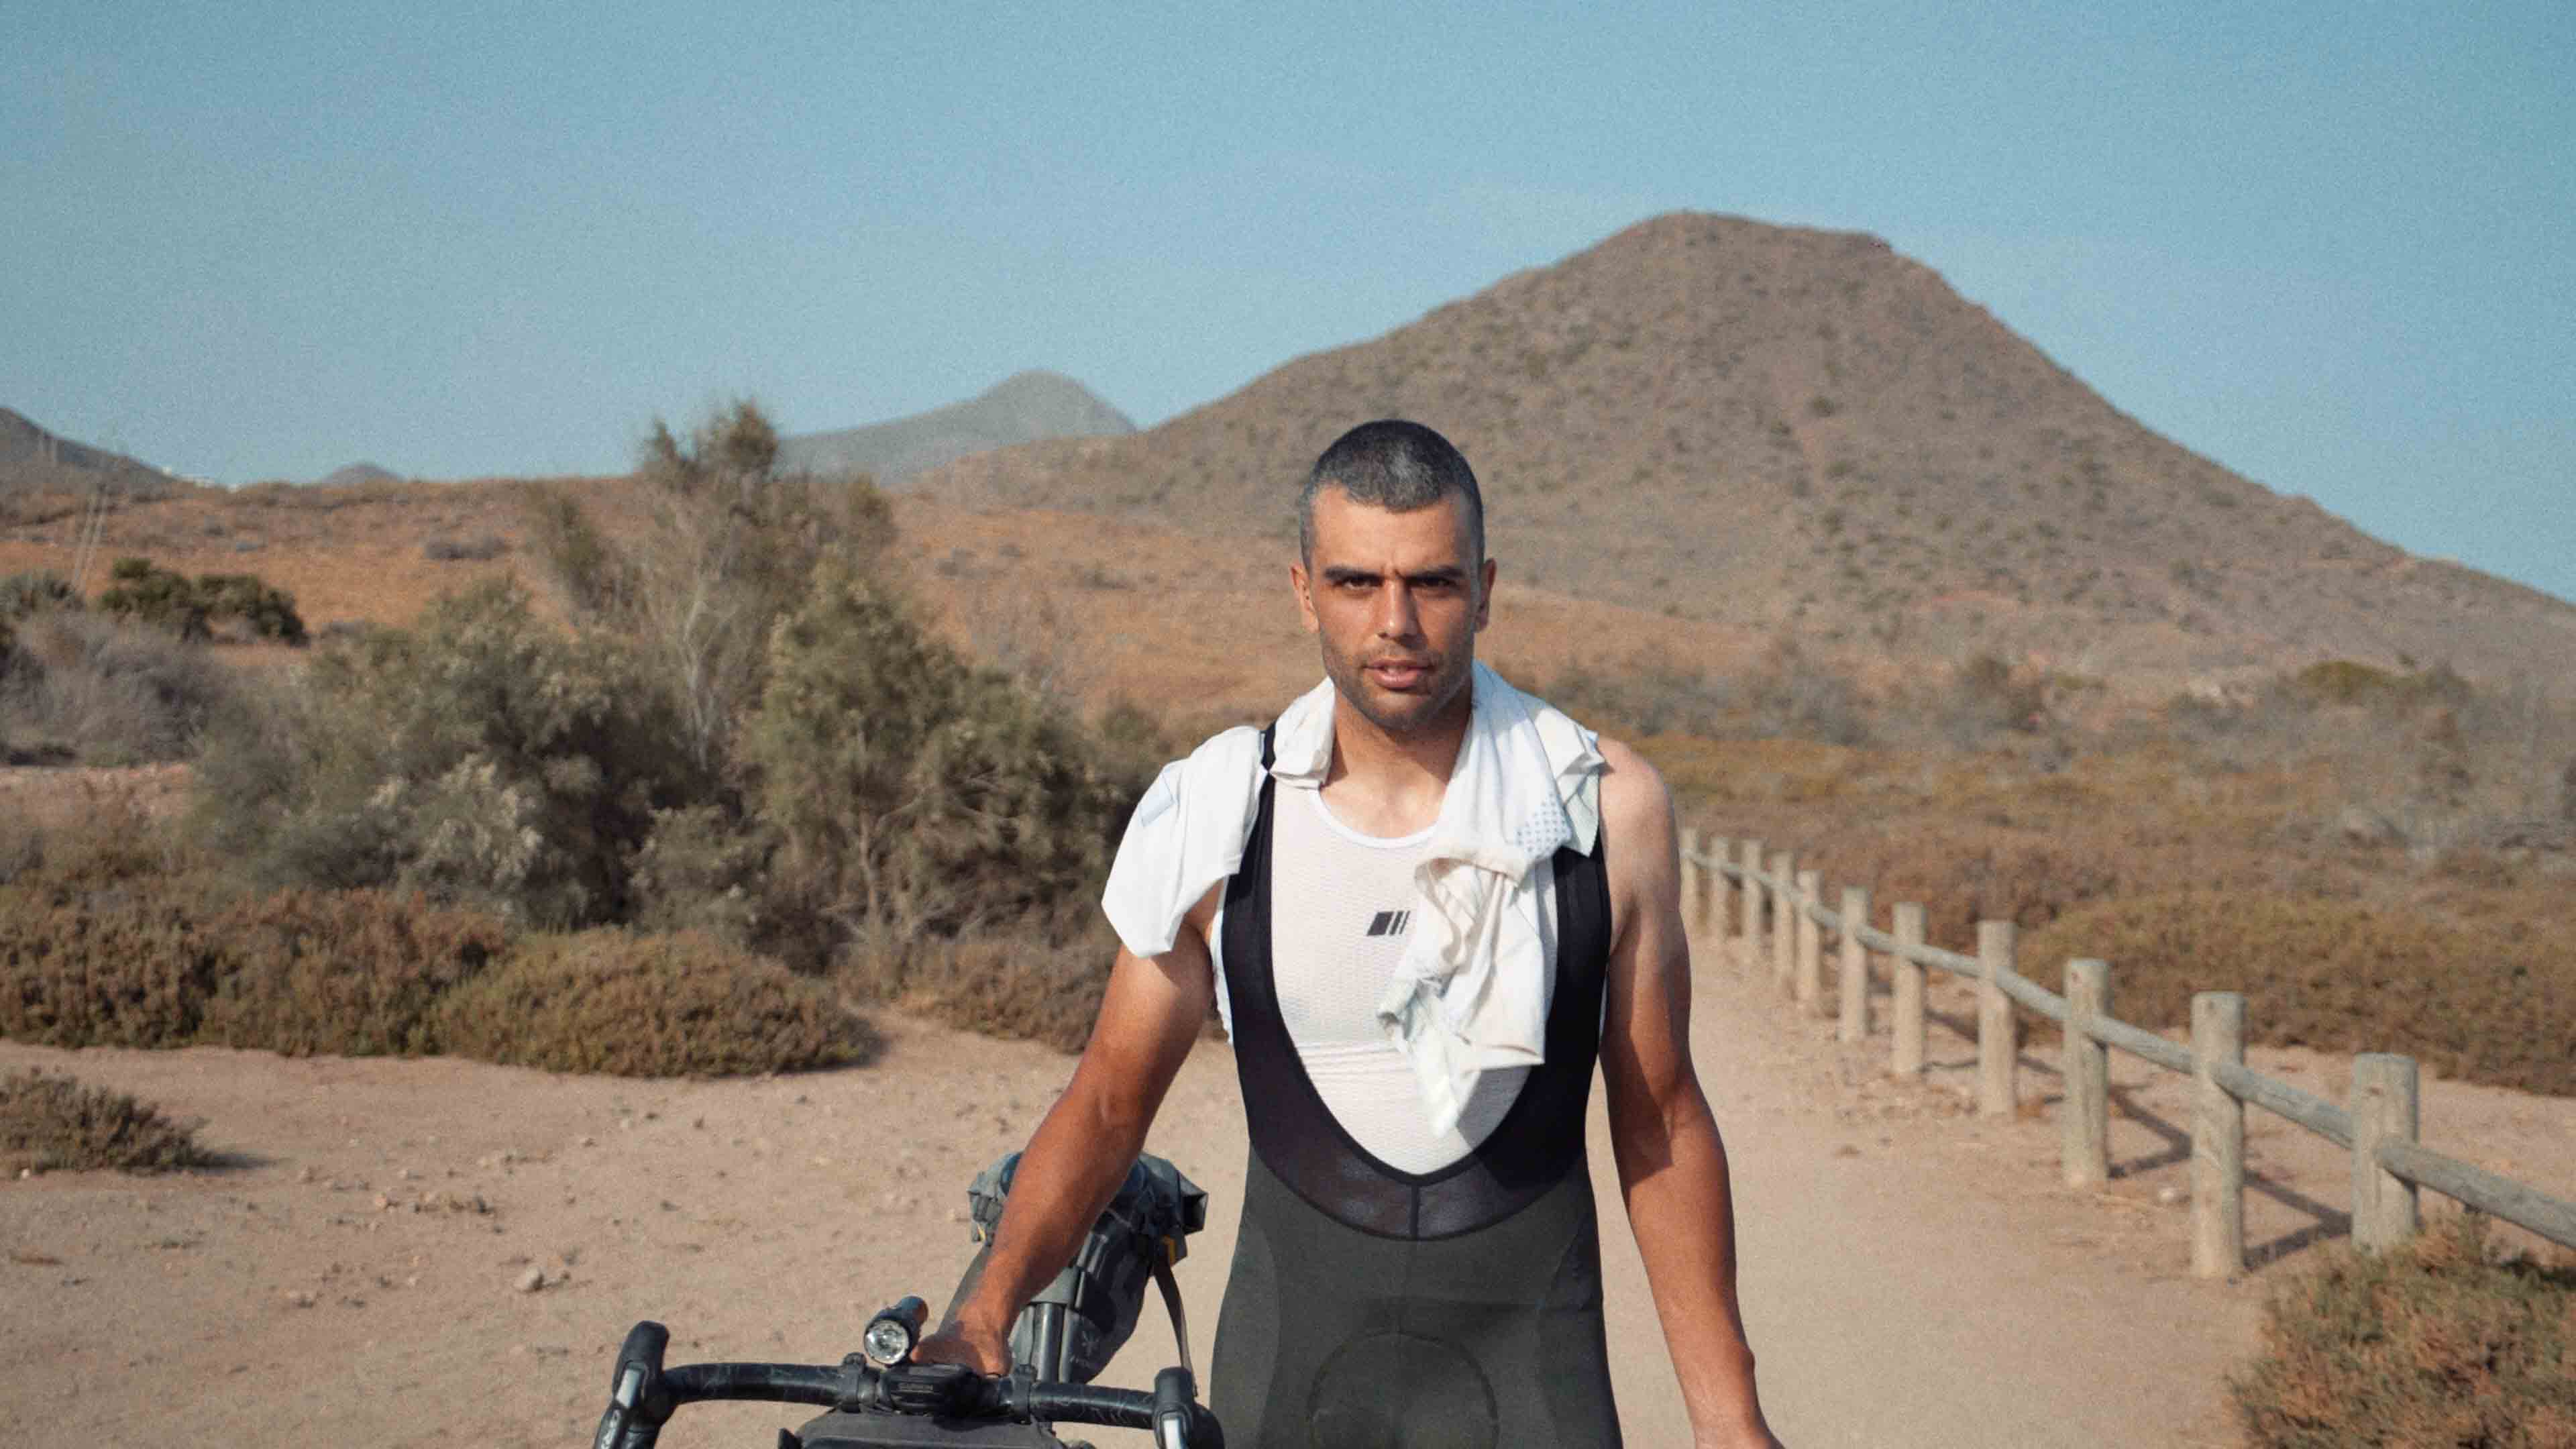
Image courtesy of Nigel Leech
It's worth taking some insulated clothing as part of or in addition to your sleeping setup. A down jacket can keep you warm off the bike and you can wear it in your sleeping bag to make it warmer. If it’s really cold you may consider some down trousers, but you have to remember that you will have to carry all this gear, so you have to be prepared to make some compromises with your choices… which leads be very nicely onto bikepacking bags.
Bags
There are many brands and types of bikepacking bags on the market, but generally speaking they fall into the categories of rear packs, frame packs and front packs. You will most likely need the combination of two or three types of pack to carry all your gear depending on your pack list. One thing is for sure that you will want to revise your initial packlist when you first pack your bike and realise it’s bursting at the seams!
"One thing is for sure that you will want to revise your initial packlist when you first pack your bike and realise it’s bursting at the seams! "
Front and rear packs are great for packing your bulkier items. Your sleeping kit or casual clothes on a longer tour take up more space and often weigh the most, so it makes sense to put them in the larger bags. Depending on your setup (road/ gravel/mtb/big frame/small frame) you might need to faff about with exactly what goes where. Personally, I tend to put sleeping gear in the rear pack and, if I’m carrying them, casual clothes in the front pack.
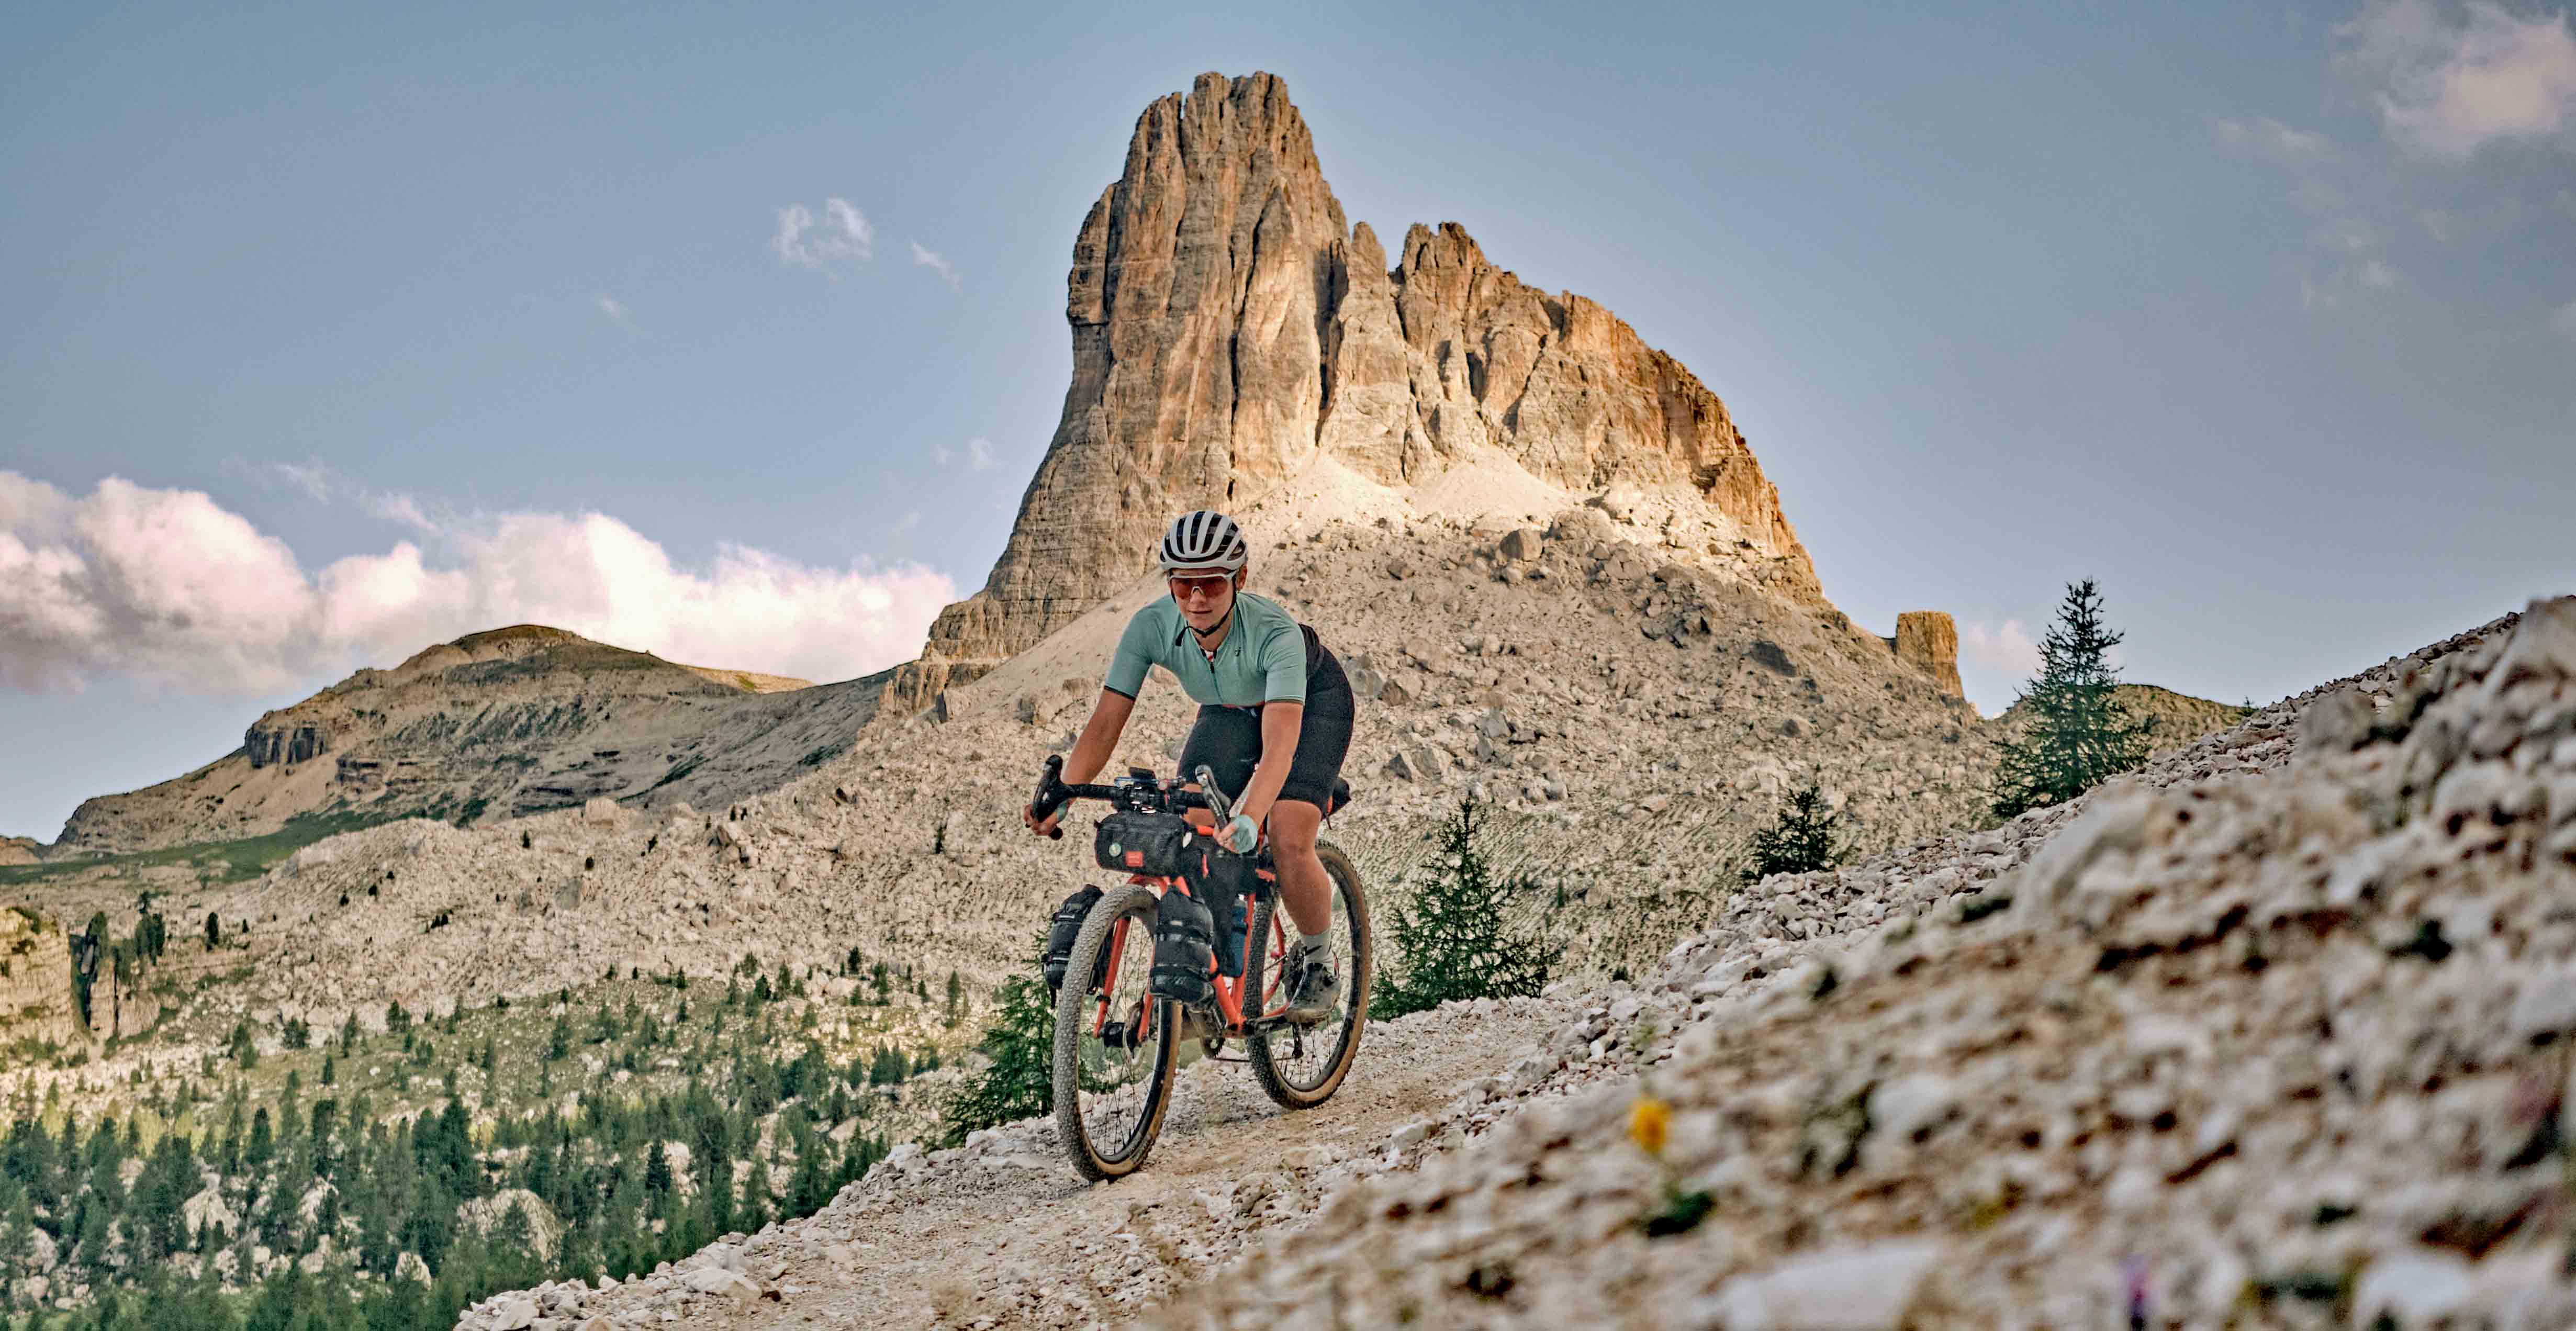
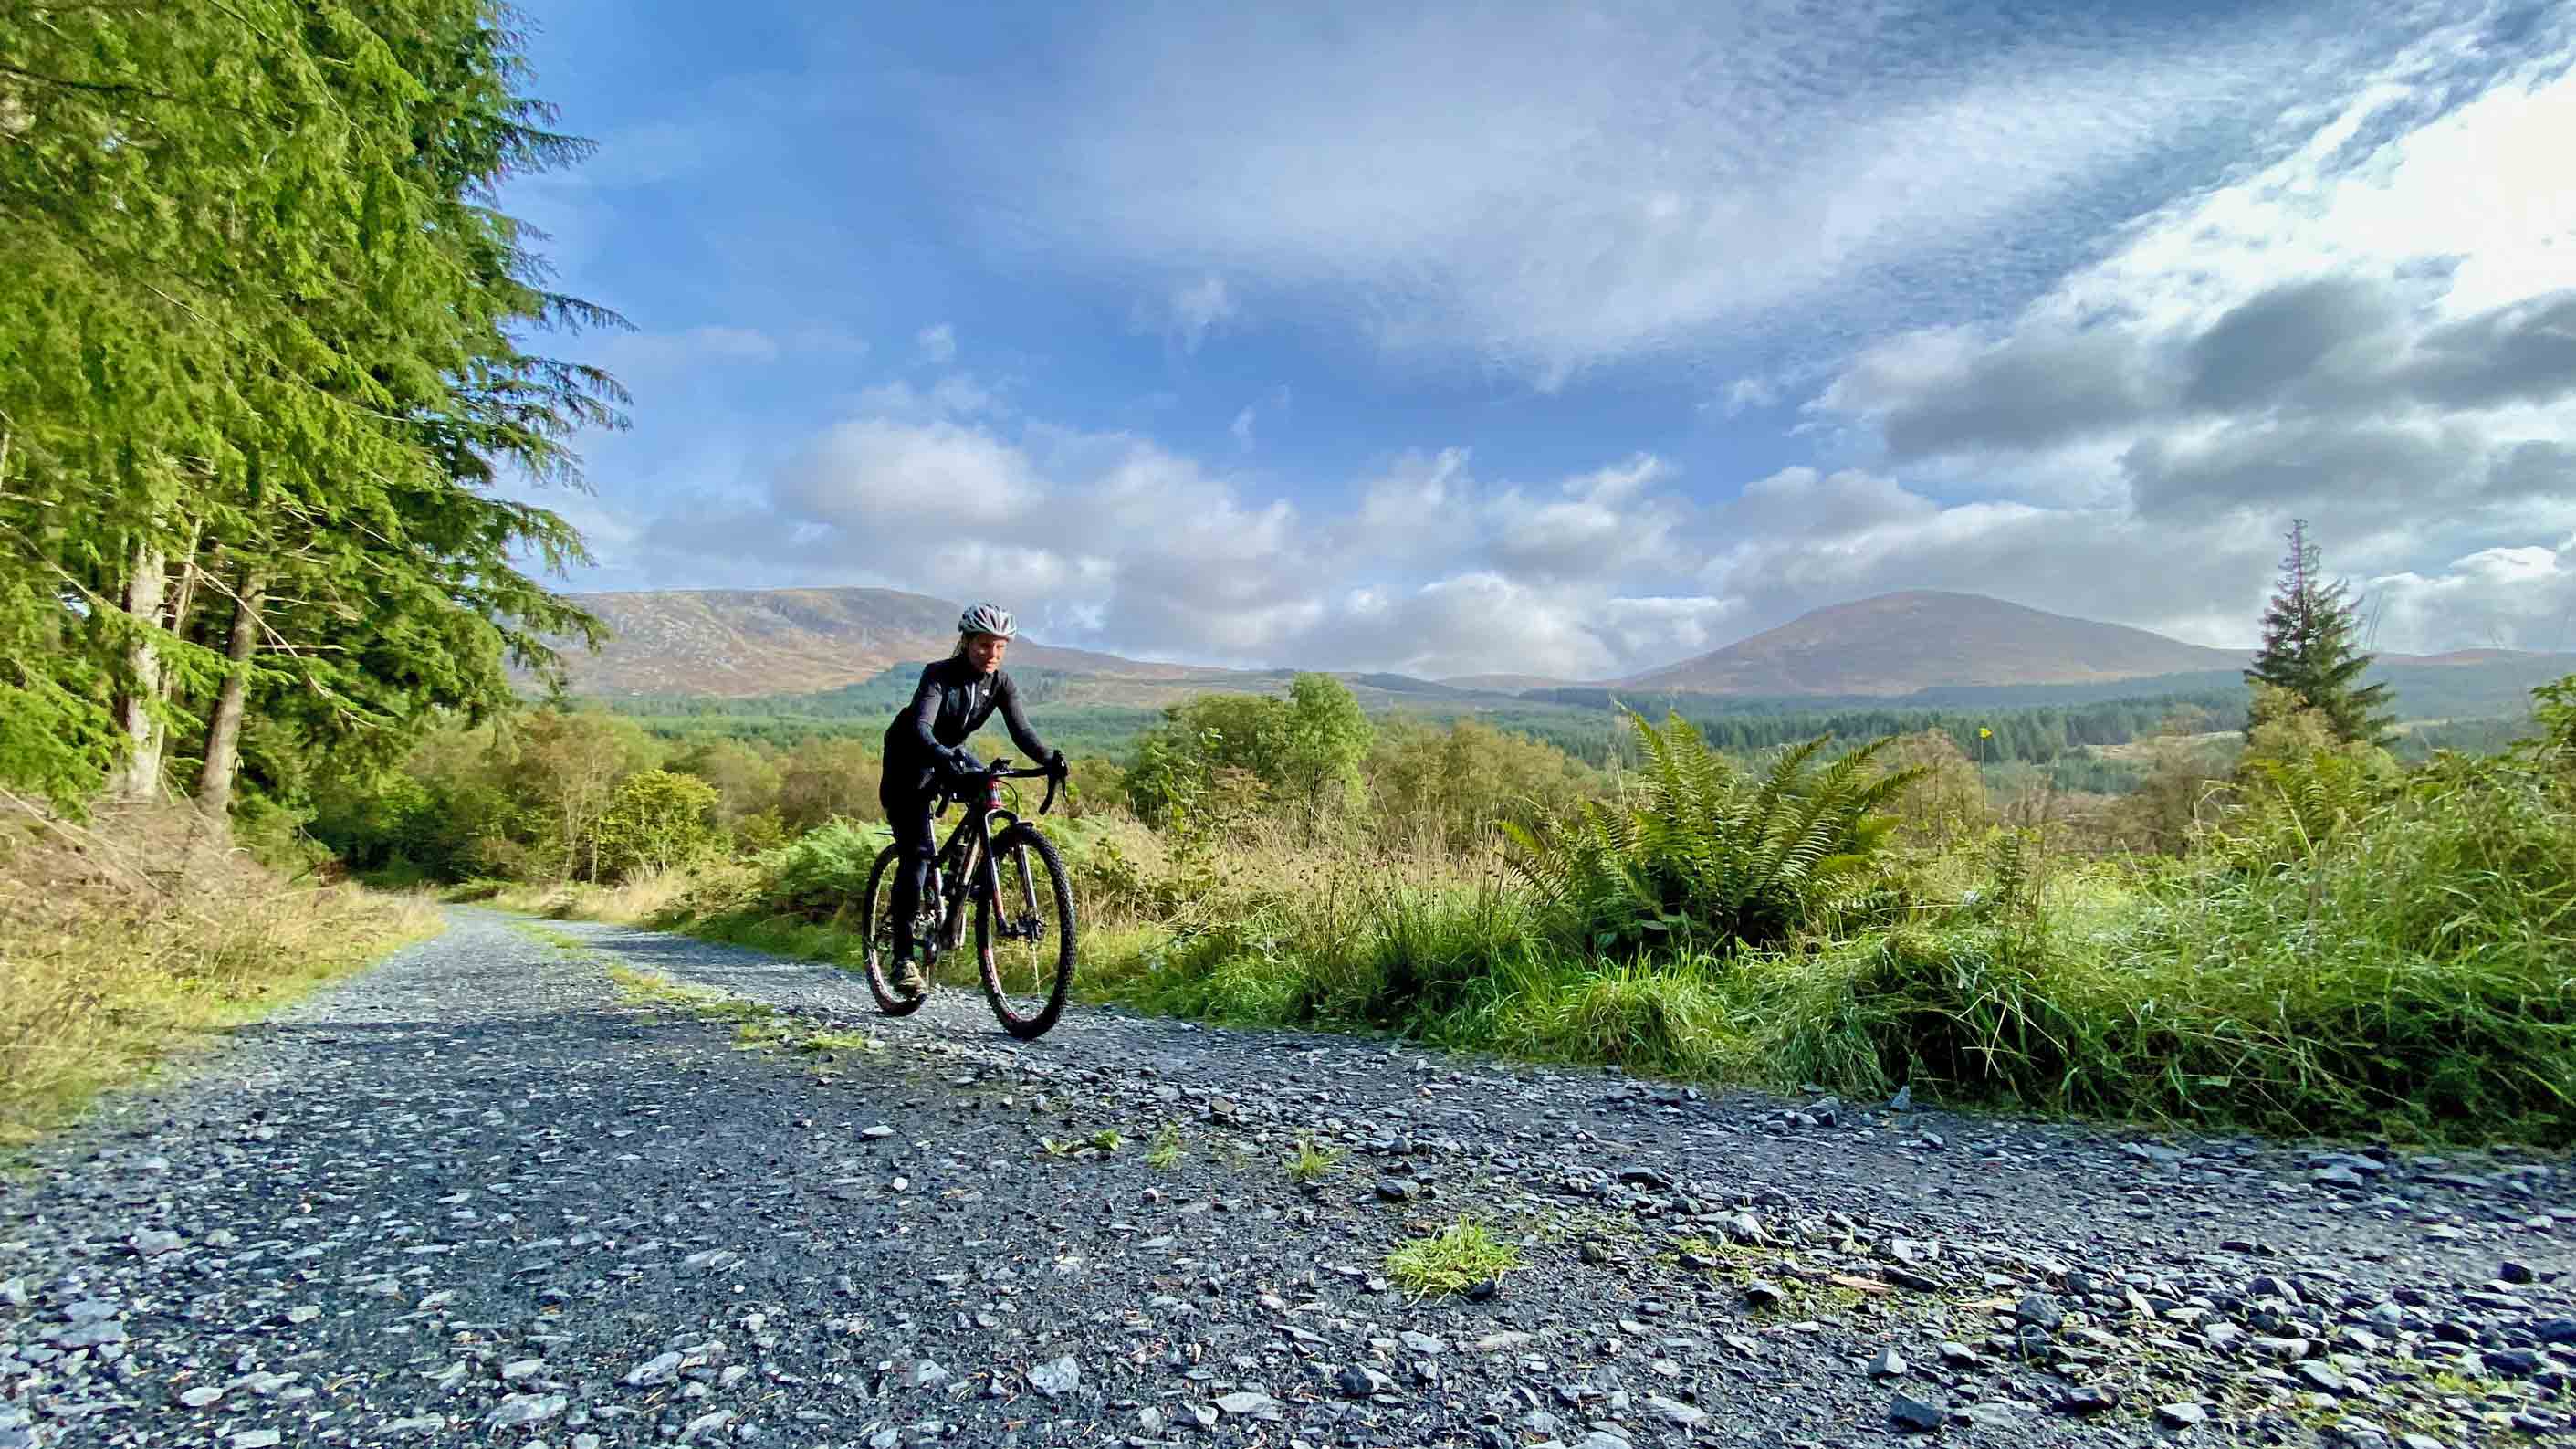
Image courtesy of Matt Minelli
Frame packs come in all sorts of sizes and again this depends on the size of your bike. I am quite tall so have a larger frame which means I can carry most of my gear in a half frame pack with 2x drinks bottles. Usually in my frame pack I carry all the layer that I might need close to hand while riding, i.e rain jacket, warm jacket, arm warmers, legs warmers, warm gloves and of course, snacks. However, a better option for smaller bikes might be a full frame pack with water mounted elsewhere (maybe fork legs) or even a hydration pack.
Small bags, like top tube bags, can be used to house electronics, cables or even just stuffed with snacks, however, you can also get dedicated snack bags. I’d advise keeping snacks and electronics in separate bags if possible… it can get messy if those Snickers melt!
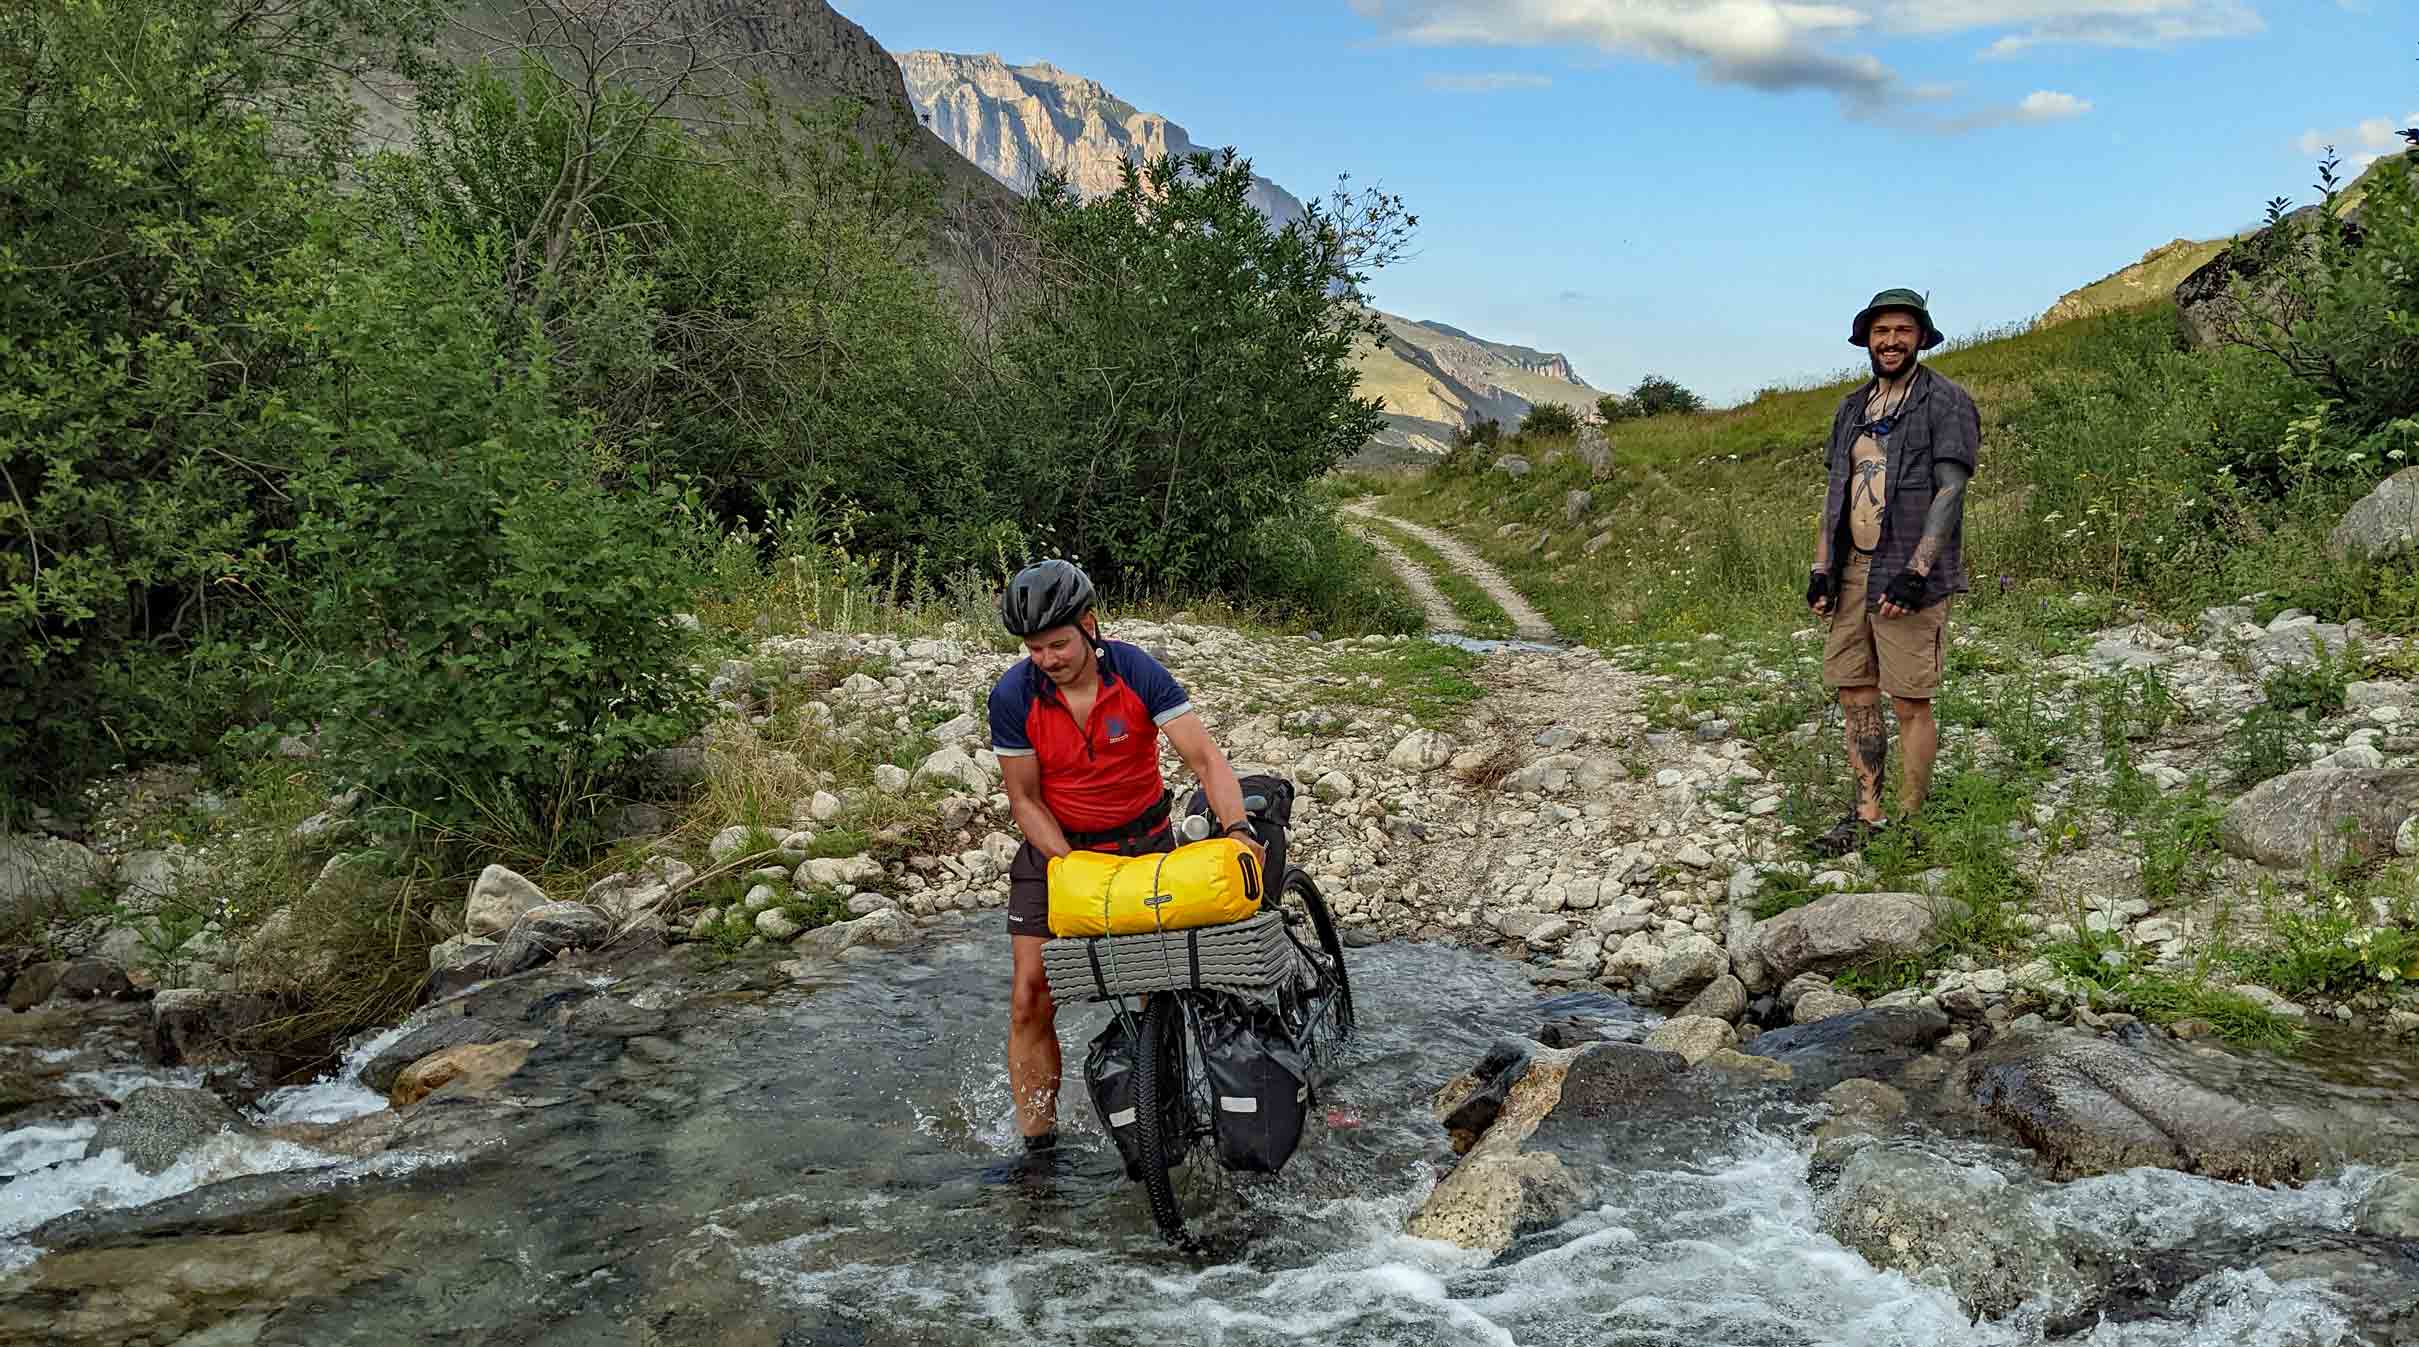
Image courtesy of Aleksey Grebenschikov
Packing is a very personal thing and it often a case of trial and error. The best way to learn the correct order to pack your gear to get out there on a bikepacking trip. By the time you return home all the items will have found their natural place in your packs and any space shortfalls will have made themselves very clear.
"My final tip is this - get out there and learn for yourself."
So, there we have it… The ultimate guide to bikepacking equipment, by me, Josh Ibbett, the guy whose final tip is this - get out there and learn for yourself.
josh ibbett
With almost a decade of (semi-)professional experience in the bikepacking and ultra-distance world, Shimano Gravel Alliance rider Josh Ibbett is the perfect person to guide Gravel Union through the ultimate bikepacking setup. He’s put together a handy guide to what to pack, how to sleep and what to wear.