It seems to have rained in the north of England non-stop since the start of October. Each time you ride, your drivetrain and brake pads make the kind of noise that whispers “your bike hates you” repeatedly in your ears. Wouldn’t it just be best to wrap your gravel bike in a blanket and forget about riding it until the Spring? Never fear – we’re not going to let climatic conditions ruin our ride plans, we just have to be a little cleverer. Here’s Olly’s guide to not giving up when the weather gods aren’t smiling on you.
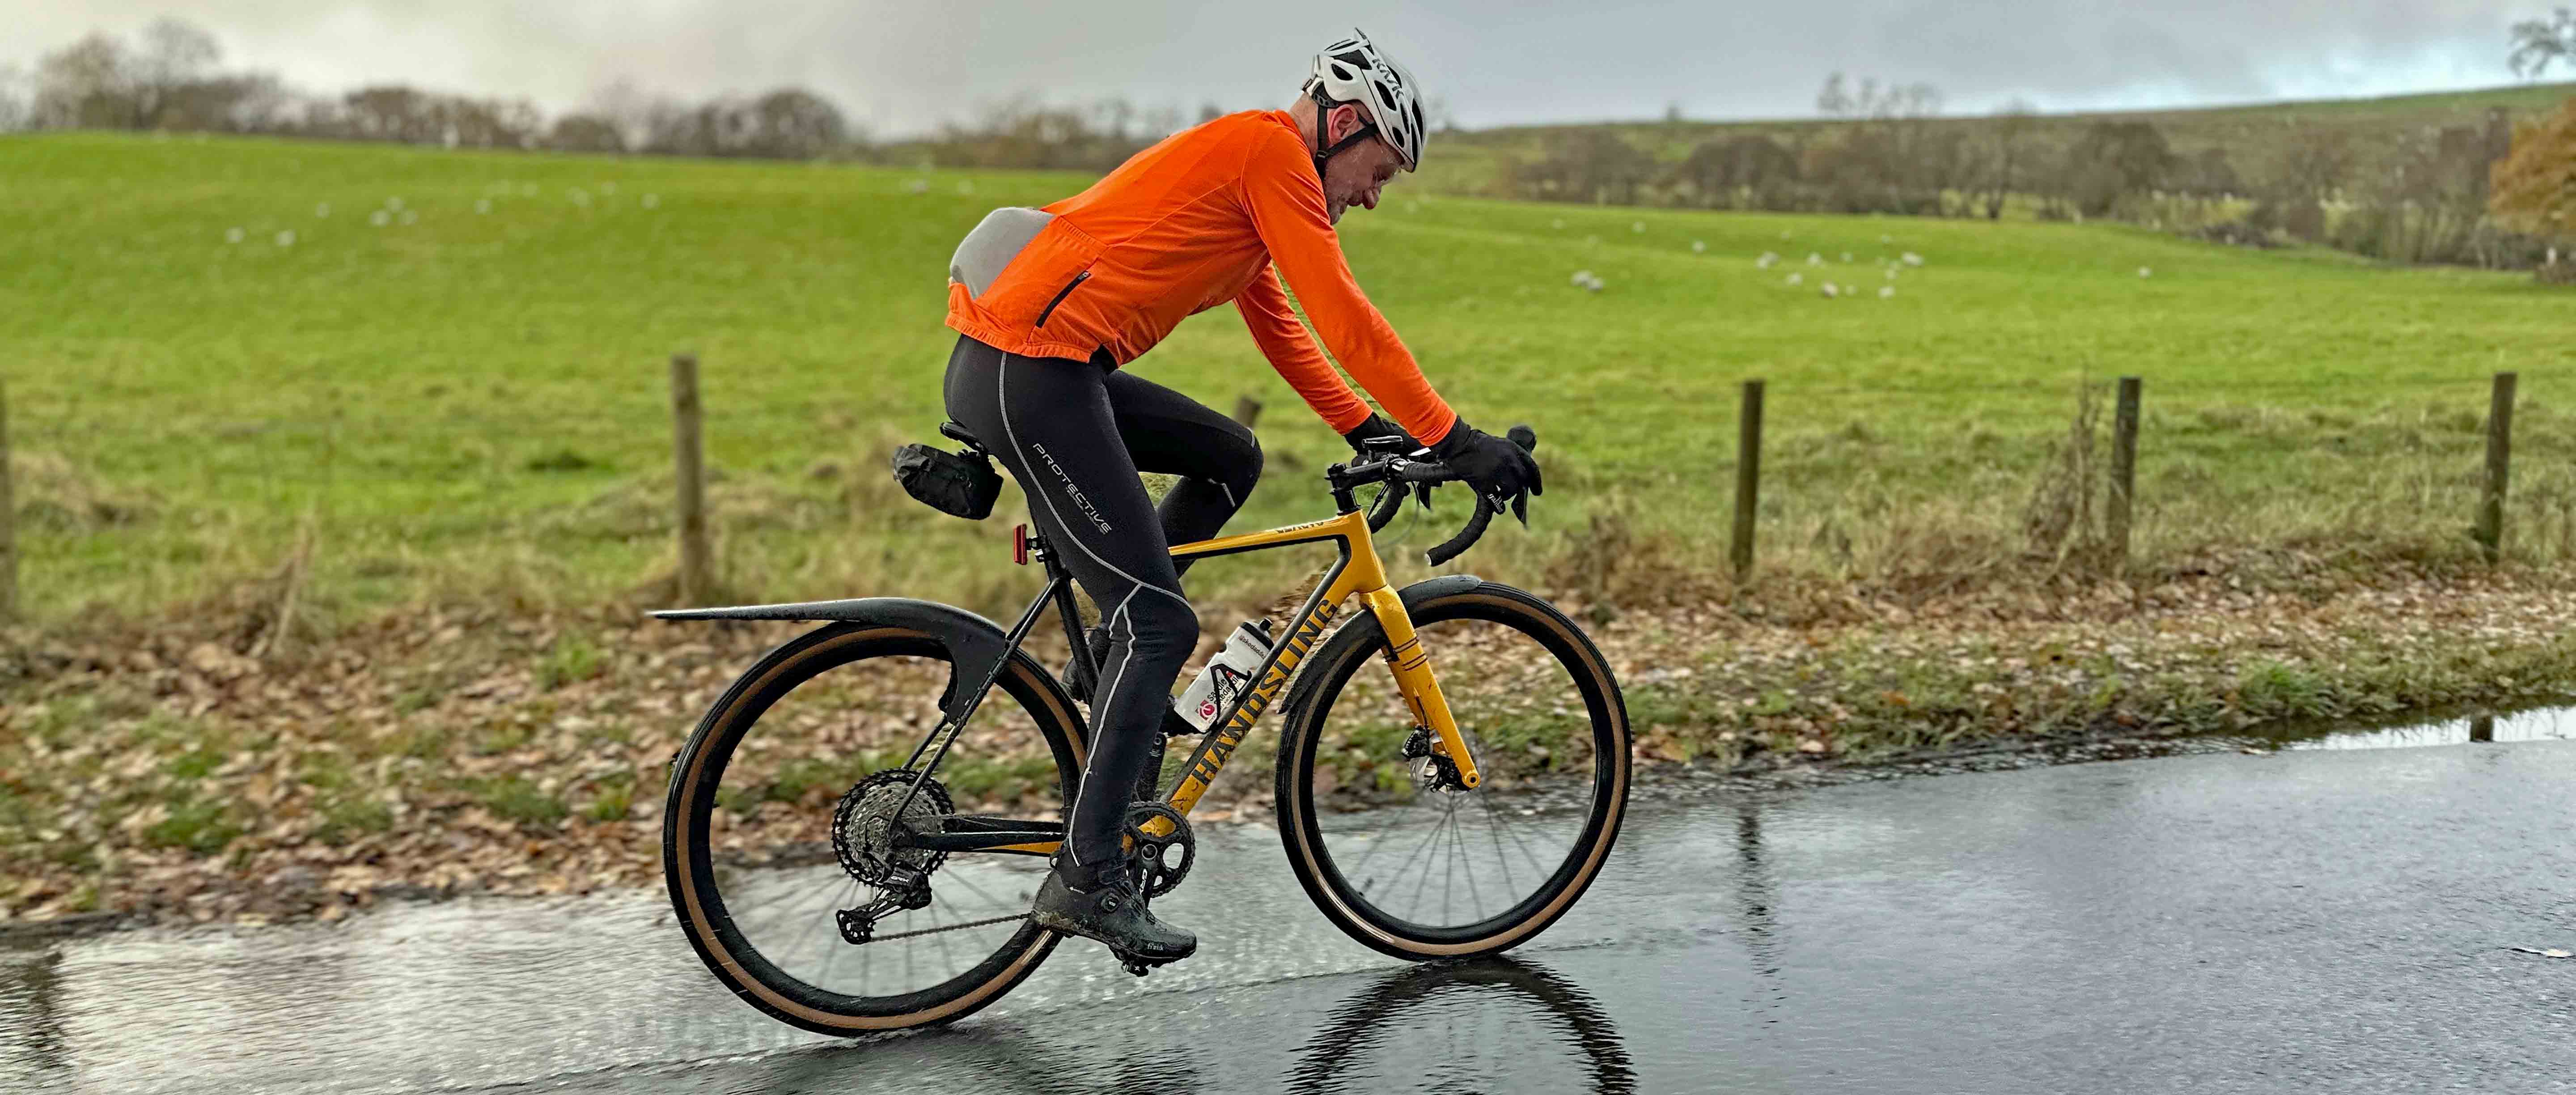
“I just want dry trails. Only six months or so to wait :-(” said a message from a friend recently. As the rain hammered incessantly on the windows to my office, I went through my almost daily ritual of wishing I lived somewhere sunny and dry instead of in the far north of England. But it struck me that no matter where you live, weather conditions can soon dictate your riding life if you let it – it could be too hot, too windy, too humid, too cold, or like here - incessantly damp from about October through to May. Everyone probably dreams of riding on those bluebird days where you get the goldilocks combination of sunshine, blue skies, dry trails, summer warmth and no nettles/brambles, but those days are rare. What can you do when conditions are sub-optimal? Sitting on the sofa and ignoring the world outside can seem like an appealing option at times, but there’s a better choice – make the most of whatever you’re given.

Planning is key
Sometimes you’ve only got an hour spare and you just grab your kit and rush out of the door, following your nose until it’s time to head back home. But if you have a ride scheduled for a specific date/location, then every minute of time you spend planning will pay off when it comes to the fun factor. It could be something as simple as figuring which direction the wind is blowing from and then trying to use it to your advantage or deciding to make your route more weatherproof by using hard-surfaced trails rather than rural singletrack. Have you charged your lights and got some trail snacks ready? Then you’re good to go…
Route finding
No matter where you live, there will be good and less-good route options open to you. Where I live the chances of dying of sunstroke or heat exhaustion are pretty slim, but we’re almost guaranteed to encounter hub-depth mud, a fast-flowing stream crossing or a lethal tangle of grease-slicked roots every time we venture off-road. So, when I’m route planning, I always do the following:
- Think about geology and topography. Try to avoid low-lying areas, routes near watercourses or routes which get very little daylight, as they are all likely to be impacted by wet conditions. Where possible, choose sandy/gravelly geology over clay/silt/chalk. Try and find routes that feature elevation – even if it’s just a few metres above the surrounding terrain, that might be enough for your track to drain better than the surrounding lower land.
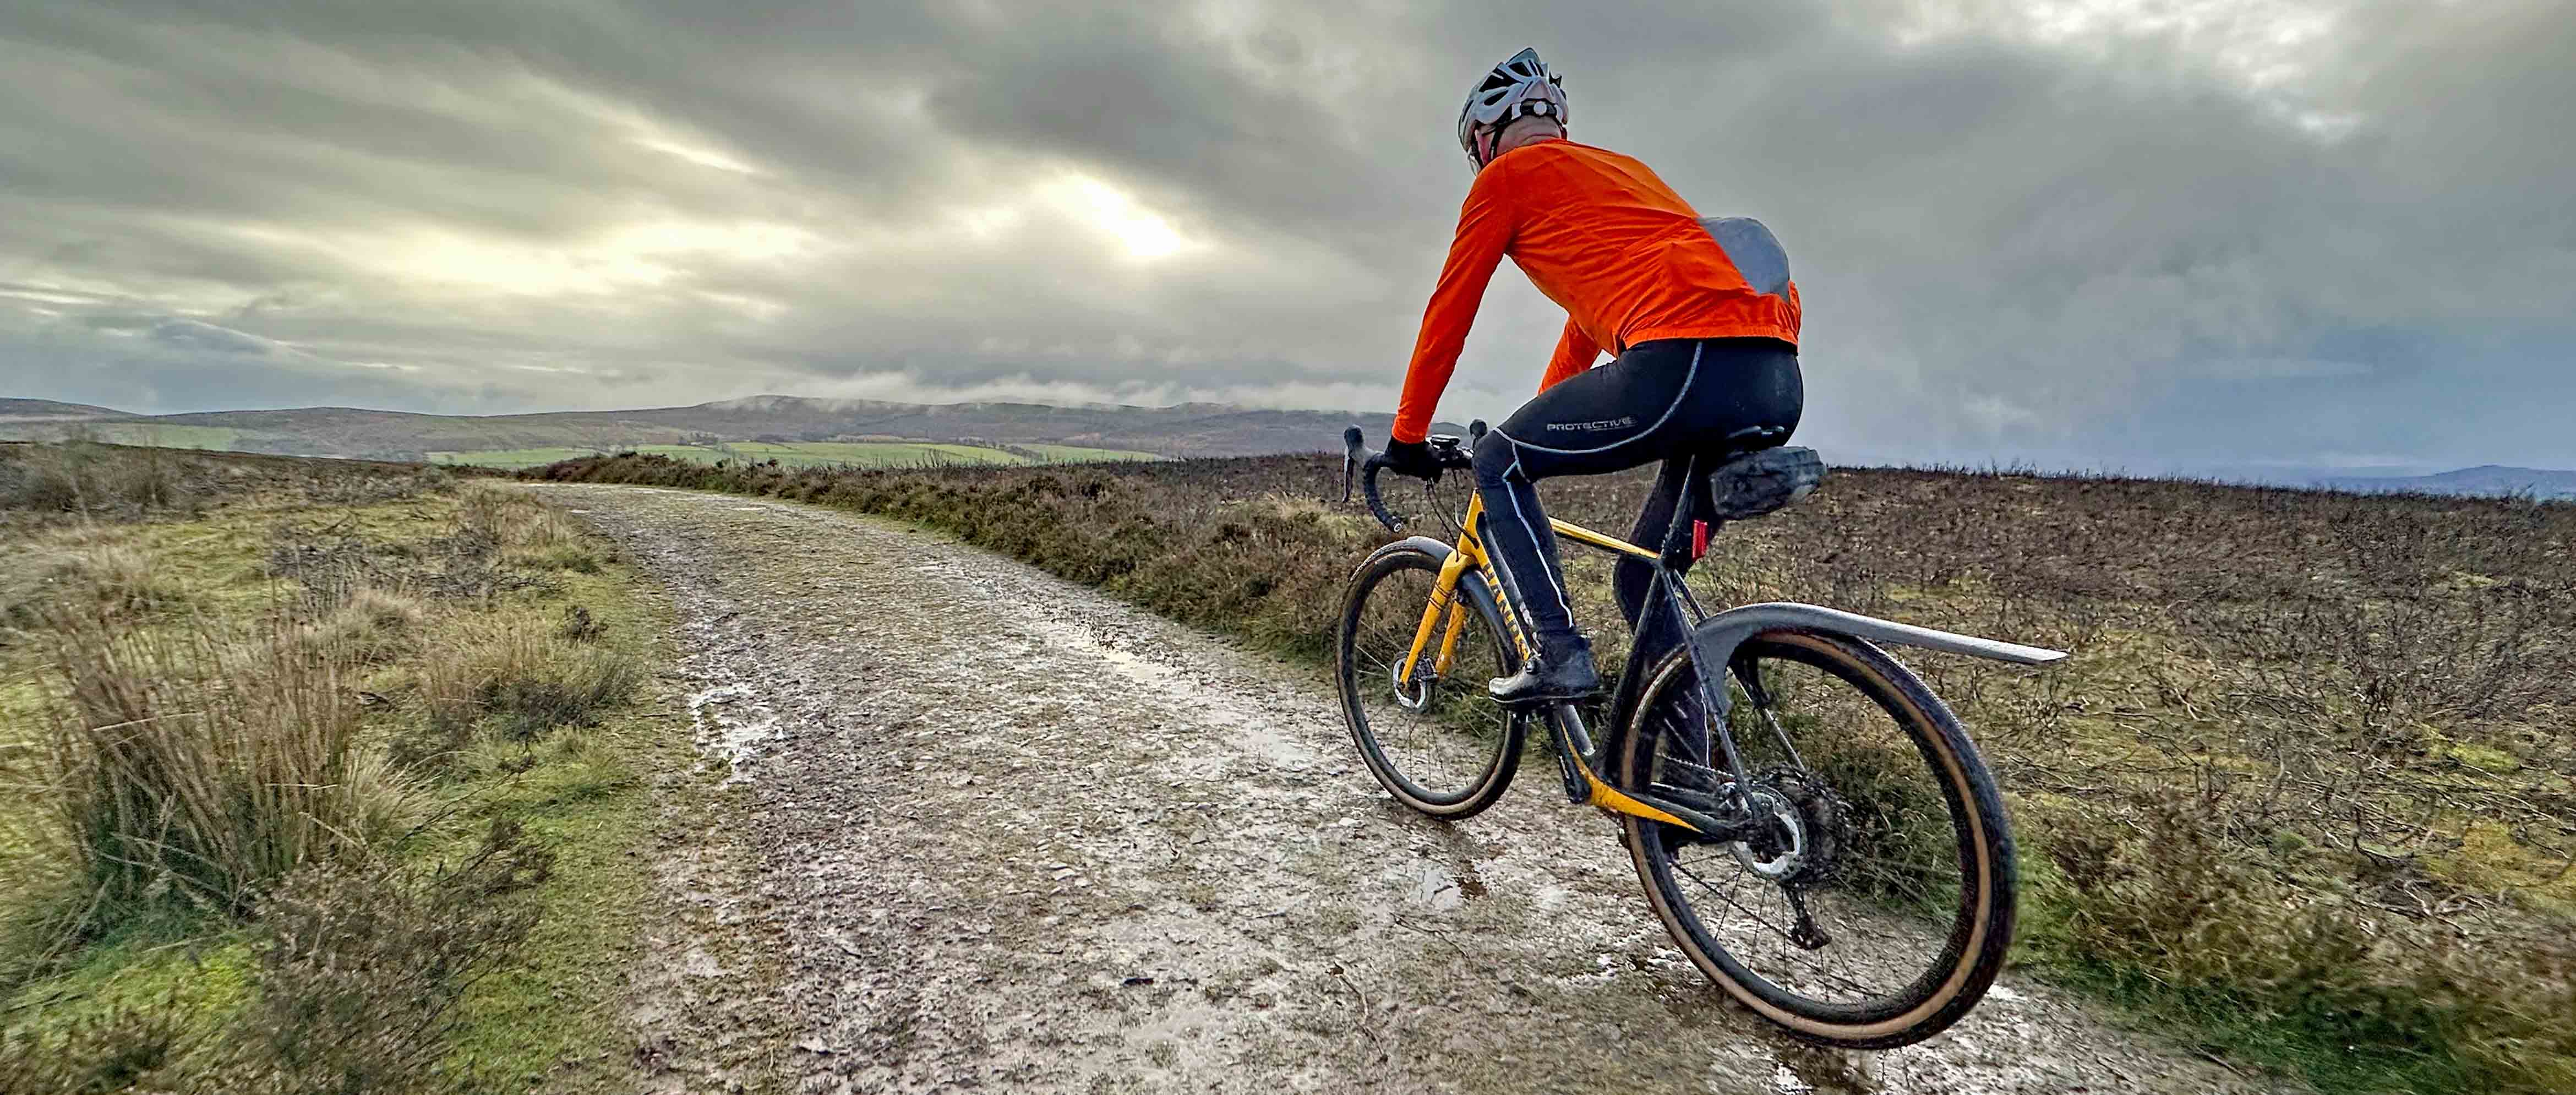
- Go for well-established routes. There’s a time and a place for exploring a little-used moorland singletrack and the middle of winter is unlikely to be it! If you’re lucky enough to have some ancient trails (like this one in the image above which was a former driveway to a country mansion and has a hard, stony base designed to make it suitable for horse and carriage) pick those over something that has been recently dug in your local patch of woodland.
- Give some thought to the prevailing weather. If you know that the wind comes generally from the west, as it does in my bit of the world, try and plan your route to have a tailwind on the return section, or one which is sheltered as much as possible if the forecast is going to be blustery. Rain generally comes in with the wind and having the rain on your back is marginally less unpleasant than having it in your face.
- The joy of a gravel bike is that they’re not significantly slower on paved roads than a “proper” road bike. If your route choice is between a swampy section of singletrack across a farmer’s field or a minor country road, then consider whether the paved option is the lesser of two evils.
- If you can’t avoid wet/muddy sections try and use gravity to your advantage – riding downhill through mud is significantly easier and more fun than slogging your way up a claggy climb.
Winter skills
Greasy roots, deep mud, endless puddles and decomposing leaf litter can all make winter riding somewhat dicier than riding on bone-dry summer trails. Luckily a few key skills, which will also be useful when riding off-road in general, can help keep you rubber side down:
- An obvious one to start – keep your head up and look where you want the bike to go. It’s really easy to find your gaze has dropped to the track just in front of you, but this means you won’t know what’s coming up further down the trail and you will be magnetically drawn towards that huge hub-depth puddle….
- Make a conscious effort to relax your grip on the handlebars, but also relax your neck, shoulders, arms and knees – this allows the bike to move around more freely underneath you while you soak up the bumps with your body’s inbuilt suspension. Gripping hold of the bike for grim death will result in you getting tired faster and also being less able to react to unexpected movement.
- If you’re riding a trail which goes across a cambered slope, rotate your hips slightly so that your pelvis is pointing slightly uphill – this will initially feel slightly weird, particularly if you’re pedalling, but it will help to increase your tyre's grip. This is especially useful if you’re riding across wet tree roots.
- When it comes to riding in mud, there are a few tricks – go for an easier gear, keep your head up and move your weight slightly further towards the back of back of the bike to reduce the risk of the front end from digging in and finally, don’t always take the obvious line – by keeping your head up, you might spot an easier route through the slop than the one that everyone else is following.
Bike set-up
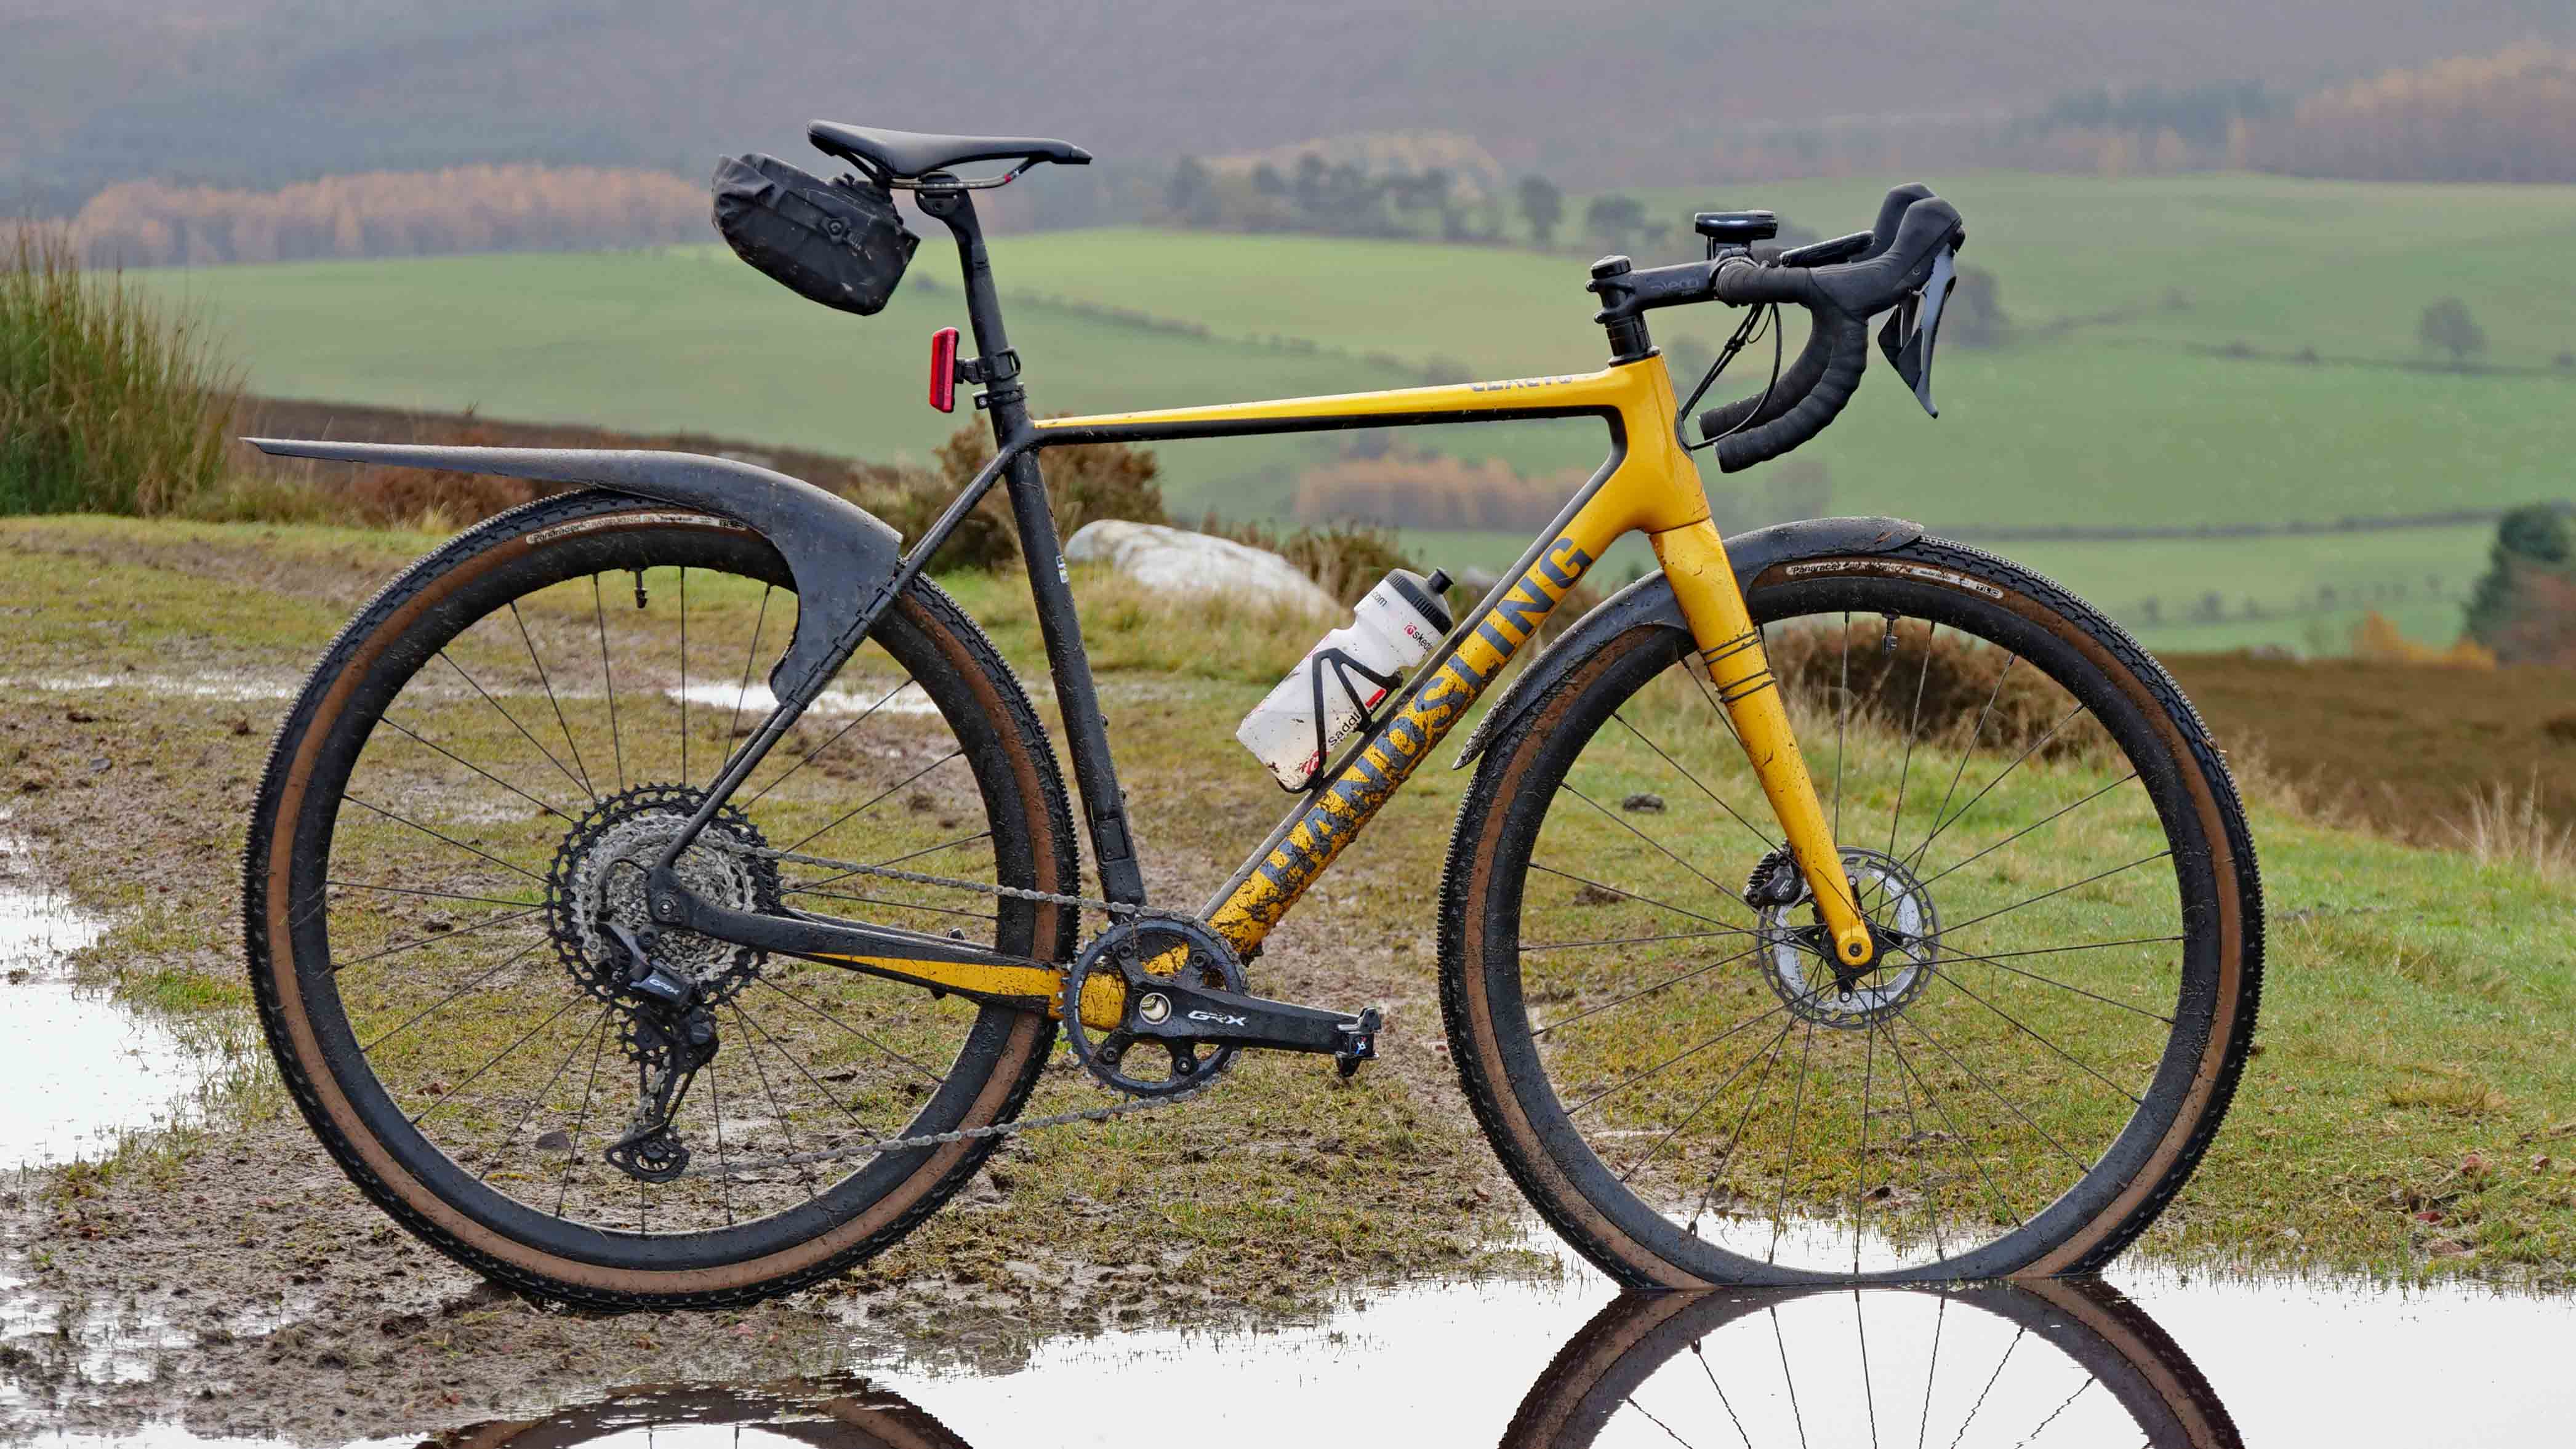
Winterising your bike isn’t always a cheap option but will make your rides more comfortable and in the long term can help keep maintenance costs to a minimum.
- Mudguards aren’t fashionable, they can add some weight to your bike and bad ones can rattle annoyingly and wobble about, but a decent set are worth their weight in gold. They help keep slop off your clothes, they reduce the spray created by your tyres from soaking your ride buddies and they help reduce the amount of gritty water that coats your drivetrain too, which in the long term helps reduce wear. Buy well and buy once is the old adage and it’s true – a decent set of mudguards in my mind is an investment and if you look after them, you should be able to use them over many consecutive winters.
- Think about protecting your paintwork. Applying a layer of good quality helitape to potential wear areas will help reduce the damage done by riding in wet, muddy conditions.

- Winter tyres make the difference between ‘nailing’ that greasy, off-camber section through the woods and an ignominious walk of shame (or worse, an inadvertent front wheel slide when your tyres skitter over some unseen patch of slipperiness). Running your tyres tubeless will mean more grip, less drag and less risk of punctures. Think about running tyre liners for added rim protection.
- Drop a little pressure out of your tyres to increase their contact patch. This will help give you more grip and also make the ride more comfortable. Even a 5% drop in pressure will have a positive benefit in wet conditions.
- Make sure your chain/drive train is clean and appropriately lubed. I swear by wax-based chain lube year-round, but some riders prefer a wet lube for winter riding. Whichever you go for, don’t apply too much – no one wants an oily black grinding paste covering their drivetrain.
- Check brake pads regularly and consider carrying spares if you’re going to be out for a long day or multi-day autumn/winter ride.
- Wash, dry and lube your bike as soon as you can after the ride. When you’re cold and tired, this is probably the last thing you want to do, but 30 minutes with a bucket of hot soapy water and a variety of brushes/sponges will pay dividends in the long run.
- I run daylight flashing lights when road riding for the majority of the year except summer. It might seem like overkill, but anything you can do to jolt vehicle drivers out of their inattentive stupor seems like a good idea to me.

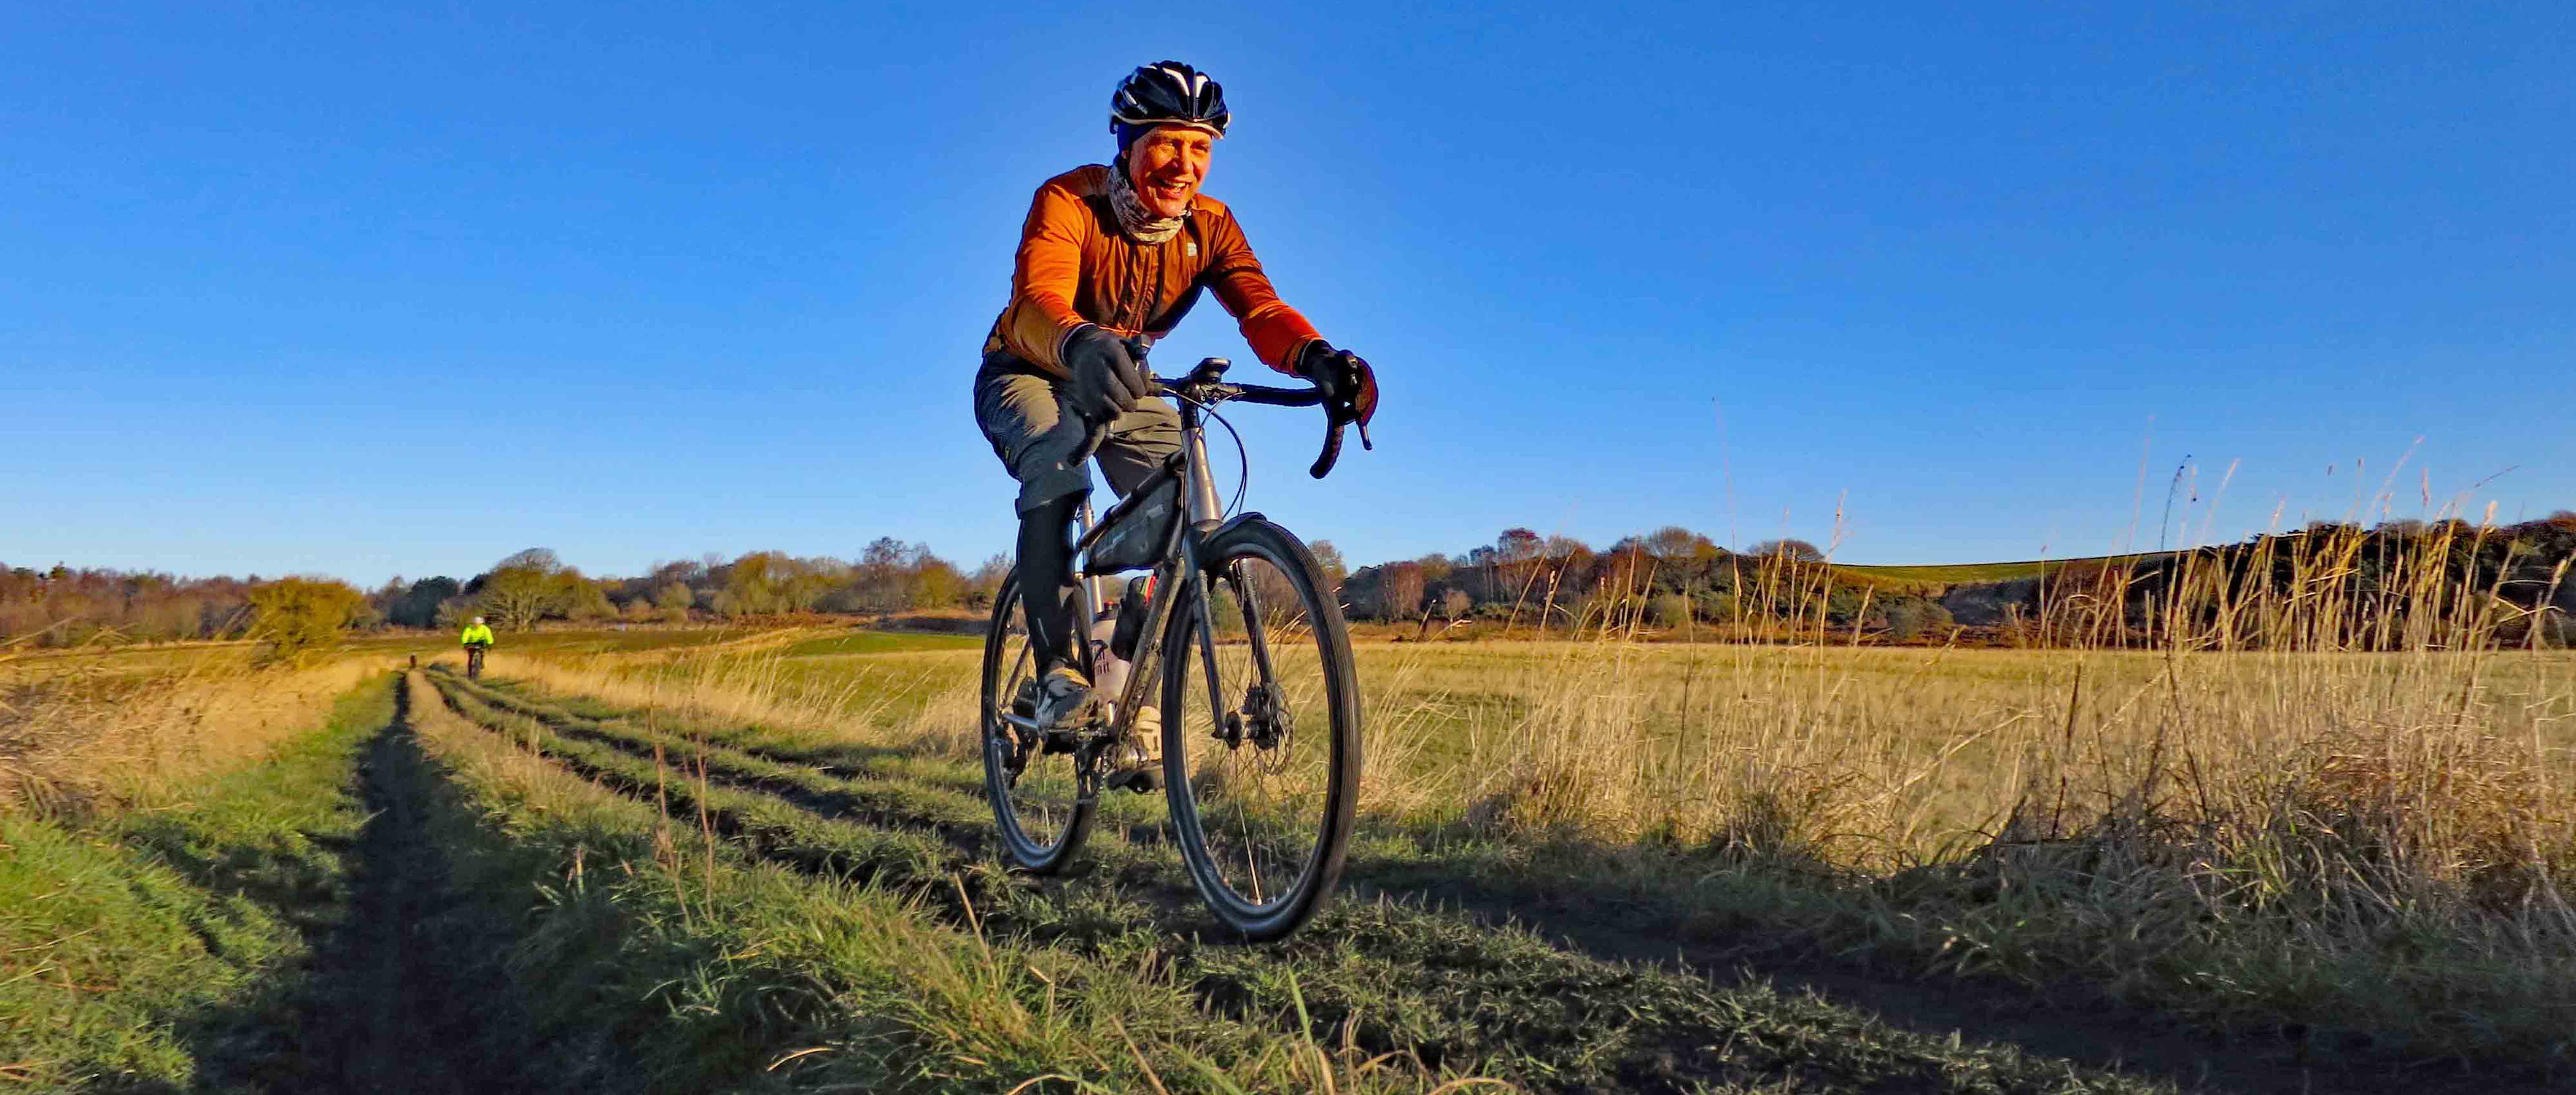
Kit and clothing
Any fool can be cold and wet, as the old saying goes. There’s a few simple guidelines to use when thinking about what to wear – try and keep your extremities warm/dry and go for layers. A skull cap/helmet liner, buff, decent windproof/waterproof gloves and some winter boots or overshoes will all help improve your core temperature.
Everyone operates at different temperatures, but the principle of layering is equally applicable. Polar explorers and high-altitude mountaineers use the principle of wearing multiple thin layers and it’s something we can benefit from too as gravel riders:
- A long-sleeved baselayer, winter jersey and waterproof/windproof jacket will go a long way towards keeping you warm and dry but are also adjustable via the front zips to regulate temperature when climbing/descending.
- Good quality windproof, insulated tights are worth their weight in gold – they’re generally eye-wateringly expensive, but if your legs are dry and your nether regions are comfortable, the world will be a much happier place.
- Keeping your hands warm can be a nightmare, particularly if you suffer from poor circulation. You could try thin merino wool liners, non-latex disposable gloves or heat warmers inside your gloves. Or even washing up gloves if things get really bad. If all else fails, try the penguin dance, beloved of winter mountaineers!
- Something as simple as a thin skull cap/helmet liner can dramatically reduce heat loss and make a surprising difference to how warm you will feel.
- A good pair of winter boots should last for years, particularly if you rinse and dry them after each muddy/wet ride. The price tag might make you want to cry, but then so does having cold feet!
Food and drink
When it’s cold/wet and the trails are claggy with mud you will burn dramatically more energy than you would normally. If you’re only out for a quick hour-long blast then it isn’t an issue, but if you’re riding all day you need to think about calories in versus energy out. Every rider will have their personal preference between just eating energy bars, stopping at a bakery and getting a take-away or a full-on café stop.

Whatever you do, make sure you’ve done some planning if you want a stress-free ride. Arriving at the café 20 minutes after they’ve closed for the day is never ideal, but it’s even worse in winter. A few top tips:
- Energy bars can become super solid when it’s cold, so keep them close to your skin to keep them malleable.
- Water bottles can freeze, so if you have space, put one in your rear jersey pocket to help keep it liquid.
- Consider taking an insulated bottle full of warm drink on super cold days.
What if?
The chances are that your winter gravel rides will be just as worry-free as your summer ones, but if something does go wrong, it will most likely be colder, wetter and potentially darker. This means that something annoying-but-normally-innocuous like a broken chain or a hole in the sidewall of your tubeless tyre, can turn into a bigger issue very quickly. It’s worth being prepared and carrying more emergency gear than you would normally. If I’m heading out on a big winter ride I always pack a survival bag, first aid kit, spare layer of clothing and spare dry gloves just in case. This will probably mean having a frame bag/bar bag/bum bag with extra stuff in it, but you’ll be grateful if something does go wrong mid-ride.
Post-ride
If it’s been a really cold, wet, miserable ride, every bit of your body will be screaming for a hot shower and a comfy sofa. Try and resist the temptation to ignore your mud-caked bike and sopping-wet kit though. If you have the energy, try and at least run a hose over your bike to remove the worst of the muck and consider soaking your kit in a washing up bowl/clean bucket of warm water to remove some of the grime before you stick it in the washing machine. Try and eat and drink something as soon as you can after the ride. Topping up spent energy is done most efficiently straight after exercise.
So, there you have it. It might well be cold and wet outside for the foreseeable future, but with our top tips at least you’ve got a decent chance of successfully taking on the weather gods. See you out there!