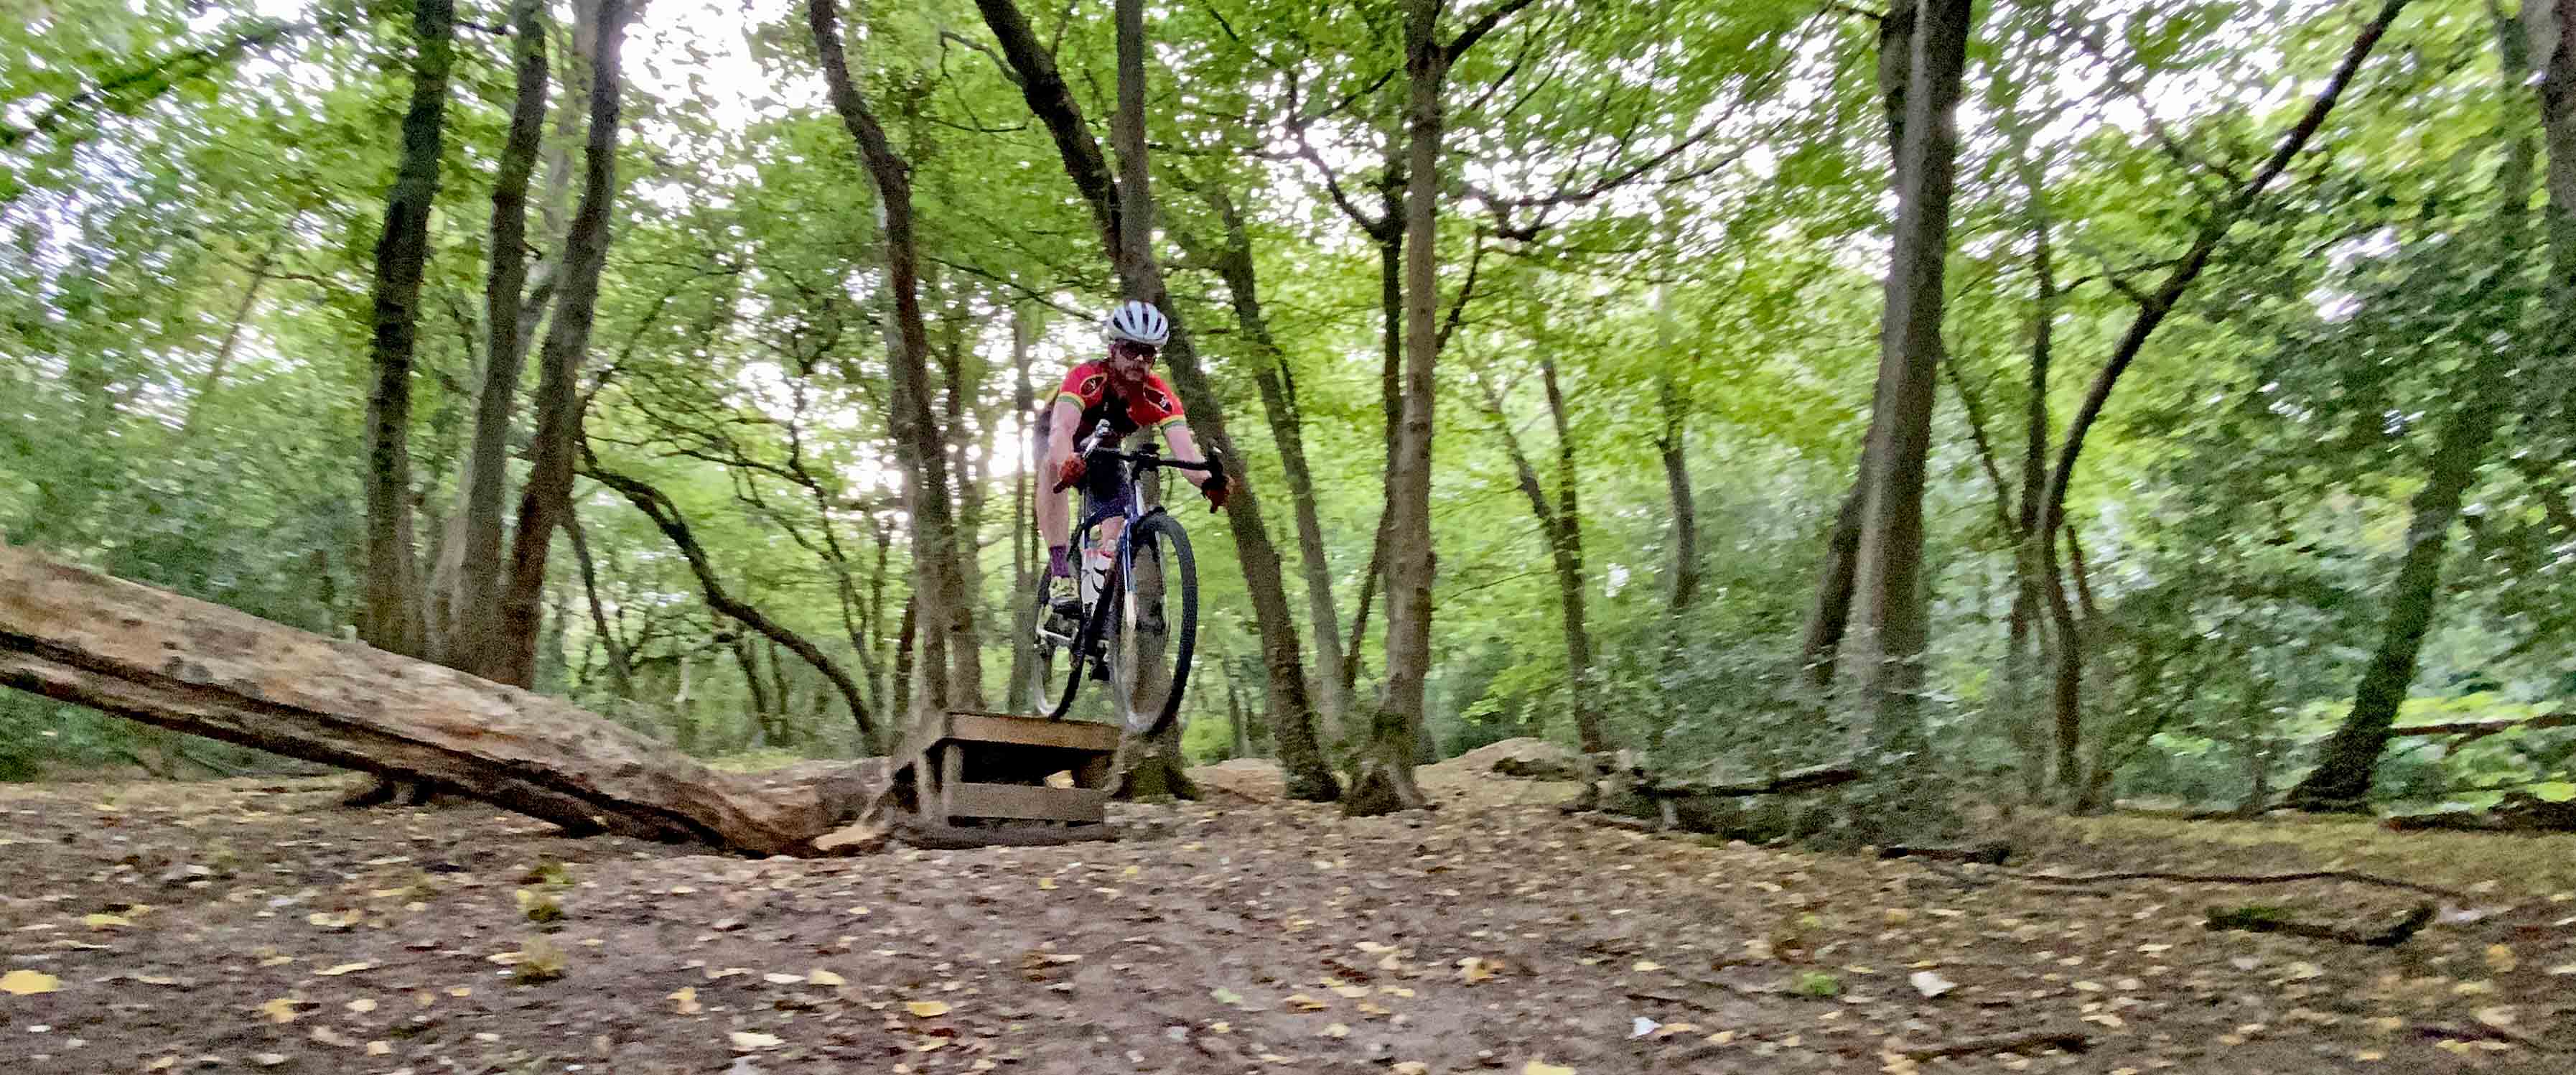
This is in no way a typical gravel trail and I’m also not riding a typical gravel bike. But the image arguably typifies the ethos of a gravel rider. Riding whatever you come across during your route on a bike that’s not 100% suited to the task is part of the fun of gravel riding after all isn’t it? My Trek monstercross can take 29x2.4” tyres and is essentially a barely disguised mountainbike, which enables me to seek out technically difficult riding. But what if you were on a more typical gravel bike which might only have clearance for 700x45mm tyres? Is there anything you can do to help literally smooth your ride?
Bike
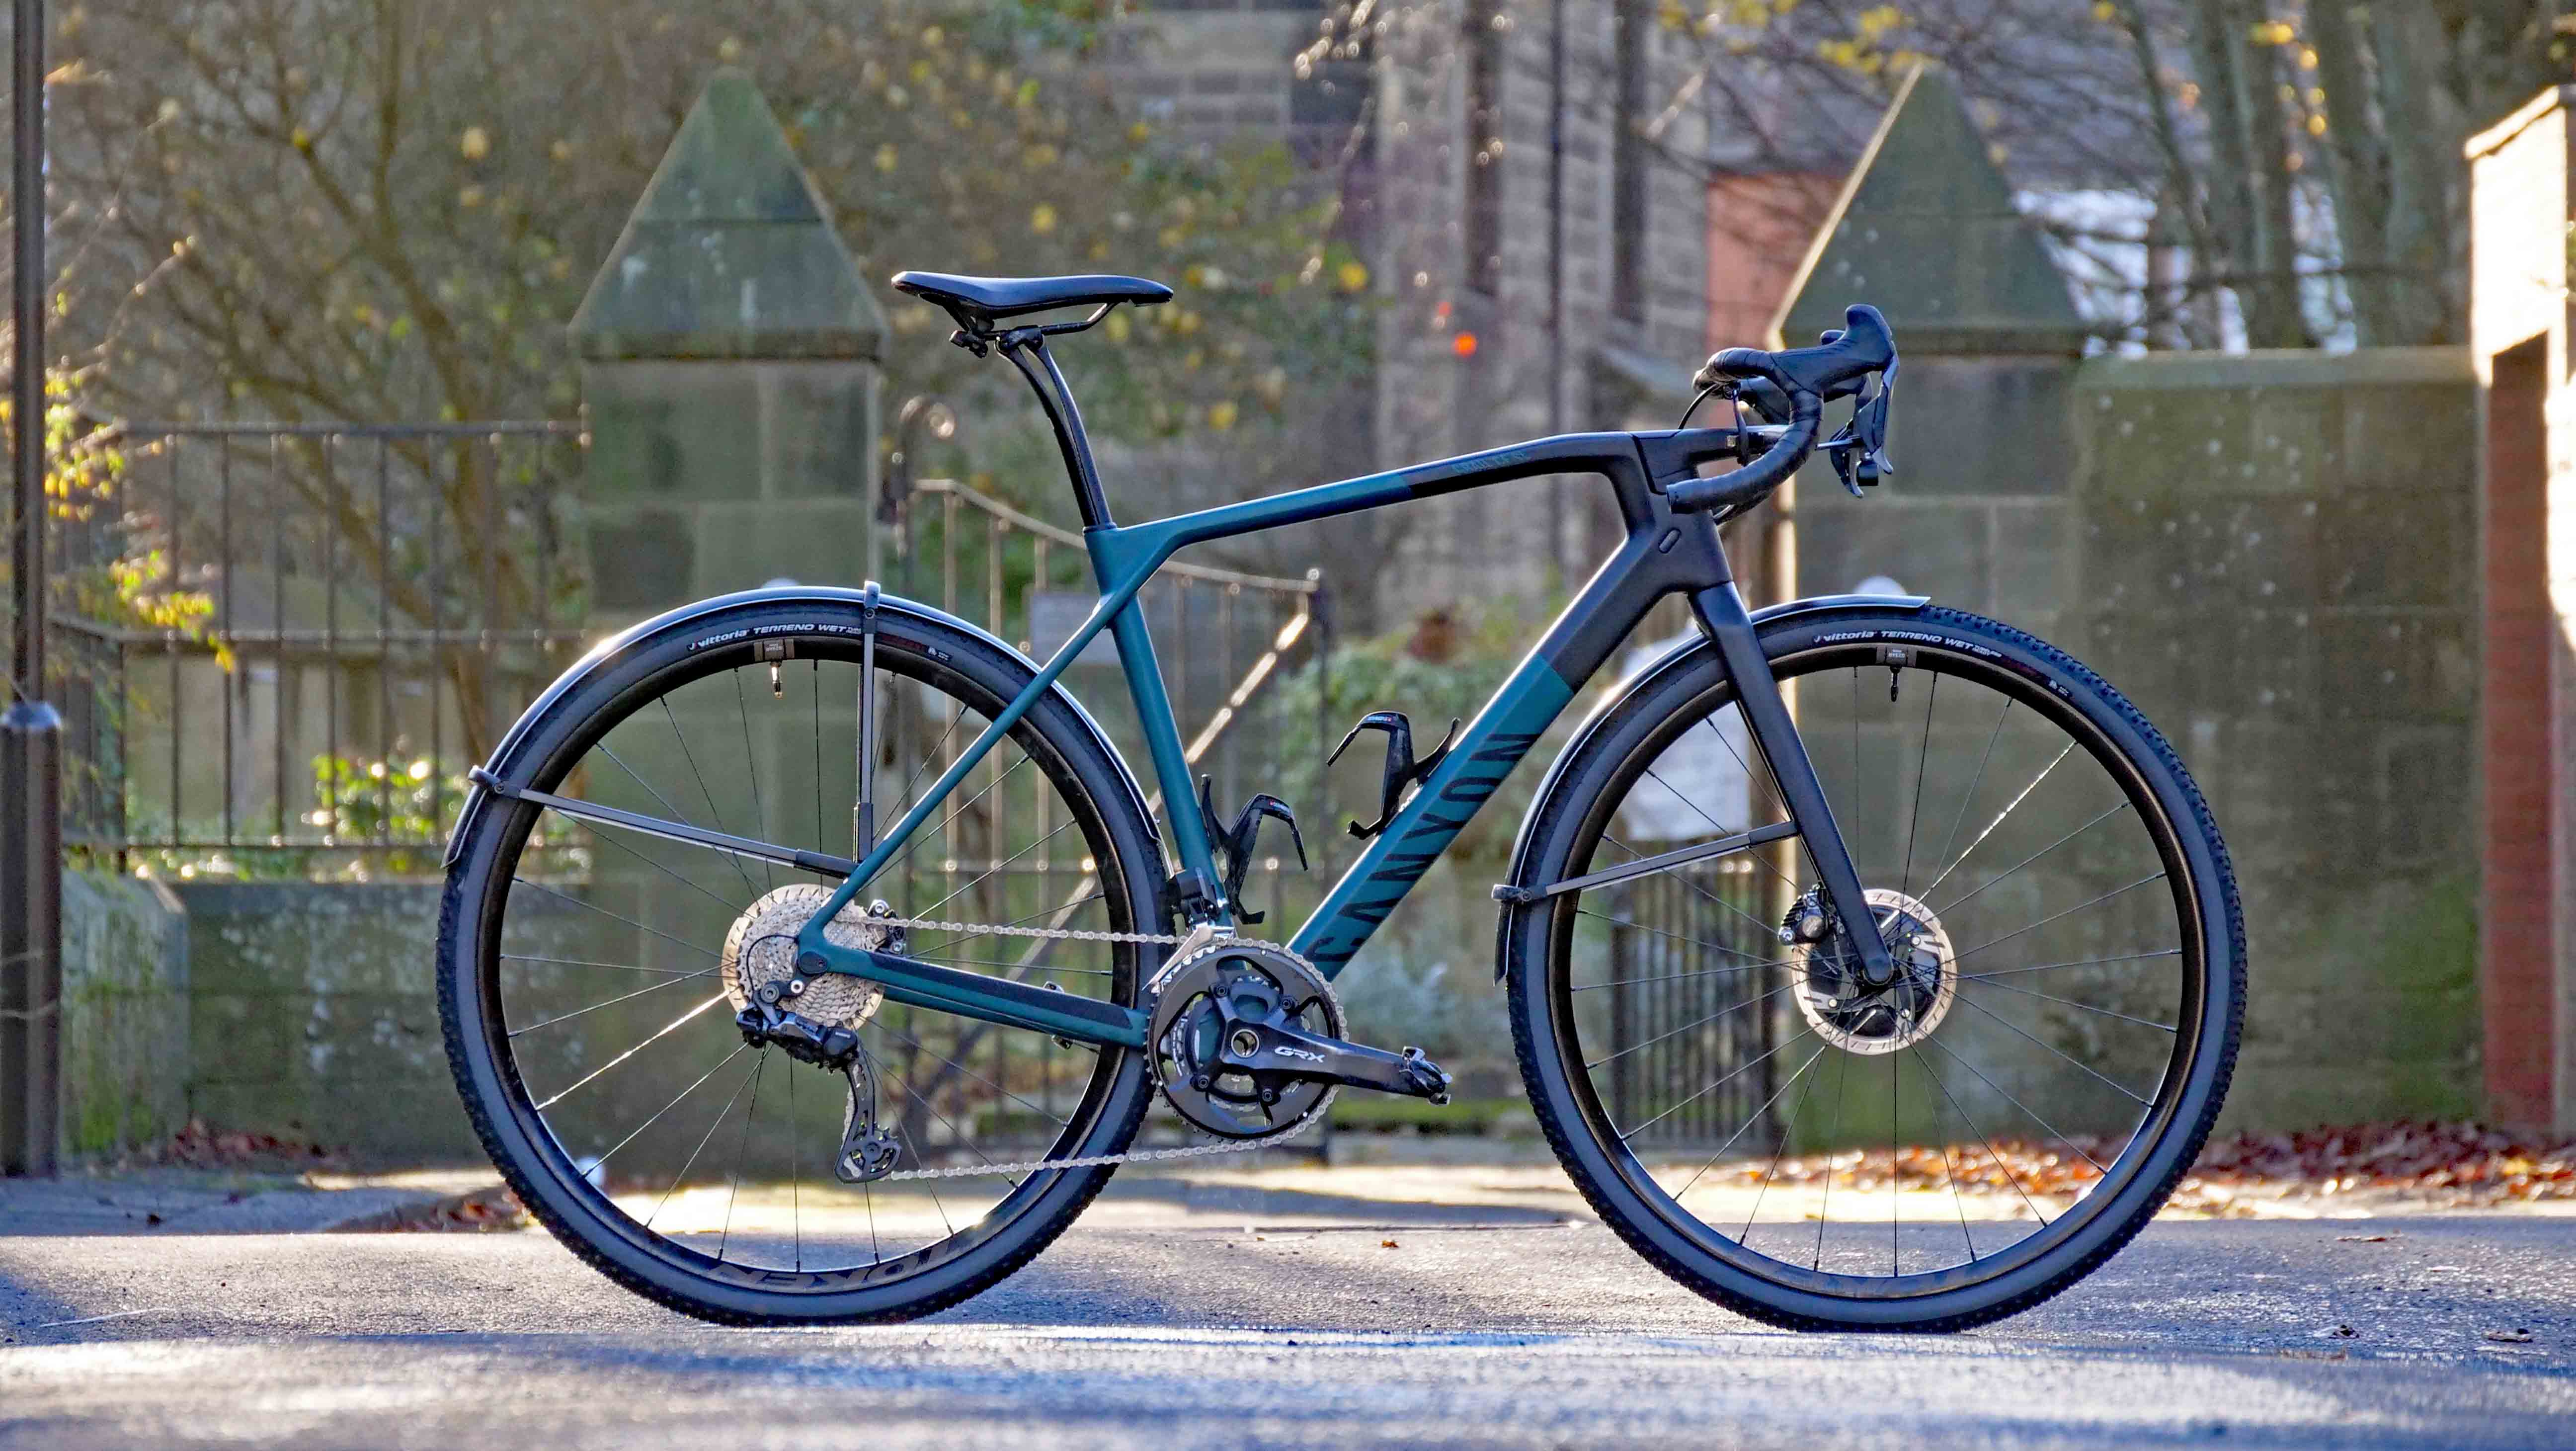
How you set-up your bike will have a dramatic effect on the terrain you can tackle and how smooth/trouble free your ride will be. The first thing to think about is tyre choice. This is definitely a case of bigger-is-better. The greater the volume of air you have inside your tyre, the bigger the cushion you have against punctures and the softer the ride feel will potentially be. If you’ve come to gravel from mountain bike riding, tyres of 40-45mm will initially seem incredibly skinny and the ride quality might feel harsh, but if you’ve come to it from road riding, then the opposite is likely to apply and you’ll be initially thinking that the wider tyres feel slow and draggy. There’s plenty of good information here about the benefits of running tubeless tyres and the balance of tyre width/tyre pressure and drag, but essentially wider tyres, run at lower pressures will help you find the goldilocks setting.
What if your gravel bike only has clearance for smaller volume tyres? Or you like riding particularly gnarly terrain? Or you’re built more for comfort than for speed? Then a rim liner, such as this one could be just what you’re after. The liner, which is typically constructed from a dense foam, sits between the tyre and the rim and in the event of a heavy impact, something like hitting a hidden rock or large root, they cushion the blow and help prevent the tyre from being damaged.
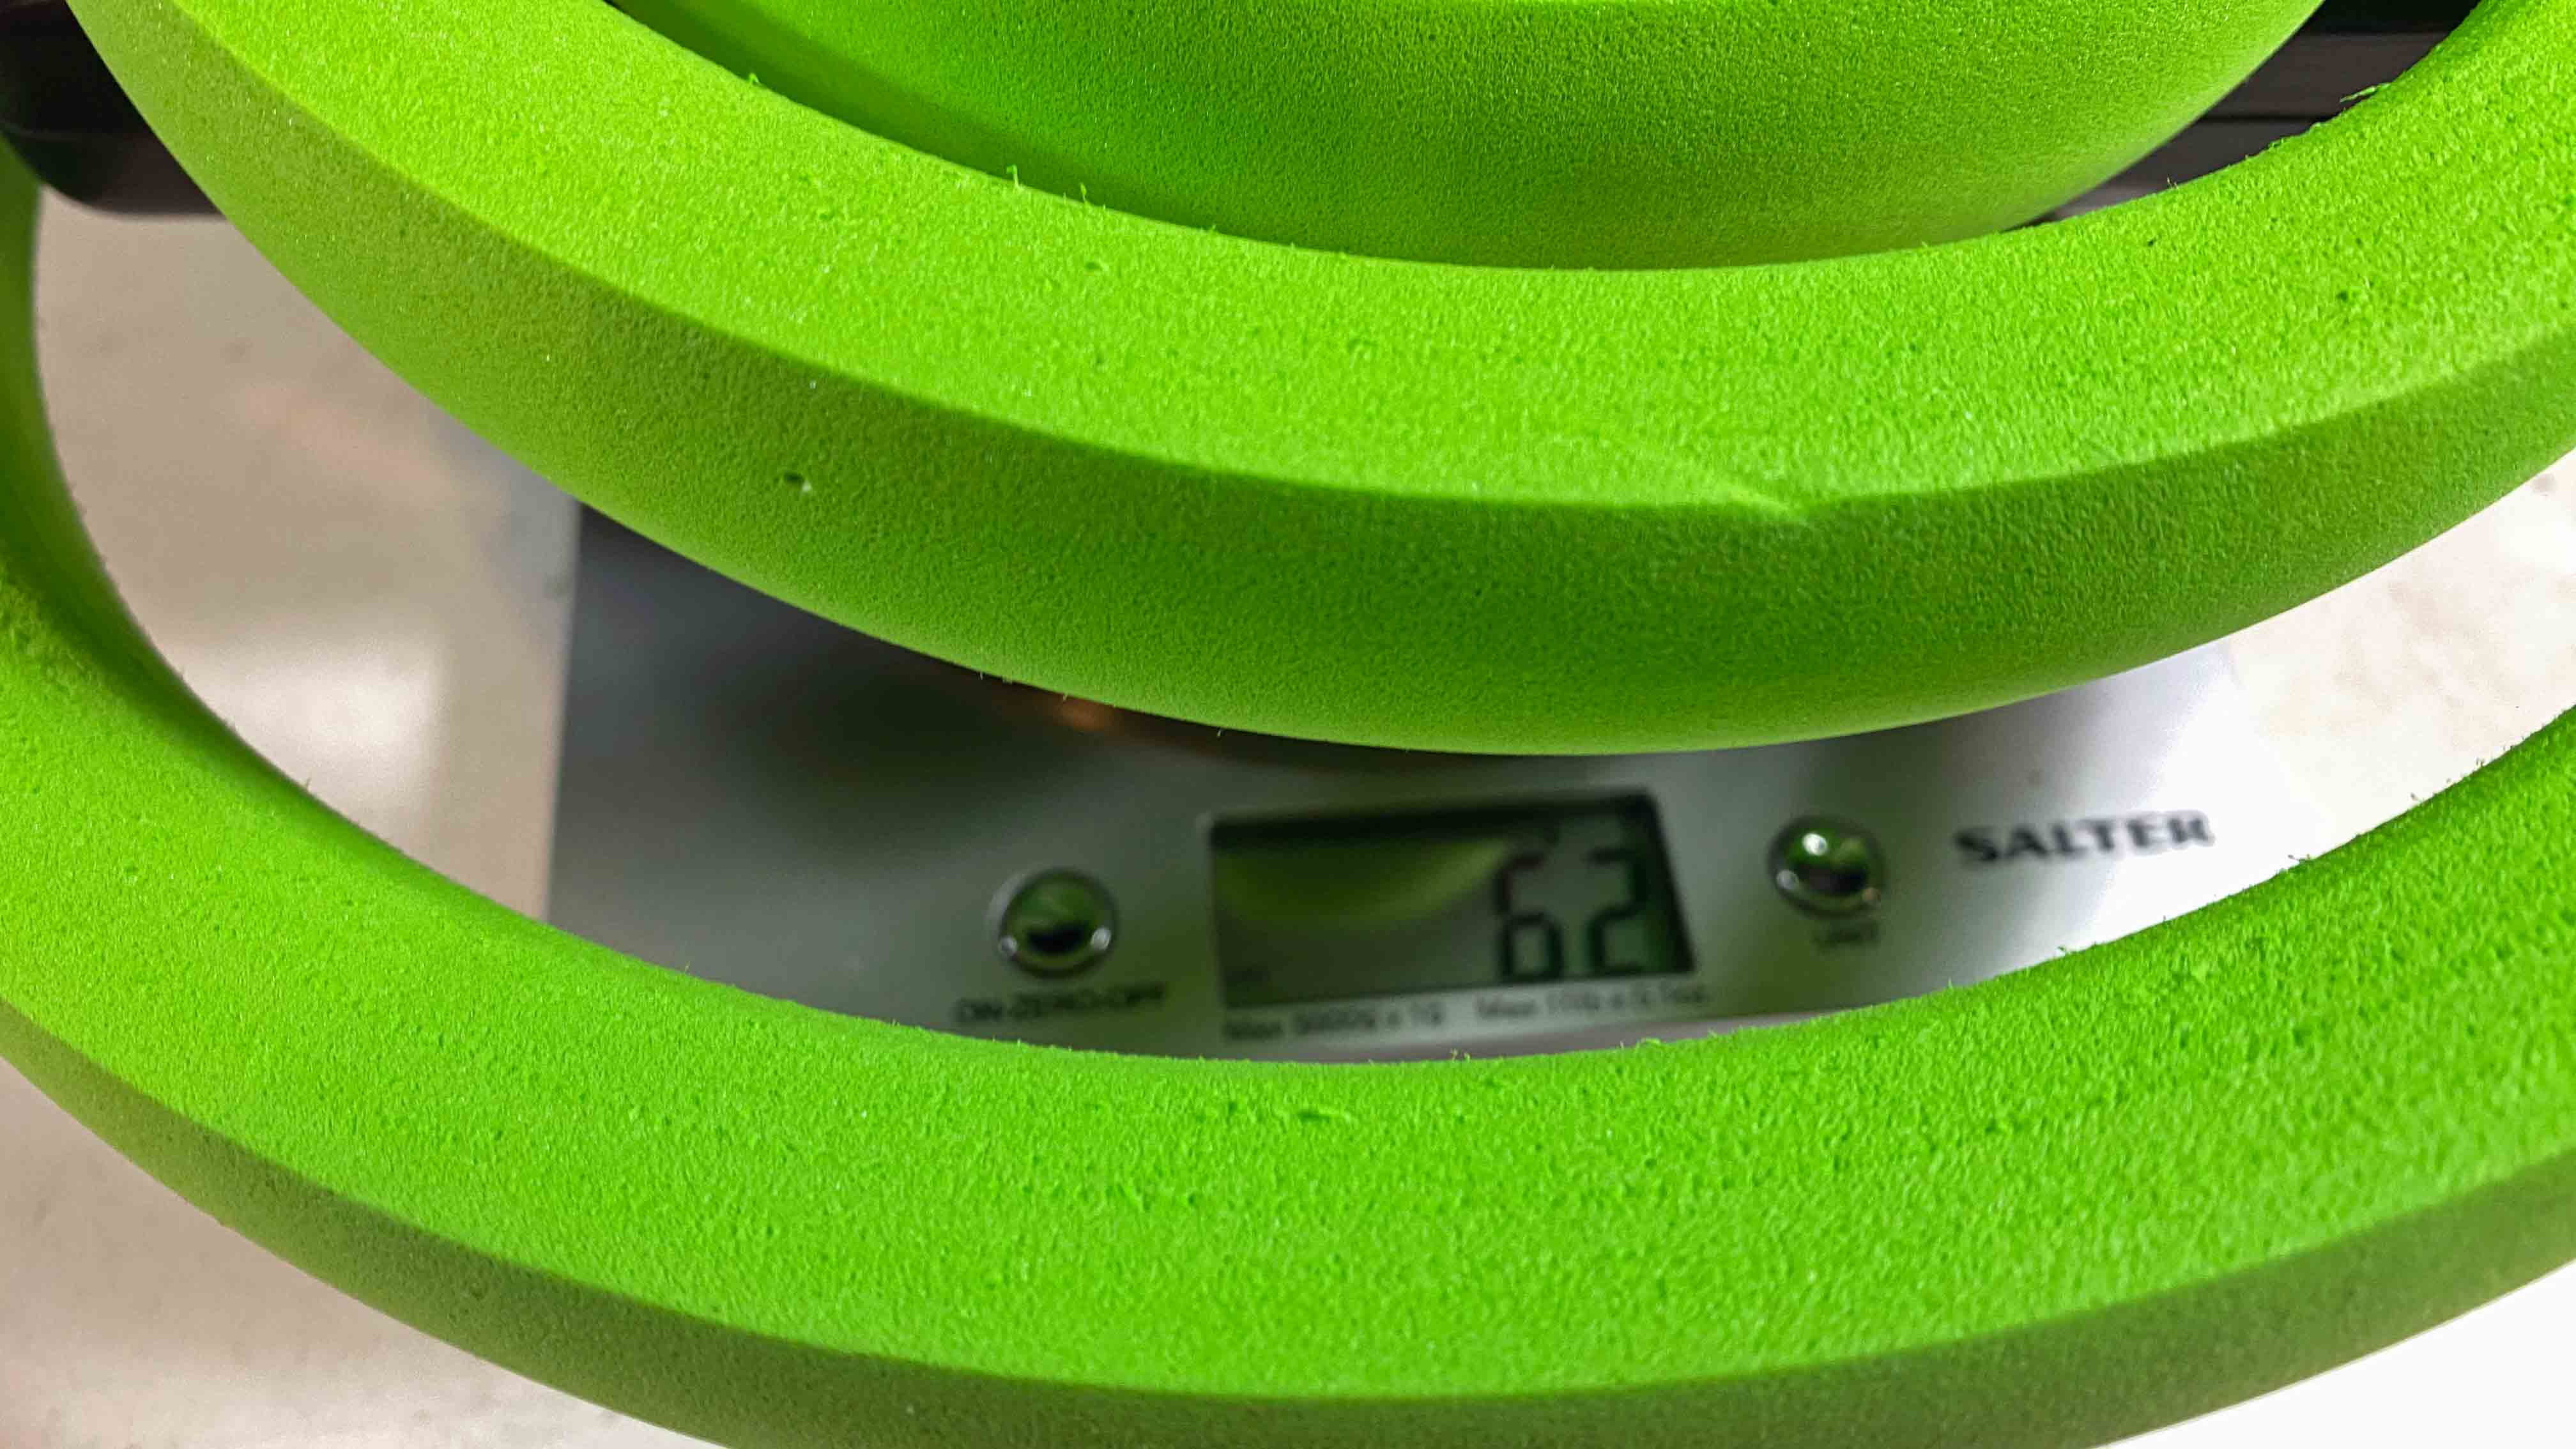
The kit will add around 70g of extra weight, which is minimal for the extra security they offer. You still run your normal tubeless sealant (ammonia-free types are best to avoid affecting the EVA liner), but you can get away with a smaller volume of sealant, as the tyre liner is now doing part of the heavy lifting of preventing punctures. There’s no getting away from the fact that the liners are a faff to fit (you’ll need super strong thumbs and some good tyre levers), but once fitted they should be trouble free and allow you much more leeway when running narrower tyres.
With liners fitted, you can get away with running lower pressures which offers dramatic improvement in grip and comfort. Try somewhere around 2bar/30psi as a starting point and slowly decrease it. Everyone’s ideal pressure will differ and it will depend on your personal riding style, type of trails you ride and body shape. On my monstercross (albeit with big volume tyres) I typically run 1.2bar/17psi and on my gravel bike with 40mm tyres I generally run 1.7bar/25psi.
Once you have your tyres sorted, what else can you do to improve comfort? The next thing to think about is contact points, particularly your hands. Thicker bar tape is a brilliant place to start – it’s relatively cheap and will make a surprising difference. You can add gel pads under your tape or even double wrap it which is what pro road riders have historically done in races like the Paris-Roubaix. Next up the price ladder is a suspension stem. Not a cheap option and the extra movement is initially a little strange to get used to, but a suspension stem does an amazing job of taking the sting out of your ride. Finally you come to bars – a set of lightweight carbon bars is not a cheap fix, but will be the icing on the cake in terms of front end comfort.
Once you've sorted out comfort for the front of the bike, it's time to think about the rear - and perhaps more importantly, your rear! Since the early 1990s you've been able to buy a suspension seat post for mountain bikes, but after some initial success they seemed to fade away. With the rise in popularity of gravel bikes though suspension seat posts are back, only this time they are much better engineered. This one offers up to 20mm of movement, but without adding too much weight, complexity or requirement for complicated servicing.
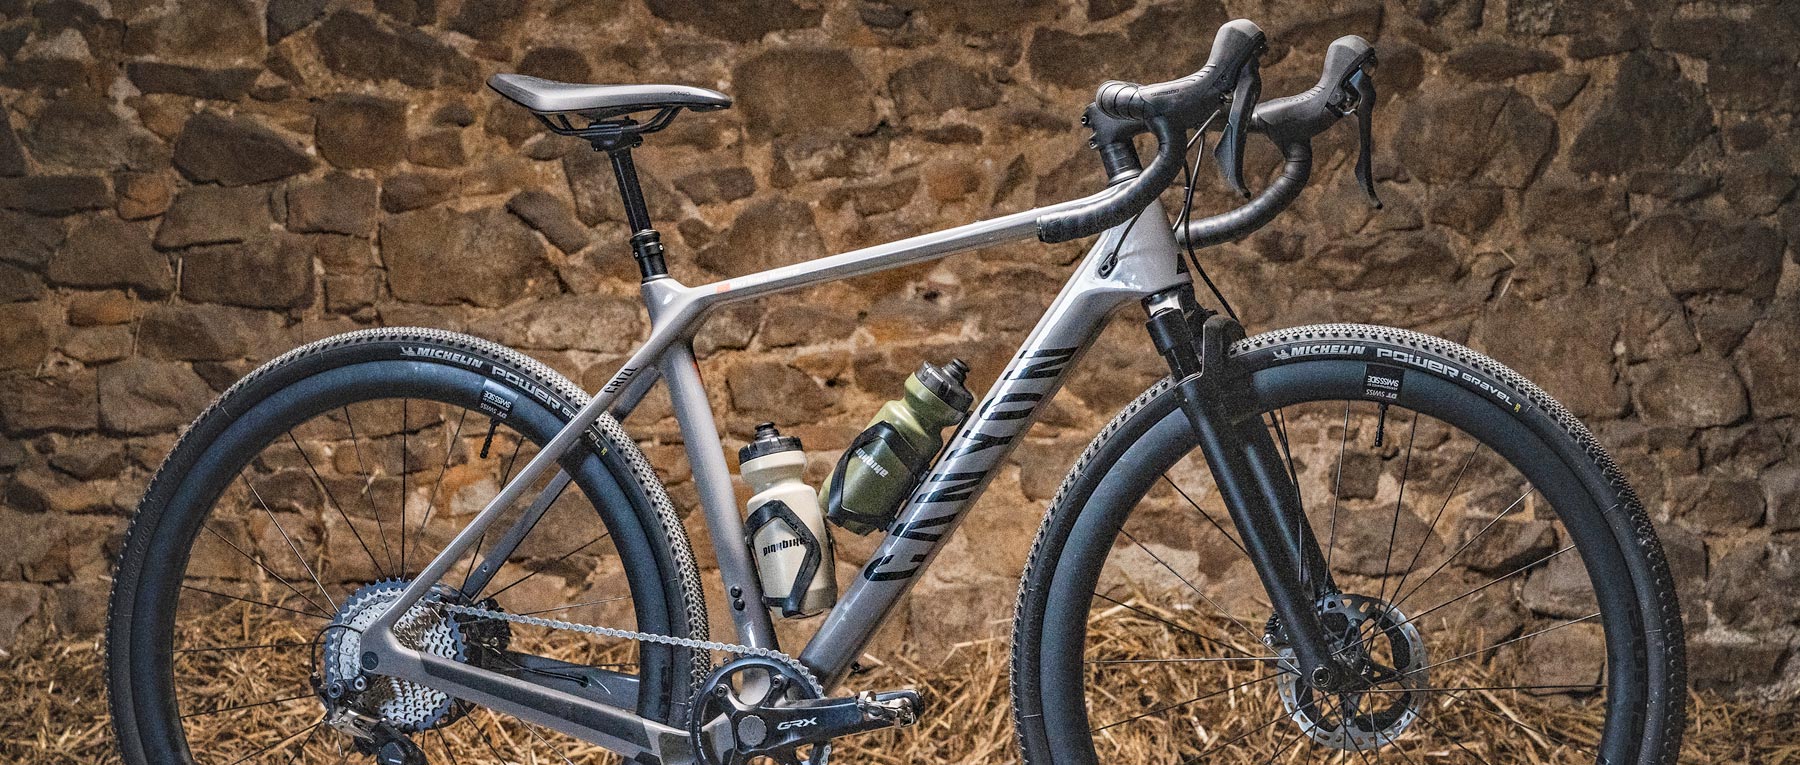
Photo courtesy of Matt Wragg
Although it’s not directly offering the rider any mechanical comfort, a dropper post allows you to lower your seat and use your legs more efficiently as suspension which definitely helps soak up the bumps.
It also leads us neatly onto the rider….
Rider
The biggest way to improve rider comfort on gravel rides is you. You sometimes see inexperienced riders gripping onto the handlebars for grim death, their knuckles white, veins standing up and eyeballs nearly popping out. All that will happen if you ride like this is you’ll get rapidly fatigued (and probably get pinged off your bike the first time you hit an unexpected obstacle). Instead, try to relax your upper body, consciously make the effort to drop your shoulders and bend your legs/arms to allow them to work as natural suspension.
Even how you position your hands on the bars will make a difference. You will often see pro road riders riding cobbles with their hands in the centre of the bars, known as riding 'on the tops'. They will have dropped their elbows and will be using their bent arms to soak up the vibrations and this is a great body position to try and emulate.
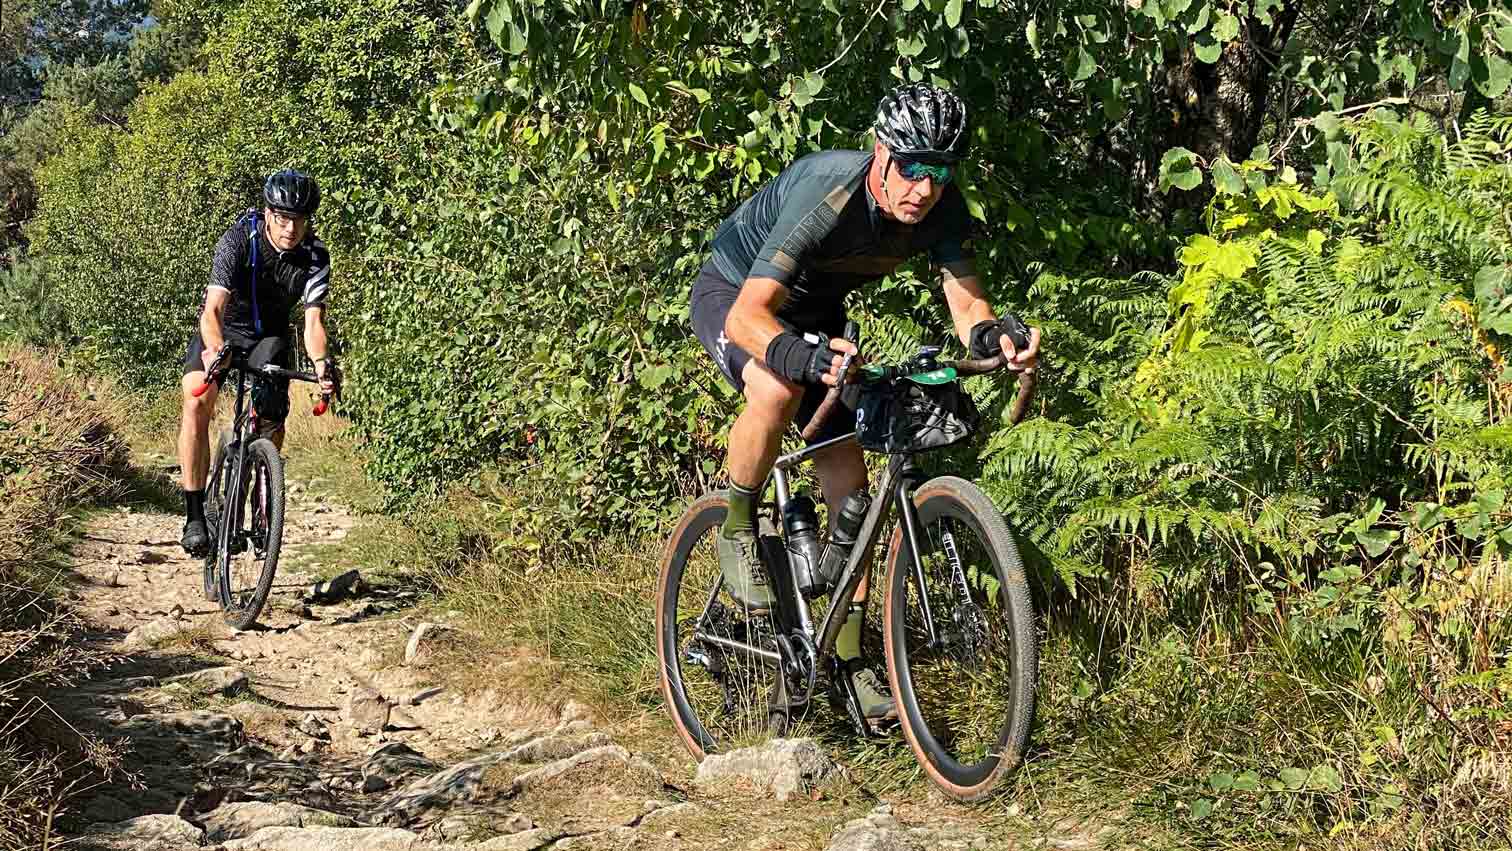
As well as consciously trying to relax, remember to keep your head up and look where you want the bike the go. A typical head weighs around 5kgs and moving it around has a dramatic effect on your overall ‘fit’ on your bike. If you let your head drop, not only does this restrict your vision of what obstacles are ahead of you on the trail, it also pushes your centre of gravity forwards and puts more weight on your hands and arms, which will lead to greater fatigue. The faster you are riding or the more technically demanding the trail is, the more you will benefit from lifting your head. Try and remember - head up, shoulders down, arms bent and you’ll get the most comfort you can out of your body.
Brain
There’s a surprising amount of comfort to be extracted from your ride by using your mental powers more efficiently. The two biggest mental tasks you should try and achieve are to think smooth and to be confident. If this was an algebra lesson we would say that comfort = smoothness + confidence (body position*bike set-up). Something as simple as always scanning the trail in front of you and making sure you’re selecting the smoothest line makes a huge difference to how comfortable you’ll find the ride.
Where there is a choice of different lines, it’s a bit like chess or snooker that you’re always needing to think one step ahead – not only looking for the smoothest line immediately in front of you, but also what’s next and next and next. You might need to repeatedly switch from one line to another in order to find the smoothest route.
Being confident is our final top tip for increasing the comfort on your next gravel ride. Confidence comes from a mix of riding experience, having a good posture on the bike and trusting in your bike set-up. Thinking confident will often help you relax, which in turn means you’re likely to think more clearly and so make better line choices, which results in a more comfortable ride.
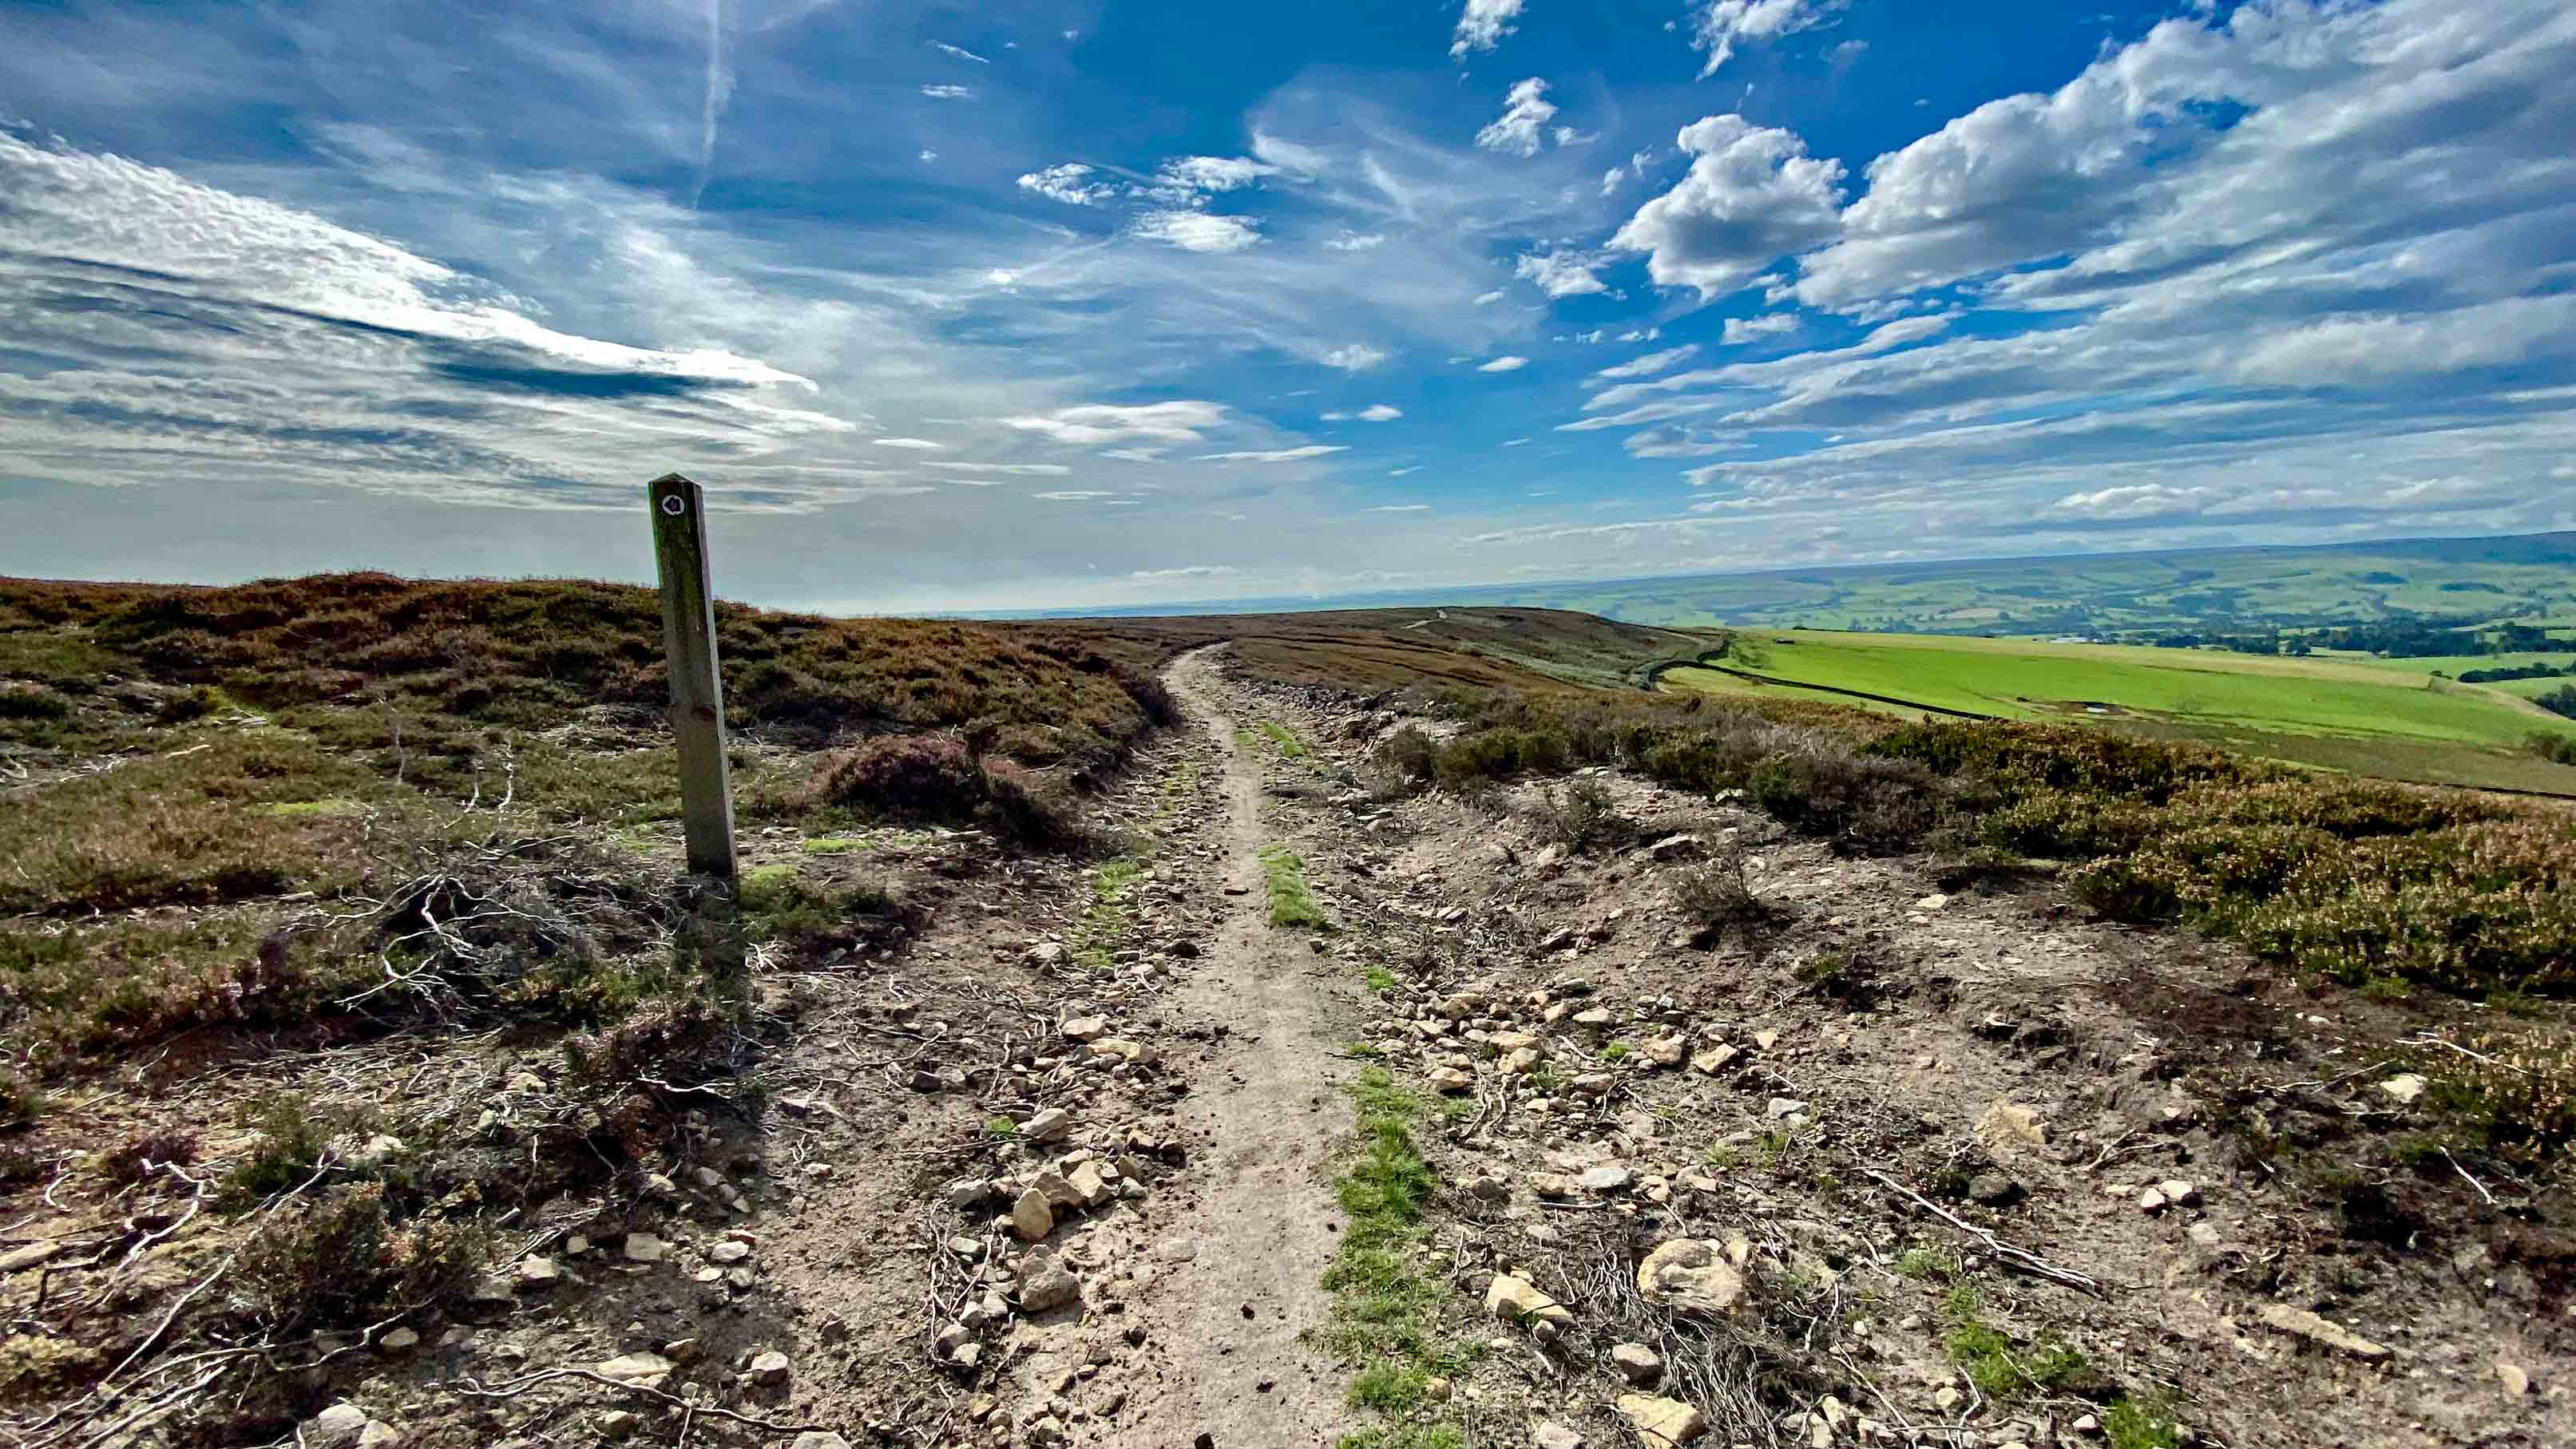
While our top tips for smoothing out your gravel ride might not inspire you to take on trails quite as rooty as this any time soon, they will hopefully result in more comfortable rides, less punctures and more energy saved to help plan your next gravelly adventure.