This is a story of how two experienced home mechanics got pretty much got everything wrong on what should have been a fairly straight forward task. They somehow forgot to read the instructions, relied on "old skool" skills rather than learning how to do the job properly and thought that brute force (with a smidgin of luck) would be enough to get the results they wanted.
If you want the TL;DR summary, their story has a happy ending and they rode off into the sunset on a sun-dappled gravel road, but it was perhaps more by luck than judgement. The motto of the story kids is "always read the manual......"
Read on if you'd like to find out how not to do it.....
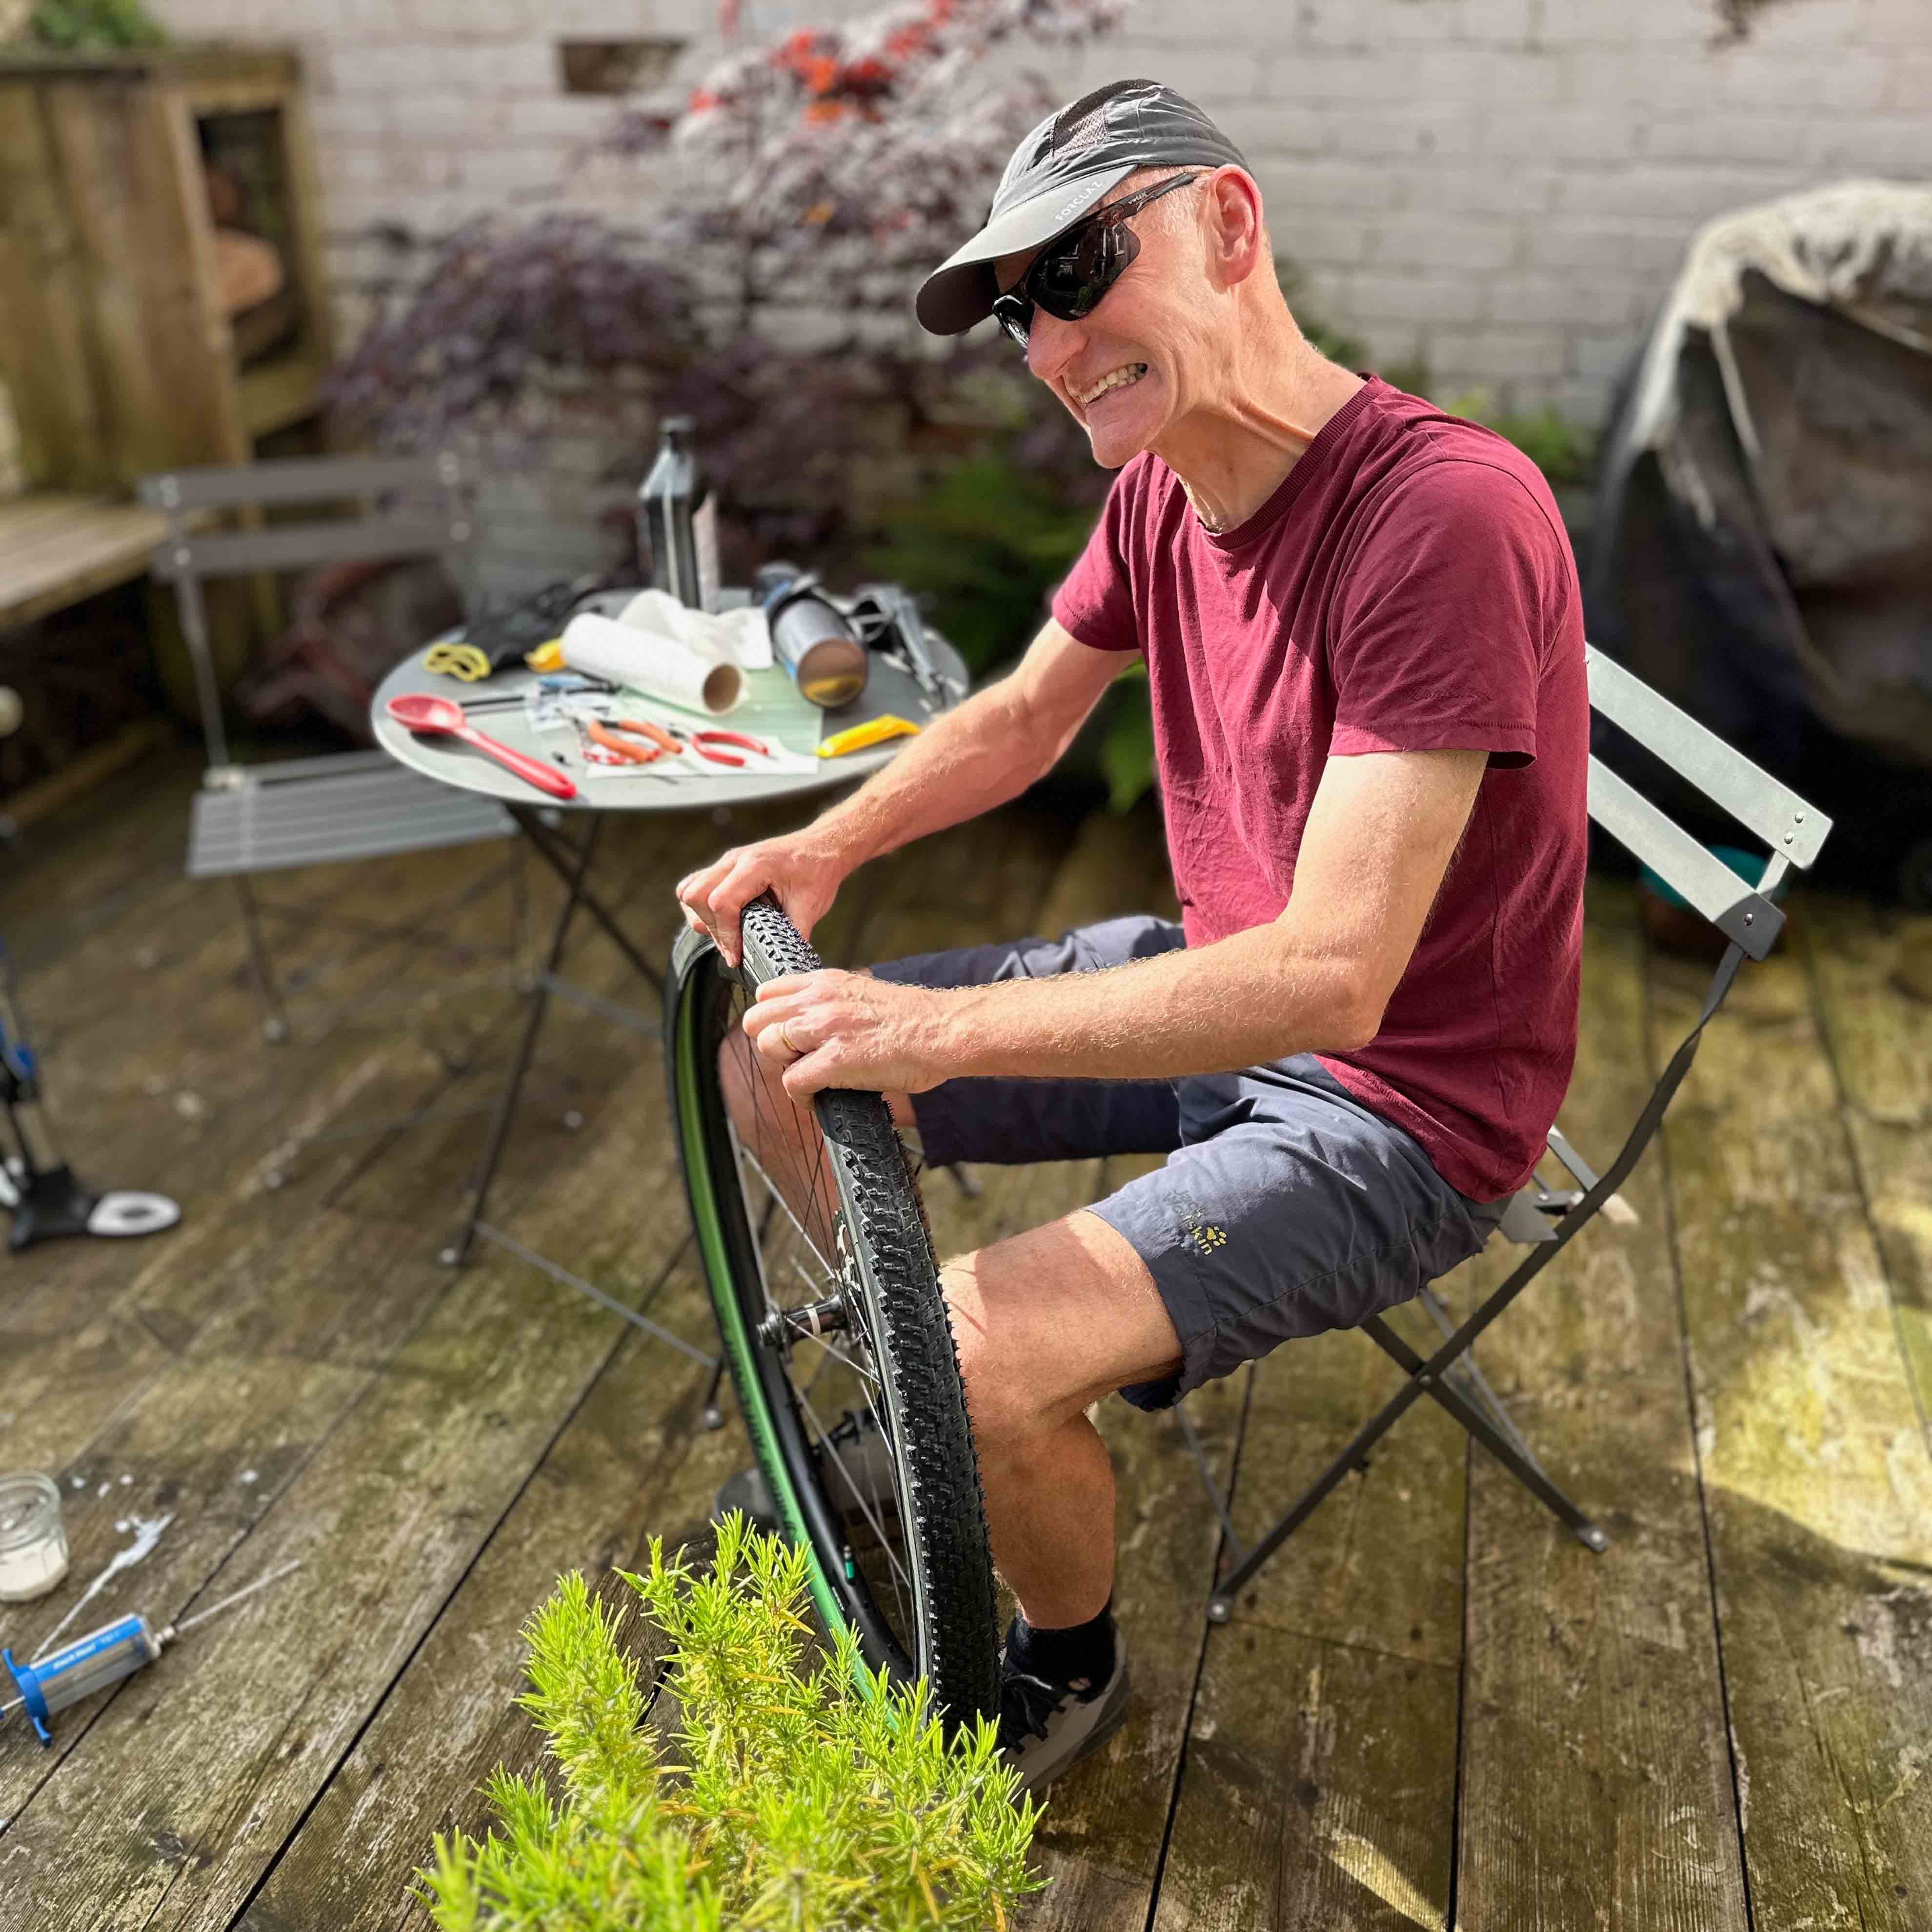
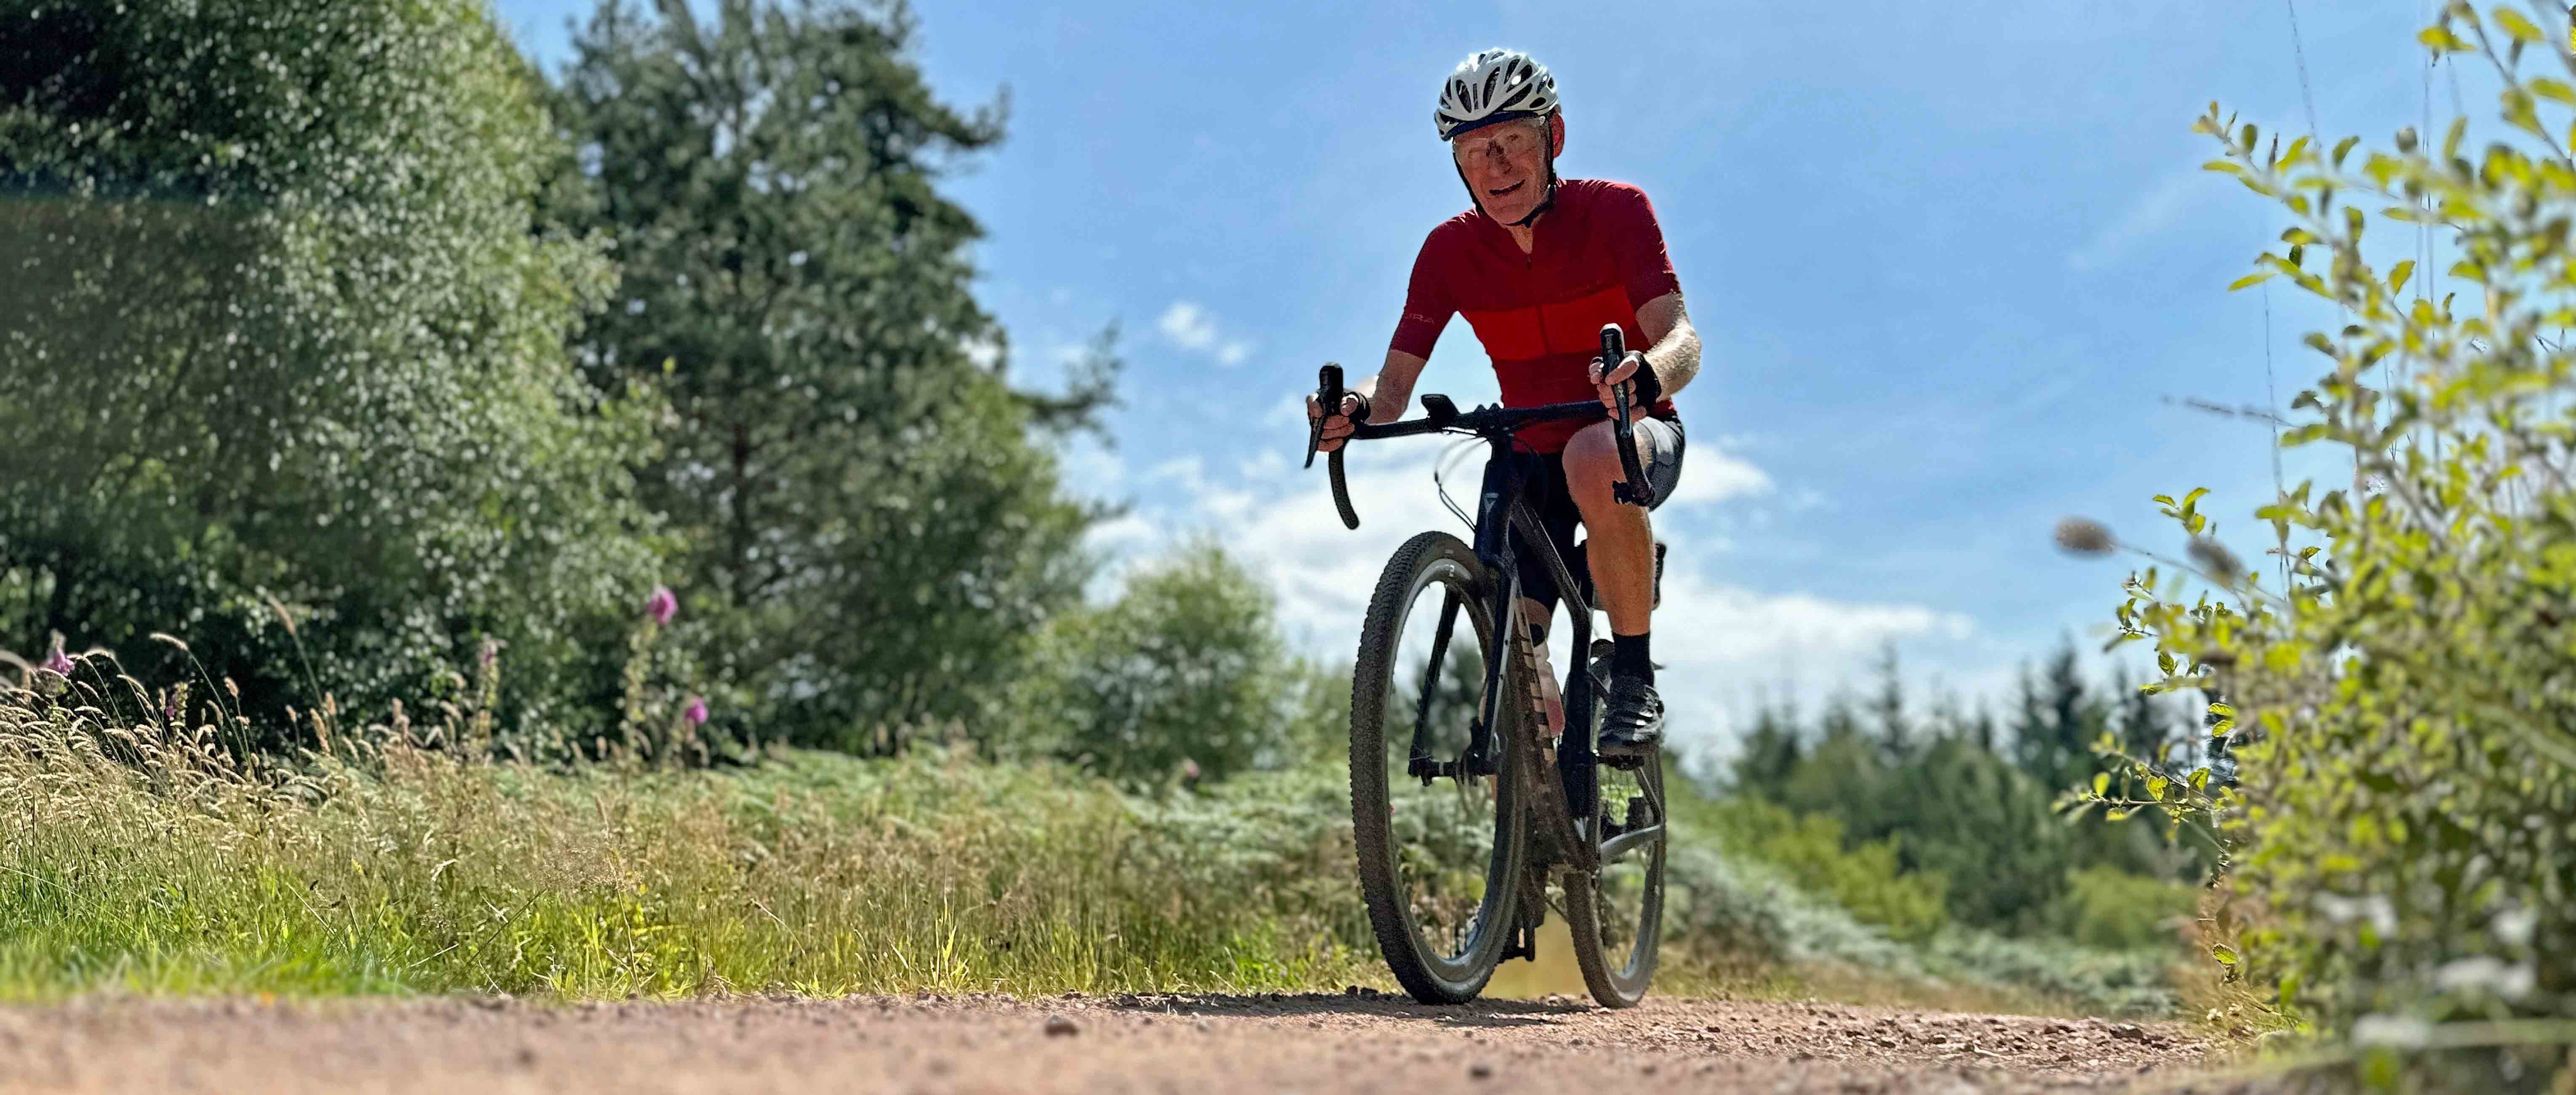
There’s a very distinctive, rubbery popping sound and the final section of the tyre bead slides gently over the rim wall and snaps into place. The look on Francis’ face is a mix of elation and relief. “At least that’s one done” he said “And I think now I know the knack for doing the other one too”. Unusually for summer 2024, the sun was beating down on us and we were both a little more sweaty and tired than we had perhaps been expecting. After all, our job had been “just” to fit two brand new tyres and gravel tyre liners onto Francis’ carbon gravel wheels. My plan was to document the process and then put together a “How To” piece, so that everyone could see that it was straight forward and didn’t require the services of a fully trained neutral support team. Unfortunately though, things didn’t go quite as smoothly as we hoped they would!
Starting as we mean to go on
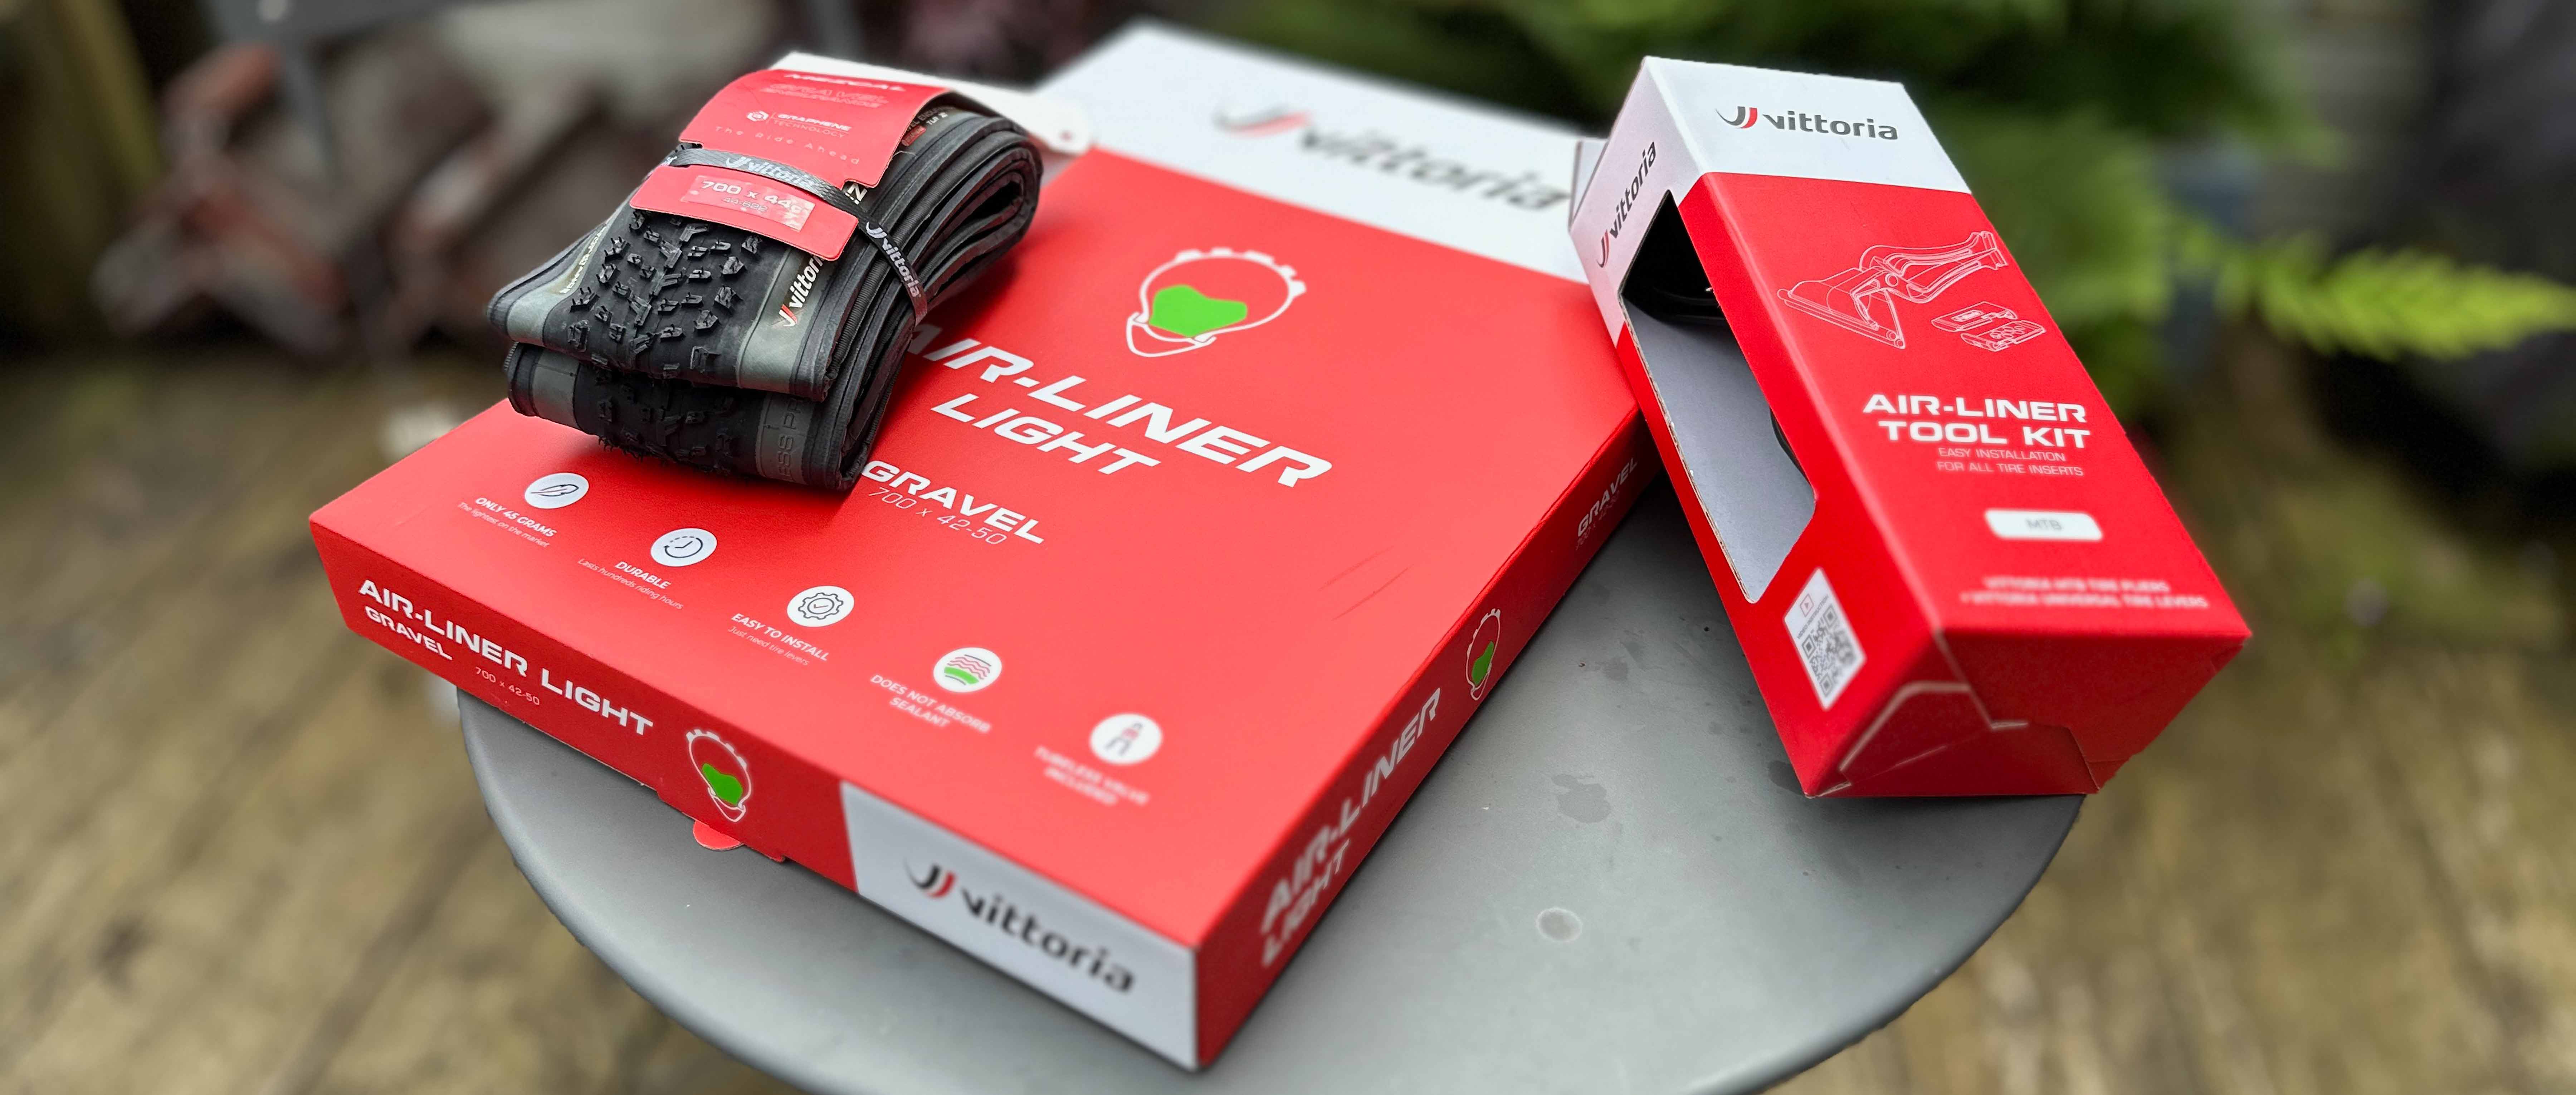
Things had started off really well. Vittoria had very kindly offered me a pair of their brand new Air-Liner light gravel tyre liners and a pair of their 700x44mm Mezcal Gravel Endurance tyres to go with them. My gravel bike didn’t have enough clearance to fit the tyres, so I offered them to Francis with the caveat that he had to fit them while I documented the process! A large box of goodies duly arrived – a pair of tyres, a pair of tyre liners and an Air-Liner tool kit which look like a giant set of pliers. We selected our day carefully based on the weather forecast and woke up to find bright sunshine, something which has been sorely lacking in the UK this summer. I laid out the tools, fired up the coffee machine and put the chairs in the sunshine, ready for Francis’ arrival.
The first job was to remove his old tyres, which was straight forward. Seeing as he had only recently fitted them, we decided to re-use the tubeless sealant and with a flourish, Francis pulled an old jam jar out of his pack – perfect for storing the fluid ready for re-use. He used a Park Tools tubeless syringe to remove the old fluid.
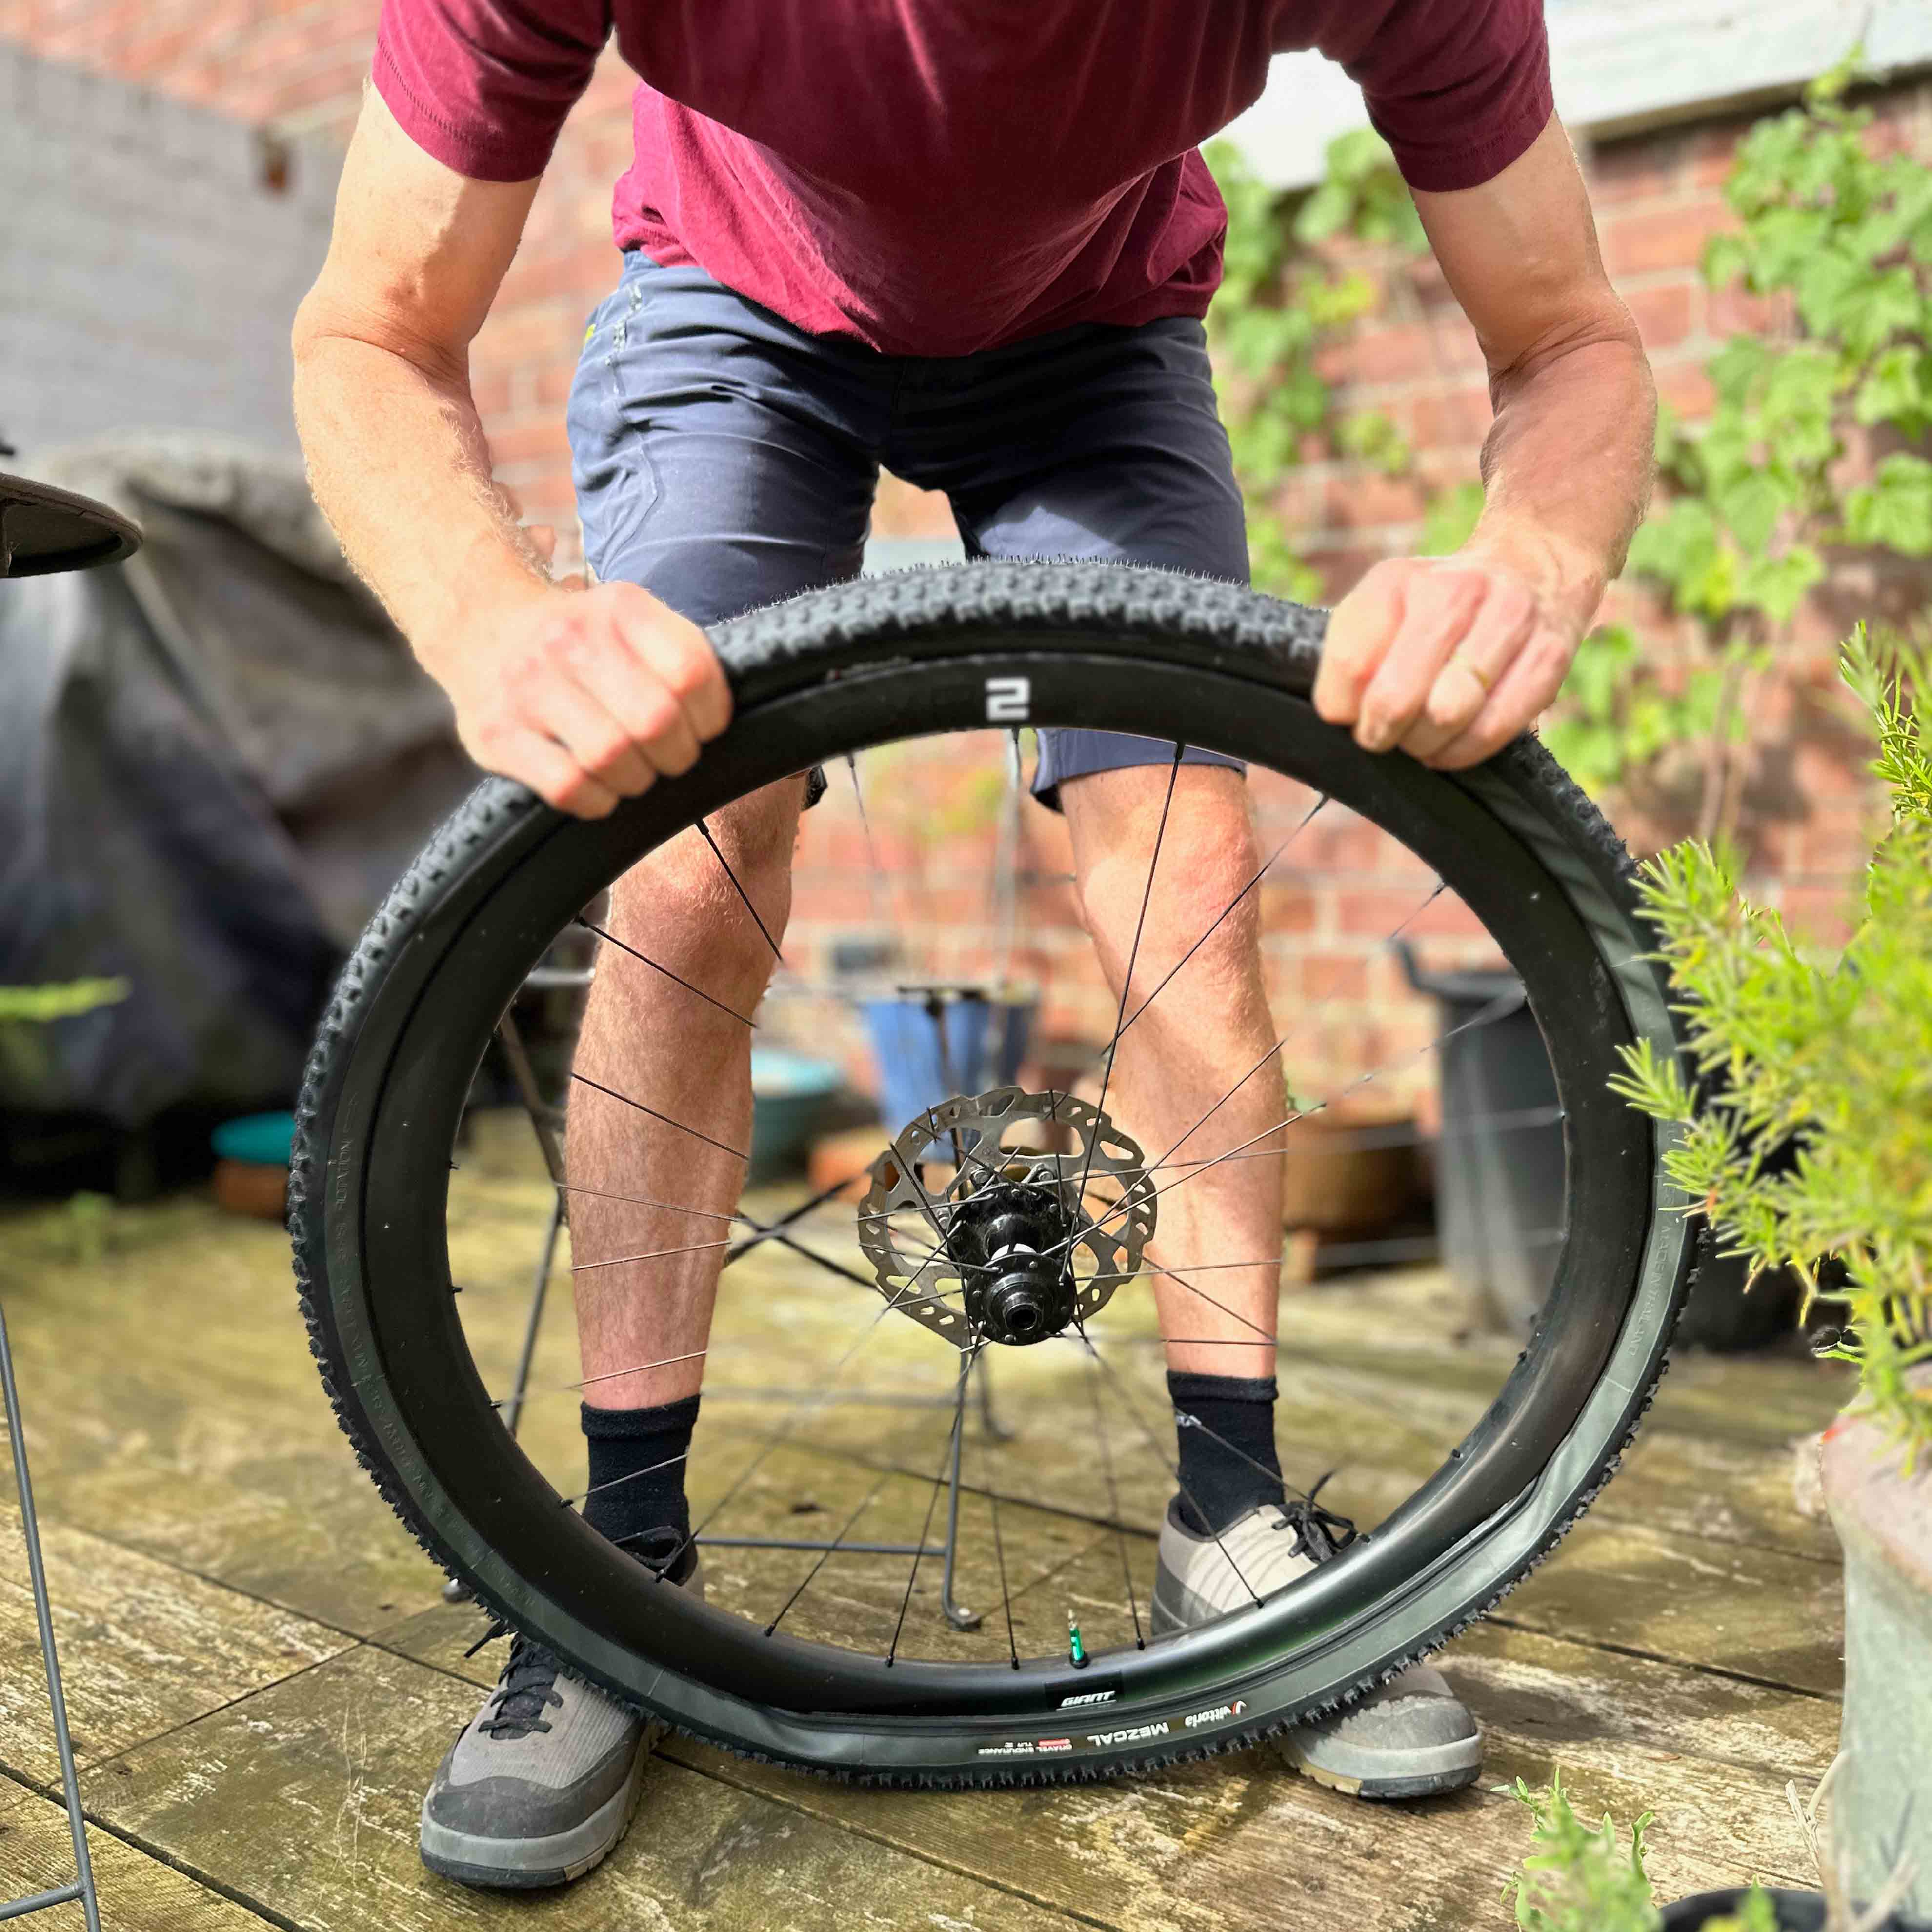
After giving the rim a quick wipe over to remove any old sealant residue and fitting the Vittoria tubeless valve, Francis “dry fitted” the new tyre onto the wheel. It was a snug fit but went on without needing to resort to brute force or swearing. Next, he fitted the head of the track pump and the tyre inflated perfectly and ‘popped’ nicely into place. So far, so good. The wheel was then positioned in the sunniest spot we could find and left to warm up slightly. You might wonder why we did this? The answer is to stretch the bead of the tyre slightly and give it the maximum chance of fitting easily when we inserted the liner.
Next, Francis popped open the tyre on one side, gave the rim liner a gentle stretch to make it as circular as possible and inserted it into the tyre. The rim liner comes with small holes drilled into it at regular intervals and Vittoria recommend that you line up one of these holes with the valve.
Despite the happy look on Francis’ face, it was from this point onwards that things started to go wrong and we really only had ourselves to blame!
Francis and I both have decades of experience as home mechanics and will happily turn our hands to most things to do with bike maintenance and repair. While experience is great for some jobs, it also imbues the “user” with a false sense of confidence and it meant we forgot one very key aspect of anything techie – no matter how confident/experienced/knowledgeable you are, it’s always worth reading the manual (or more accurately, watching the carefully crafted video on YouTube that the manufacturers have gone to the effort of creating…)
When fitting a new tyre, the basic aim is to try and get the tyre to fit uniformly all the way round and importantly, to get the tyre bead to sit in the “well” in the centre of the rim during the fitting process. The normal process is to start opposite the valve and work your hands away from each other in small steps, lifting the tyre slightly and encouraging it to sit in the rim well. As you work your way around the tyre, you should end up at the valve and have a small amount of “slack”, which allows the tyre to pop neatly onto the rim with a satisfying pop.
Brute force and ignorance
What’s different about fitting a tyre plus a rim liner is that the rim liner takes up quite a lot of the volume inside the tyre so you essentially have much less wiggle room for getting the tyre to sit in the correct place. Francis did the normal trick of working his way around the tyre’s circumference, lifting and gently stretching the tyre to get it to fit, but each time he arrived next to the valve there didn’t seem to be enough “slack” and the tyre appeared to be too tight to pop onto the rim. Some tyre/rim combinations are known to be quite tight, so we assumed this was the case and continued with our tried and tested method, but each time arrived at the same conclusion – even using tyre levers, we couldn’t get the last section of tyre to pop onto the rim.
We went to Plan B and tried spraying a fine mist of water mixed with a few drops of washing up soap onto the tyre bead to make it more slippery.
Francis also used Vittoria’s Air-liner Tool Kit and worked his way slowly around the circumference of the tyre, lifting and stretching slightly the bead, but when he arrived back beside the valve, no joy – the tyre was still stubbornly resisting fitting onto the rim.
If at first you don’t succeed…
Next, Plan C. We tried using a toe strap as a “third hand” to hold the tyre onto the rim while Francis used a pair of tyre levers to try and ease the tyre on. This is an old mechanic’s trick, but should be done with caution, particularly on carbon rims and is not something that Vittoria recommend. And it still didn’t work. The last ten centimetres or so of the tyre bead stubbornly refused to go on.
Plan D involved one main component – patience. We stopped for a quick coffee and thought about the process. Old fashioned tyre fitting skills hadn’t worked. Brute force hadn’t worked. What did that leave? A better thought through process. Francis realised the key thing we weren’t getting right was that the bead wasn’t sitting nicely in the well in the rim. No matter how much pressure he tried to apply to the tyre, if it didn’t sit centrally there would never be enough slack and the expensive carbon rim would potentially end up paying the price of our over-enthusiastic use of too much pressure on a pair of tyre levers.
Instead, he carefully and slowly used his hands. He pinched and lifted the tyre, slightly wiggling the liner and almost massaging the tyre bead into the rim well. Then he would move a few centimetres around the tyre circumference and repeat the process. By the time he had worked his way around to the valve, the tyre and liner was sitting perfectly on the rim and it only needed the slightly additional pressure from the Air-liner tool and the tyre popped nicely onto the rim.
Learning from our mistakes
What would we do differently next time? The obvious improvement would have been to watch Vittoria’s instructional videos. They have created one on using their tyre levers and one on fitting the tyre liners. Ten minutes spent essentially “reading the manual” would have given us much better insight into what we needed to do, plus showed us the extra little tips that would have saved us a lot of hassle.
Second, learn how to use your tools correctly. Vittoria’s own tyre levers might appear simple at first glance are actually significantly cleverer than the ancient Pedro’s ones that I’ve used for decades. The end of one of the Vittoria levers is specifically shaped to help seat the tyre bead properly onto the rim. Just by knowing that fact in advance and following their guidance would have saved us a significant amount of time and effort.
Finally, brute force is basically never the answer to a bike maintenance issue. Much better to stop, make yourself a drink, think carefully about the process and then try and find a more nuanced solution than to crowbar your way to a solution, risking expensive damage to your bike and its components in the process.
All’s well that ends well?
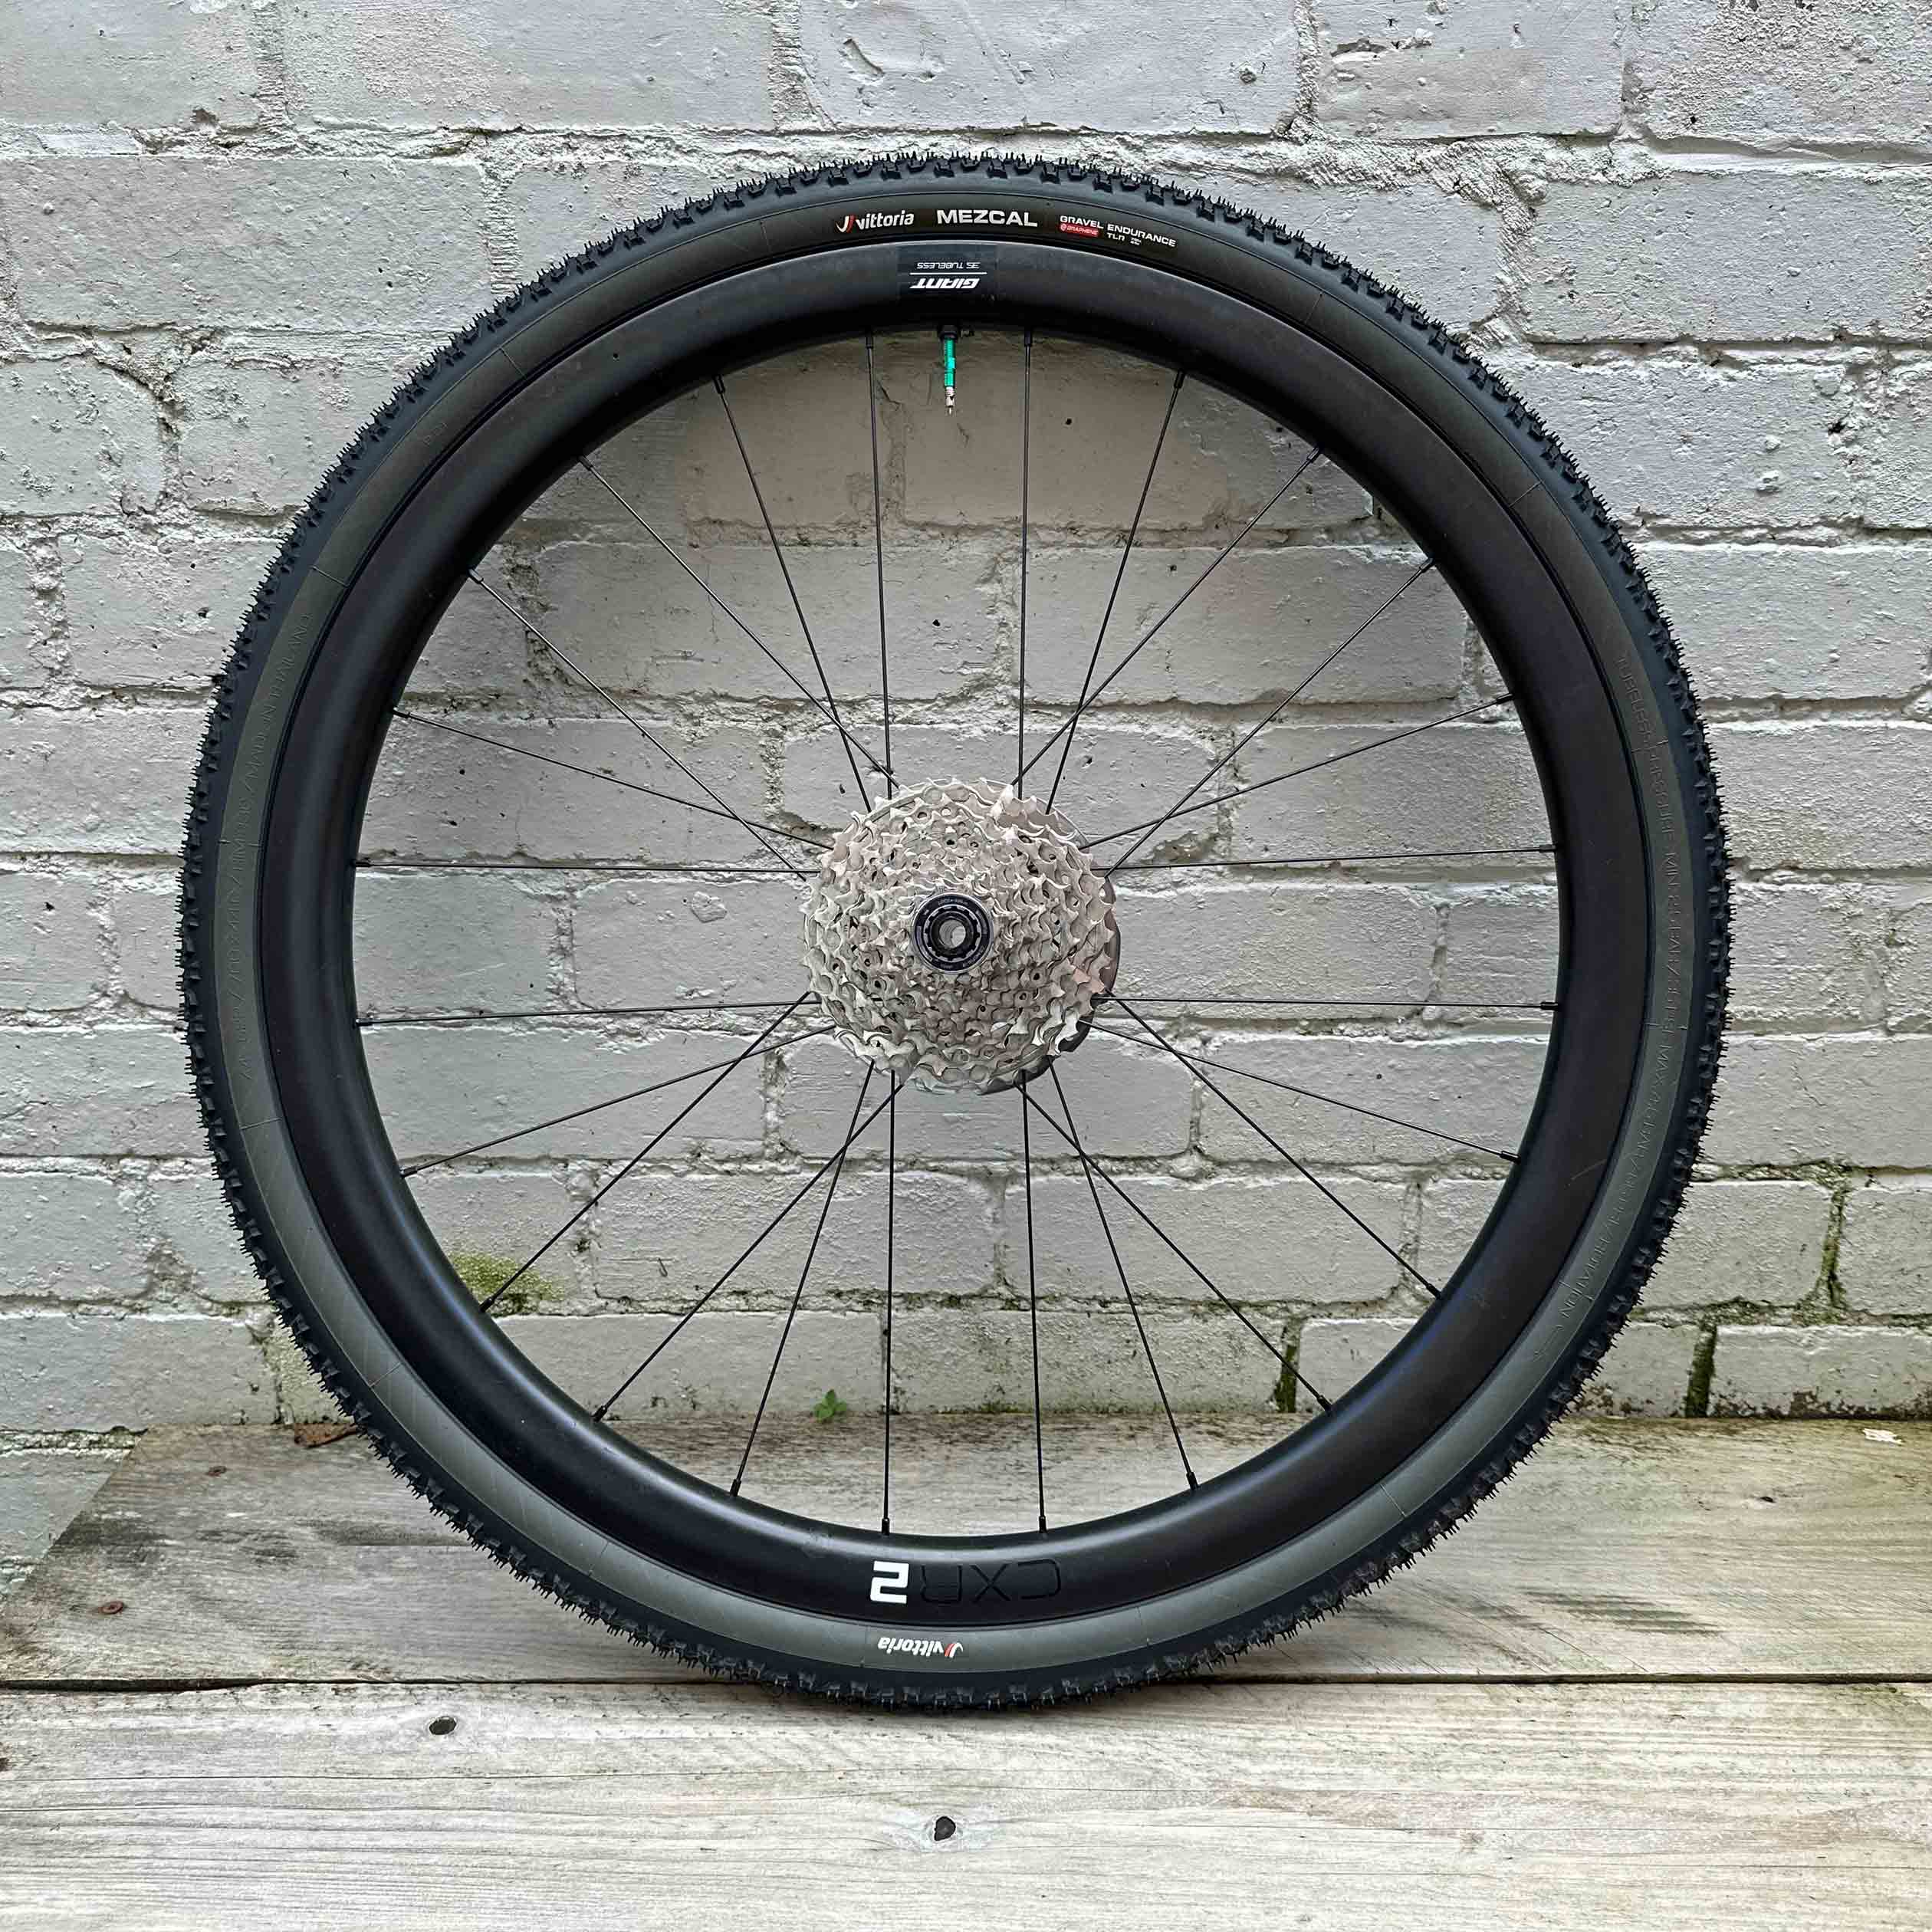
The good news in the end is that we got both tyres and liners fitted successfully and Francis was super happy with the improvement in ride quality. Although we made a complete hash of the fitting, the end result is that he can now run lower pressures, so he benefits from increased levels of grip and better comfort, while reducing his chances of getting a dreaded pinch puncture.
We skilfully manage to demonstrate how not to do it, but the end result was a success!