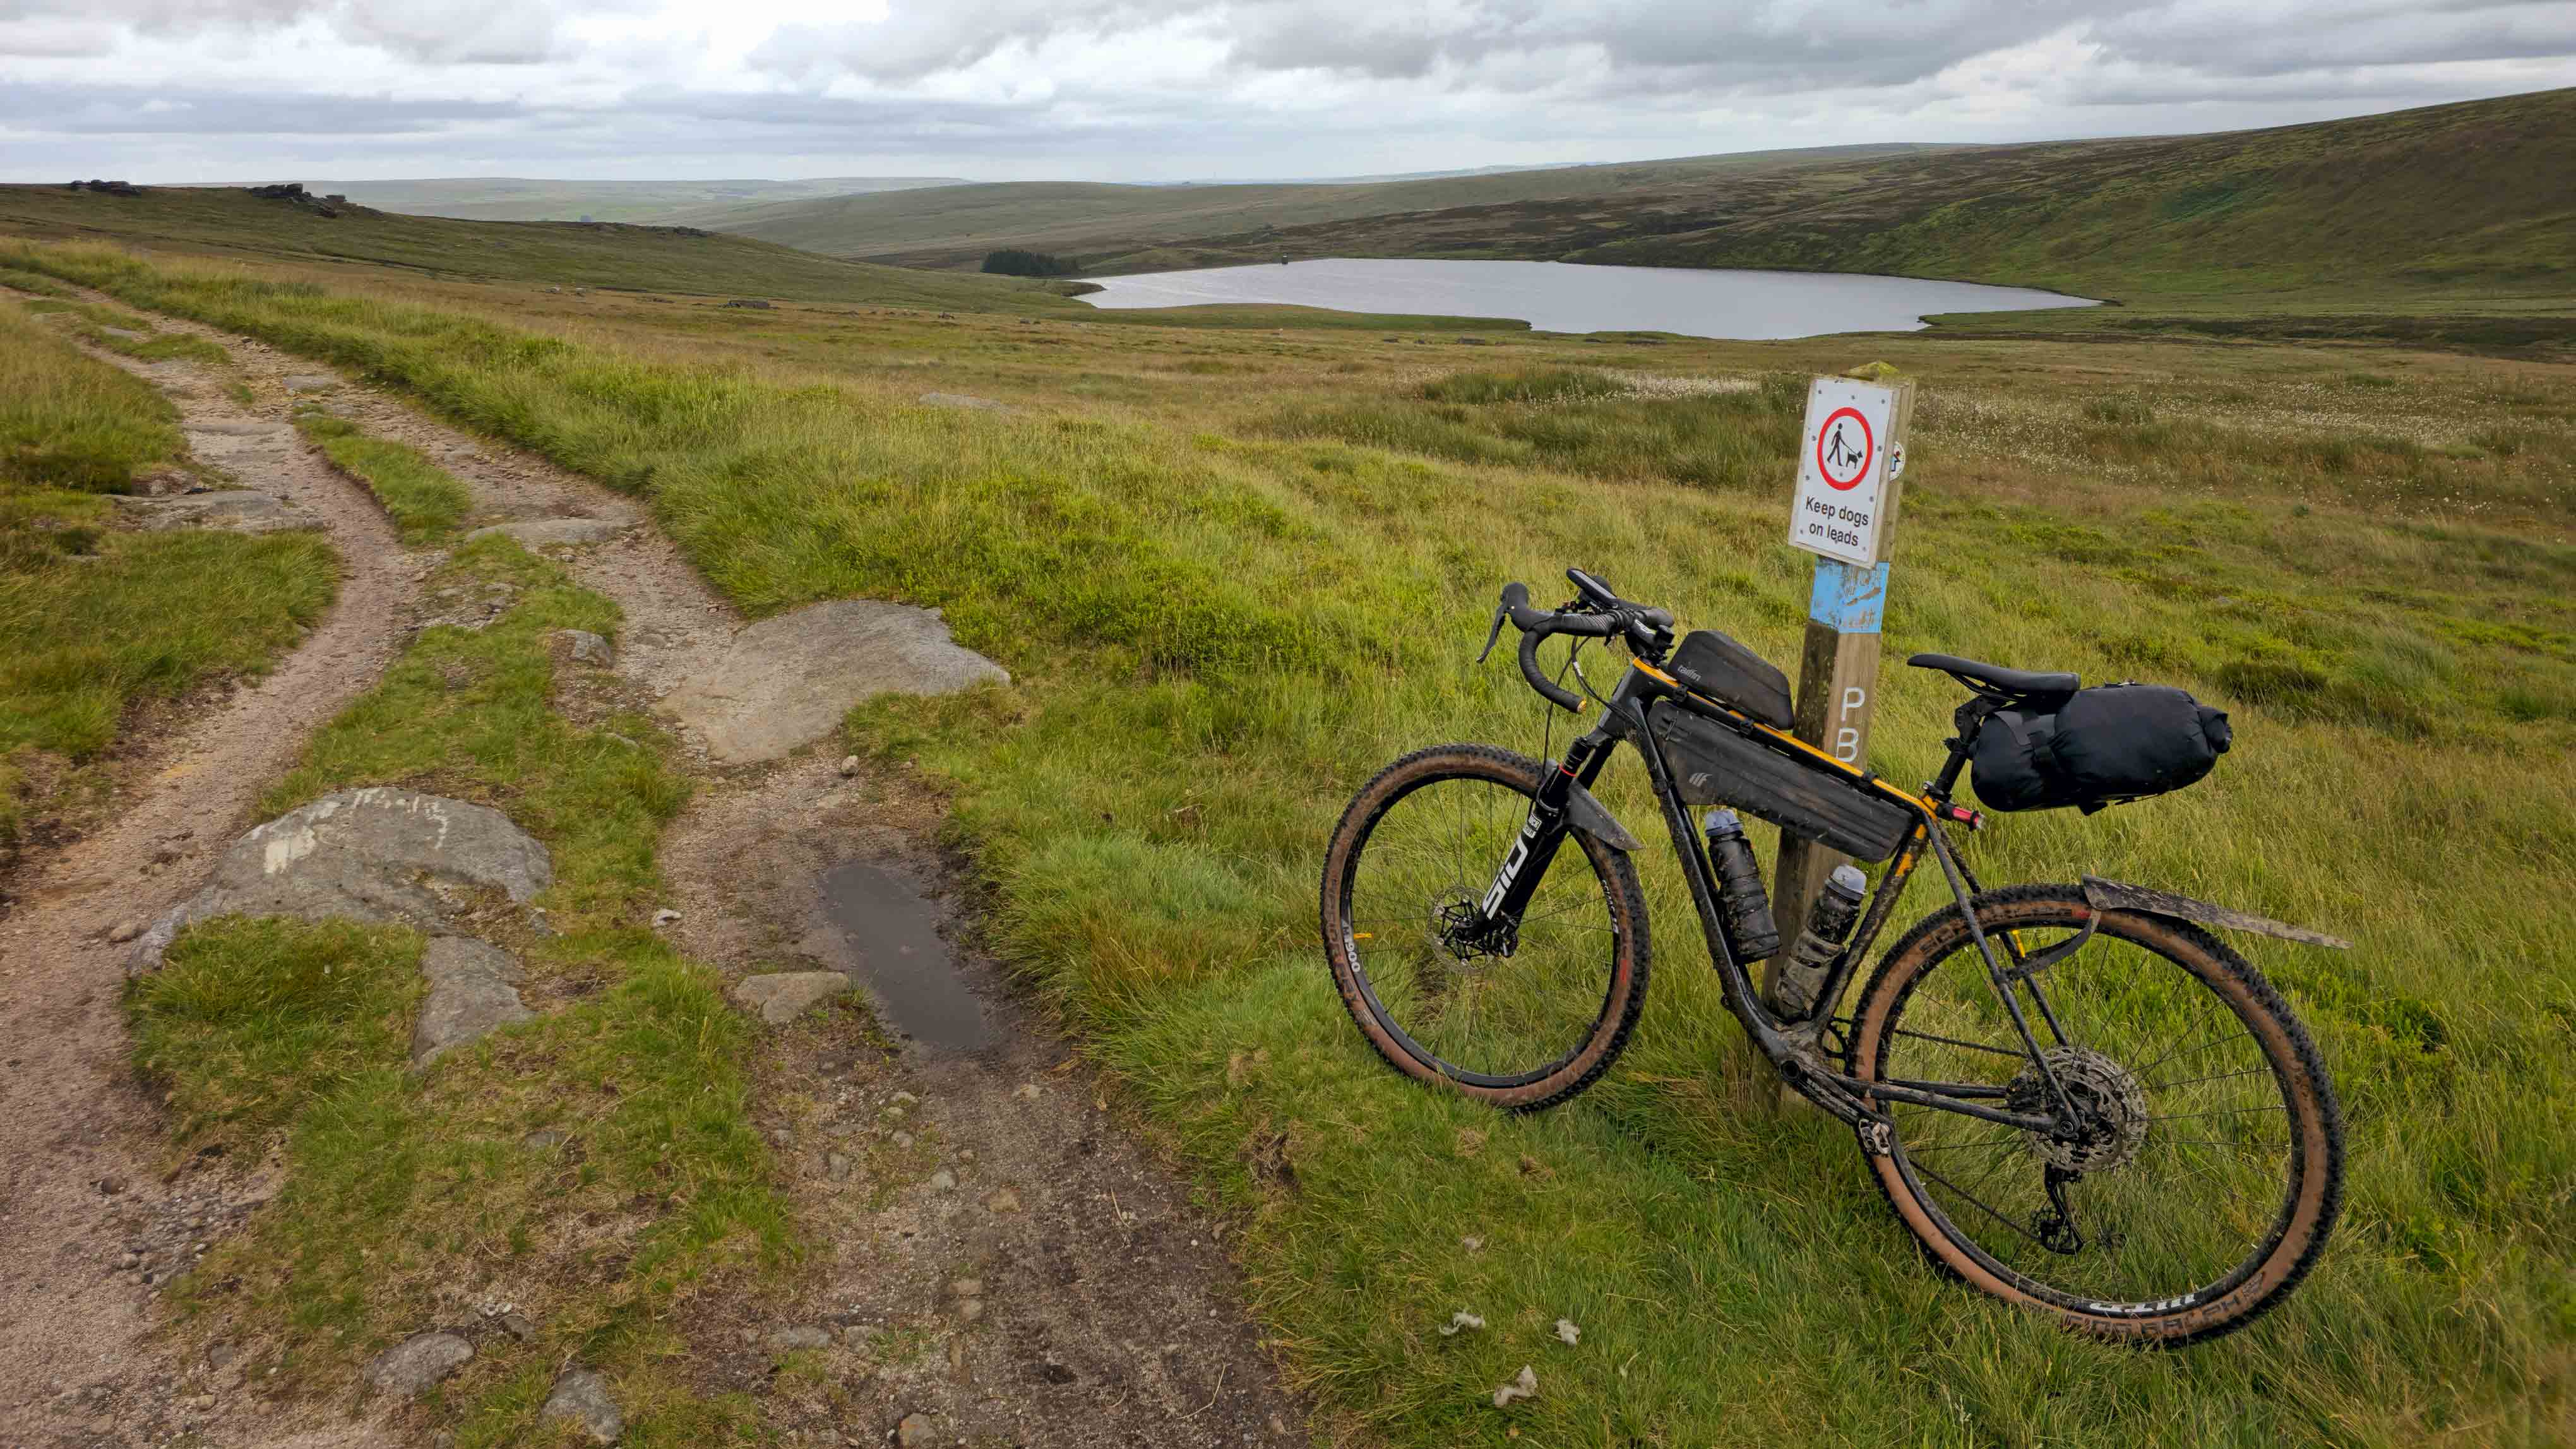
Header image courtesy of Connor Furness
We don’t generally run product tests on Gravel Union, but on this occasion, we’ve made an exception! Trying to make your gravel bike as comfortable as possible, while keeping it simple and low-maintenance is probably the holy grail, but is it achievable? Avid bikepacker and event organiser Valerio Stuart was offered a Redshift Shockstop Seatpost to try out and has put together a great discussion of why it’s worth considering.
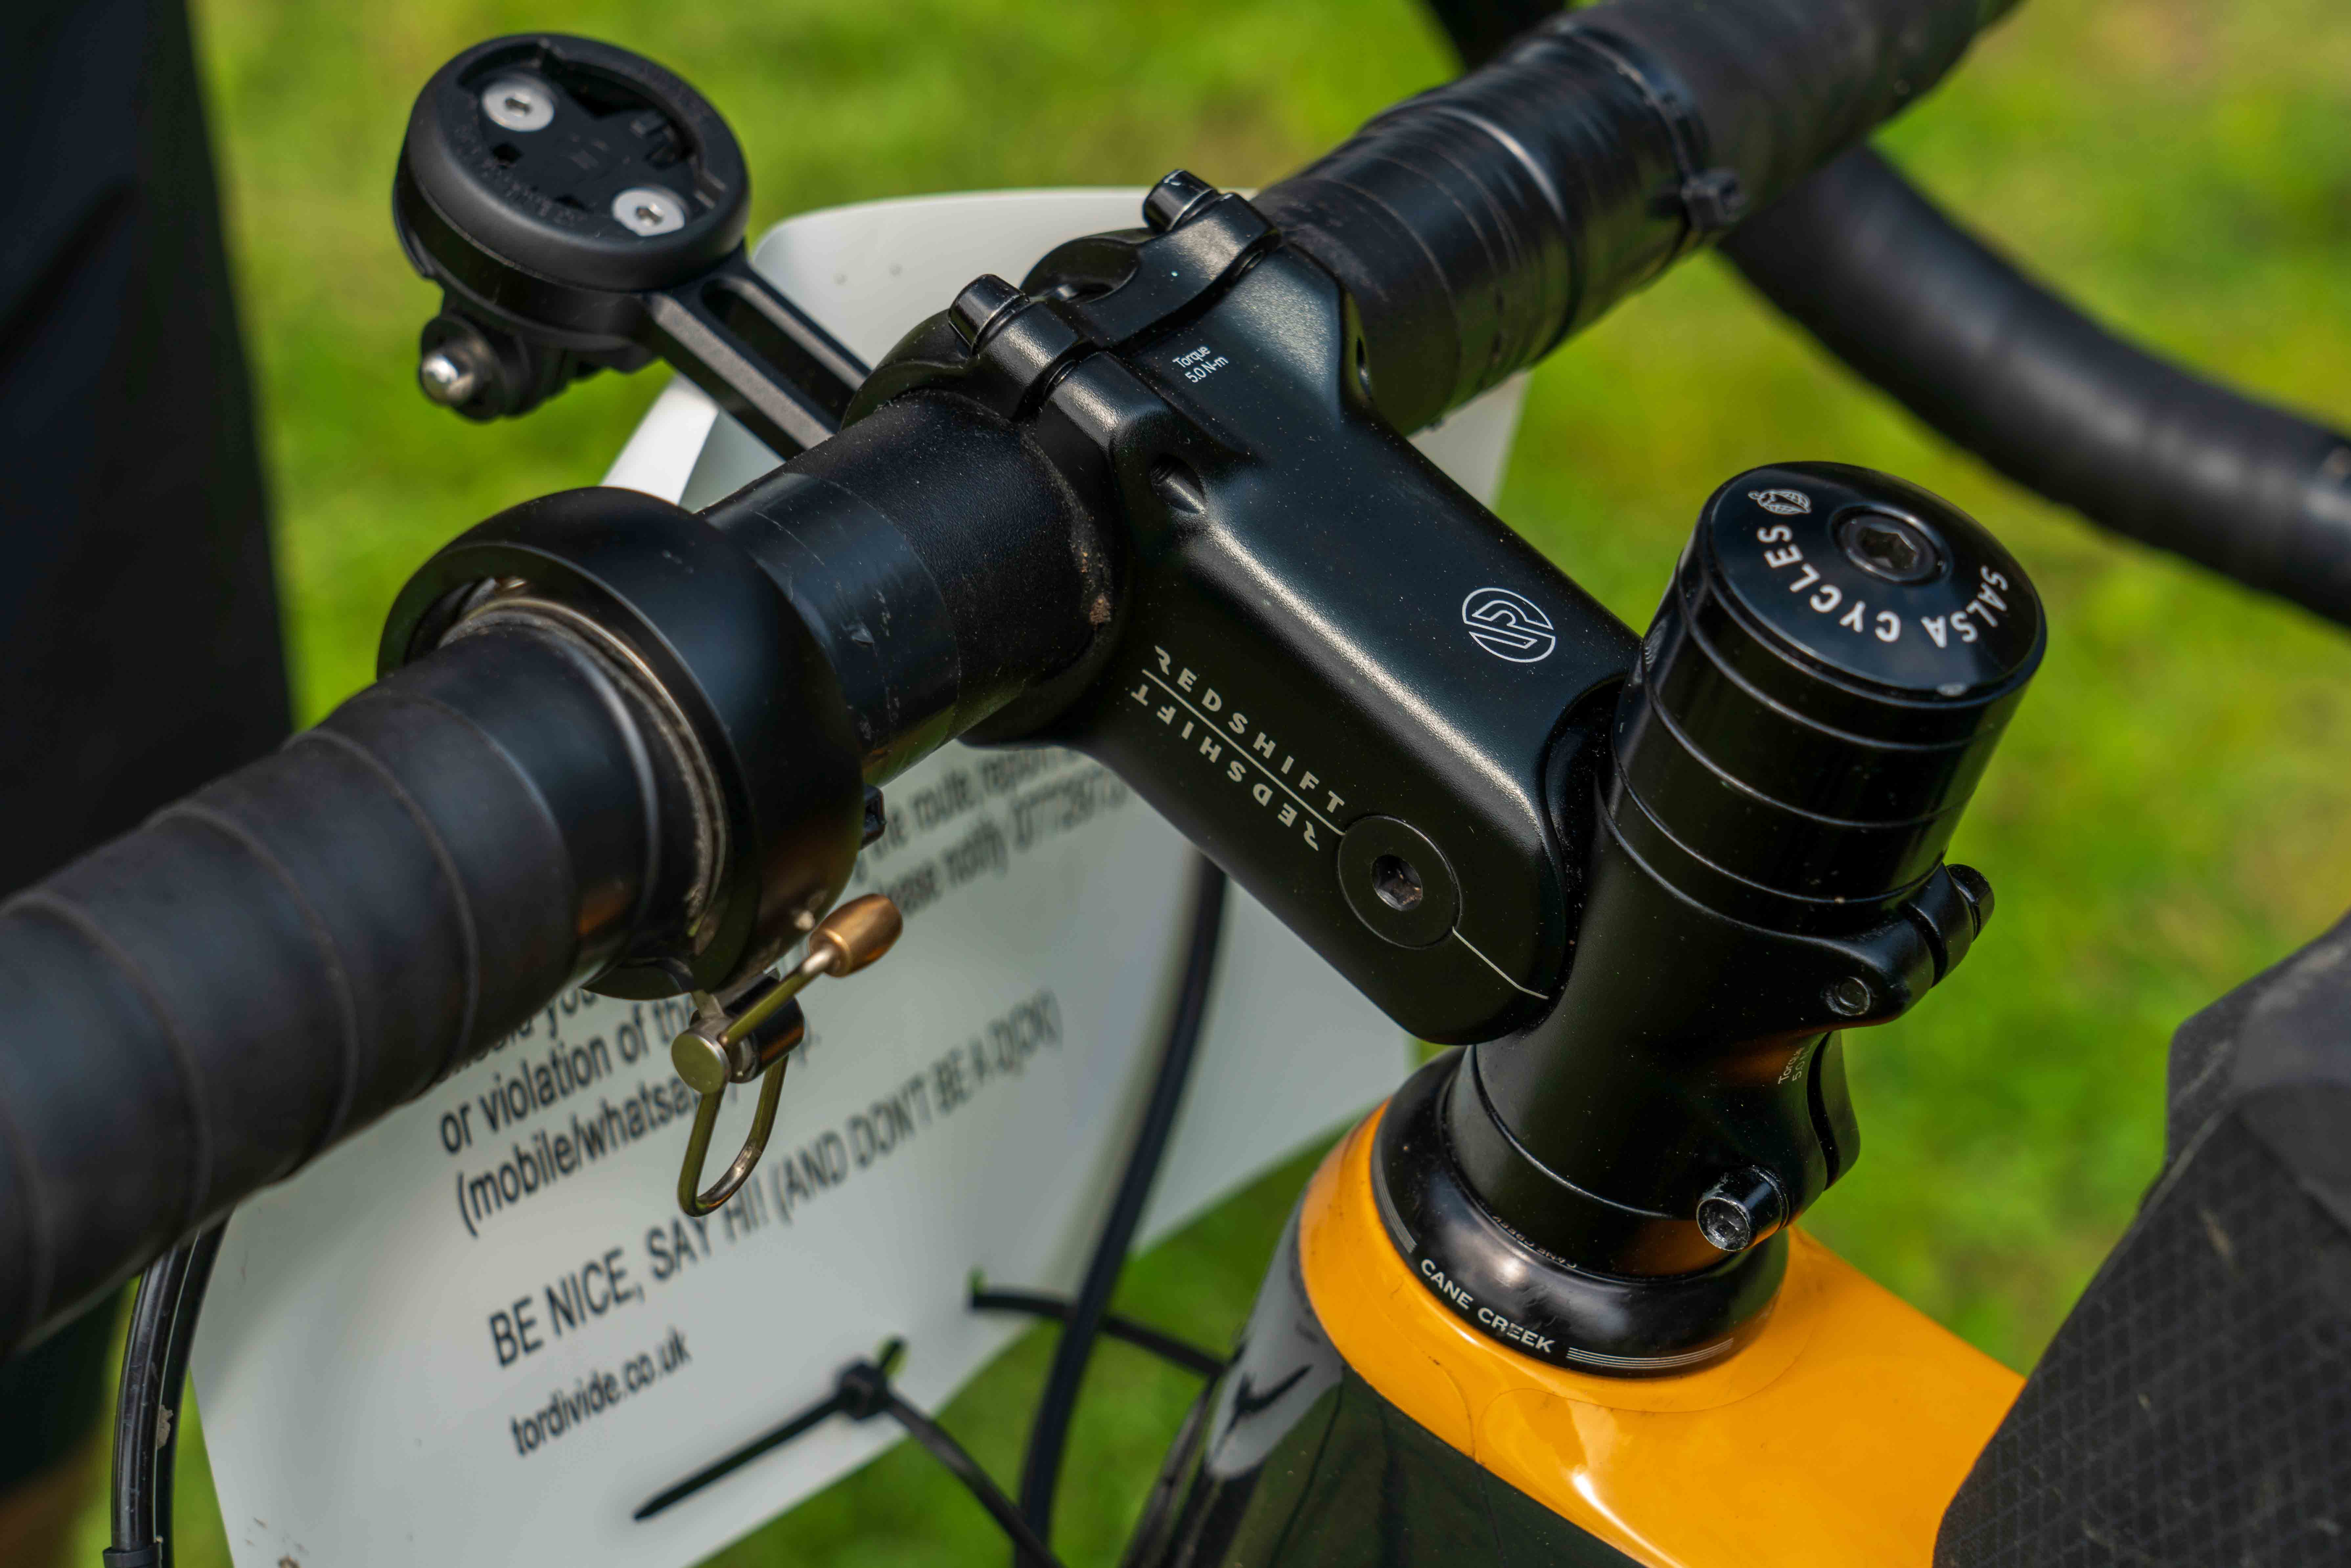
Image courtesy of Connor Furness
Redshift recently added a new suspension seatpost to its offering of products designed to enhance comfort on the bike. Called “PRO Endurance”, it bridges the gap between the Redshift “Endurance” and the “PRO Race” suspension seatposts, by bringing together some of their features.
I have been riding for over a year with a Redshift ShockStop suspension stem and I have used it on all sorts of rides and terrains. Mounted on a rigid drop-bar bike with MTB tyres, it has accompanied me on long rides (up to 275 km) on off-road British events such as Calder Divide Trail and BearBones200, which feature some rocky terrain and definitely push the boundaries of what gravel bikes can do. The stem has served me well also on multi-day events such as the Memory Bike Adventure on the Italian Alps, with over 4 days of riding on gravel, rocky singletrack and tarmac. It never skipped a bit and kept my hands comfortable throughout the event.
Considering my positive experience with the Redshift Shockstop suspension stem and the fact that I was planning to tackle more multi-day adventures in the future, I was keen to try a Redshift suspension seatpost and got pretty excited when the PRO Endurance model was released.
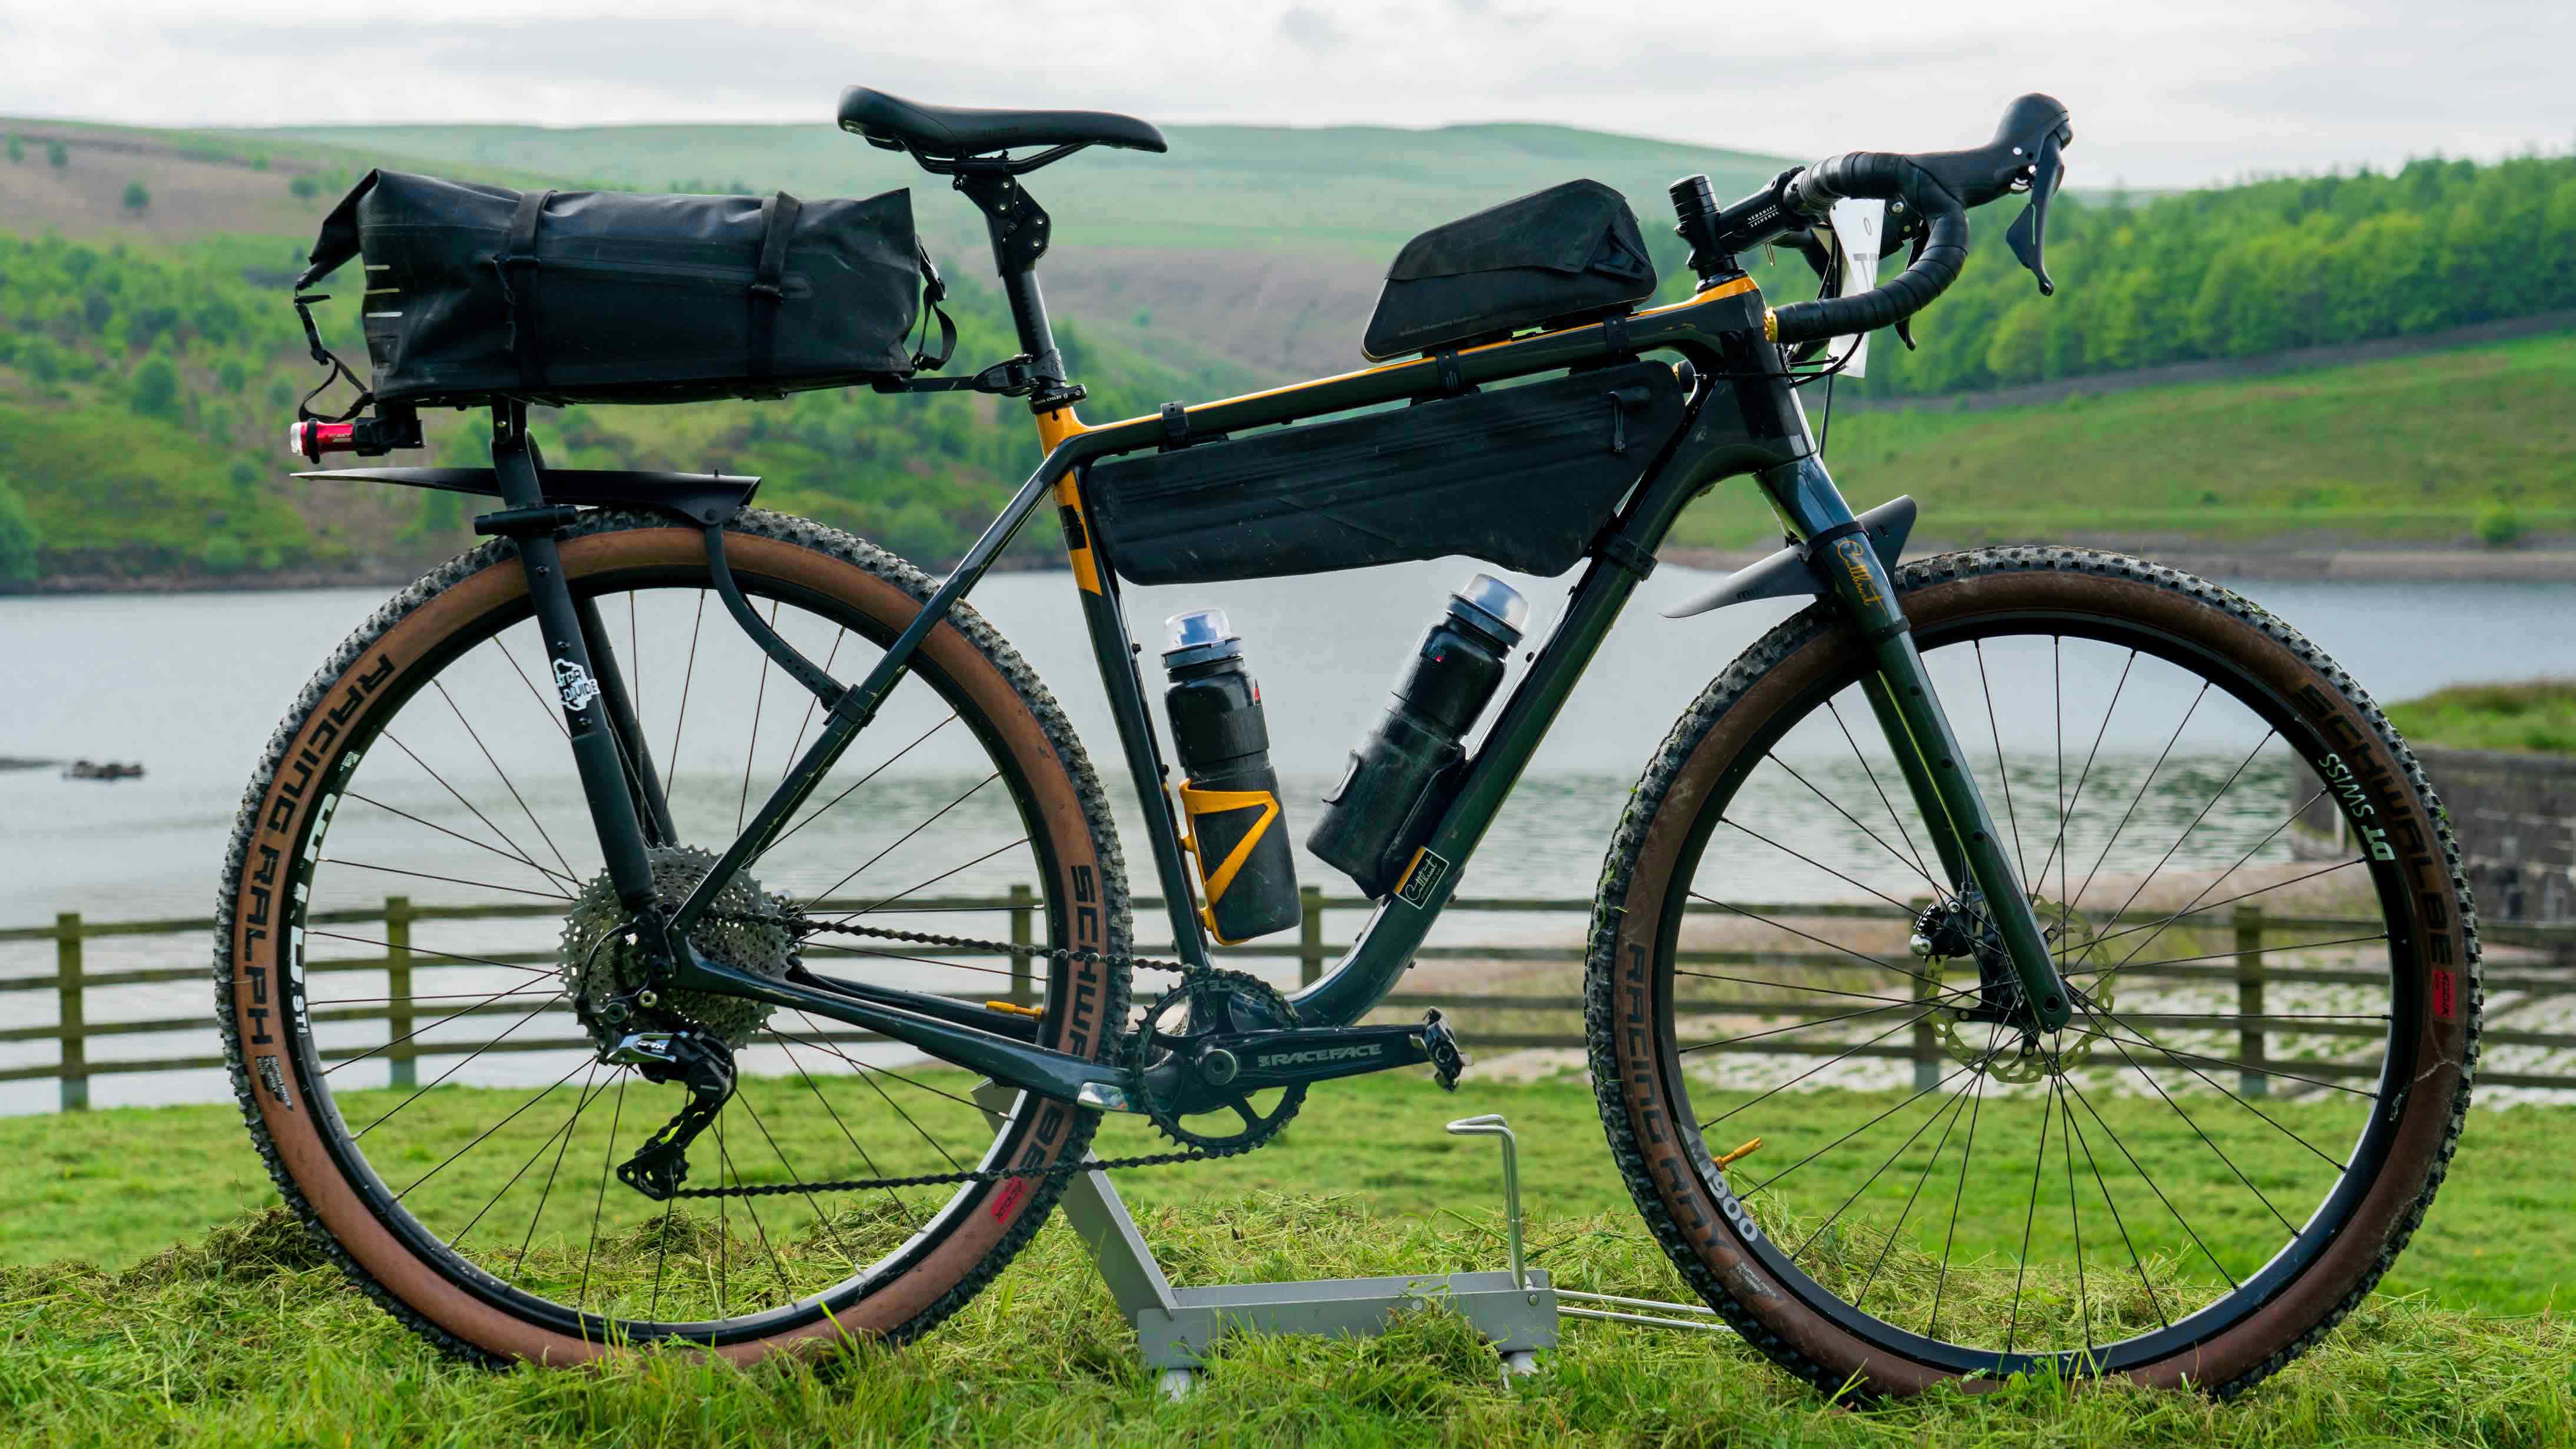
Image courtesy of Connor Furness
The ShockStop seatpost line-up
Suspension seatposts are specially designed bicycle seatposts featuring shock-absorbing construction that helps smooth out bumps in the terrain and reduce the impact transmitted to the rider. They are best suited for gravel riding and bikepacking applications, but also can be used on road bikes to help riders stay in the saddle while riding over rough roads.
The Shockstop suspension seatposts feature a parallelogram design, which allows for the suspension to remain active even when the rider is seated and pedalling. This means that you can benefit from the suspension's smoothing effect even when putting down power. Suspension seatposts can improve comfort by absorbing shocks/vibrations and therefore improving control, efficiency and reducing fatigue.
It is worth touching on the differences between the three seatposts offered by Redshift and how the PRO Endurance compares with the two other Redshift options on offer:
The Endurance Seatpost: a 35mm travel seatpost with dual springs, providing an “Active Plush” ride feel;
The PRO Race Seatpost: a lightweight 20mm travel seatpost with interchangeable dual spring + elastomer, providing a “Damped Race-Tuned” ride feel.
The PRO Endurance Seatpost: a 35mm travel seatpost with an adjustable dual spring working in combination with an elastomer.
The PRO Endurance is made of aluminium and provides a “damped responsive” ride feel. The only downside in my opinion? It adds roughly 200g to your current set-up, depending on the weight of the seatpost it replaces.
Installation
My bike mechanic skills are non-existent, but I easily managed to install the seatpost after reading the instructions and watching the helpful Redshift video tutorial online.
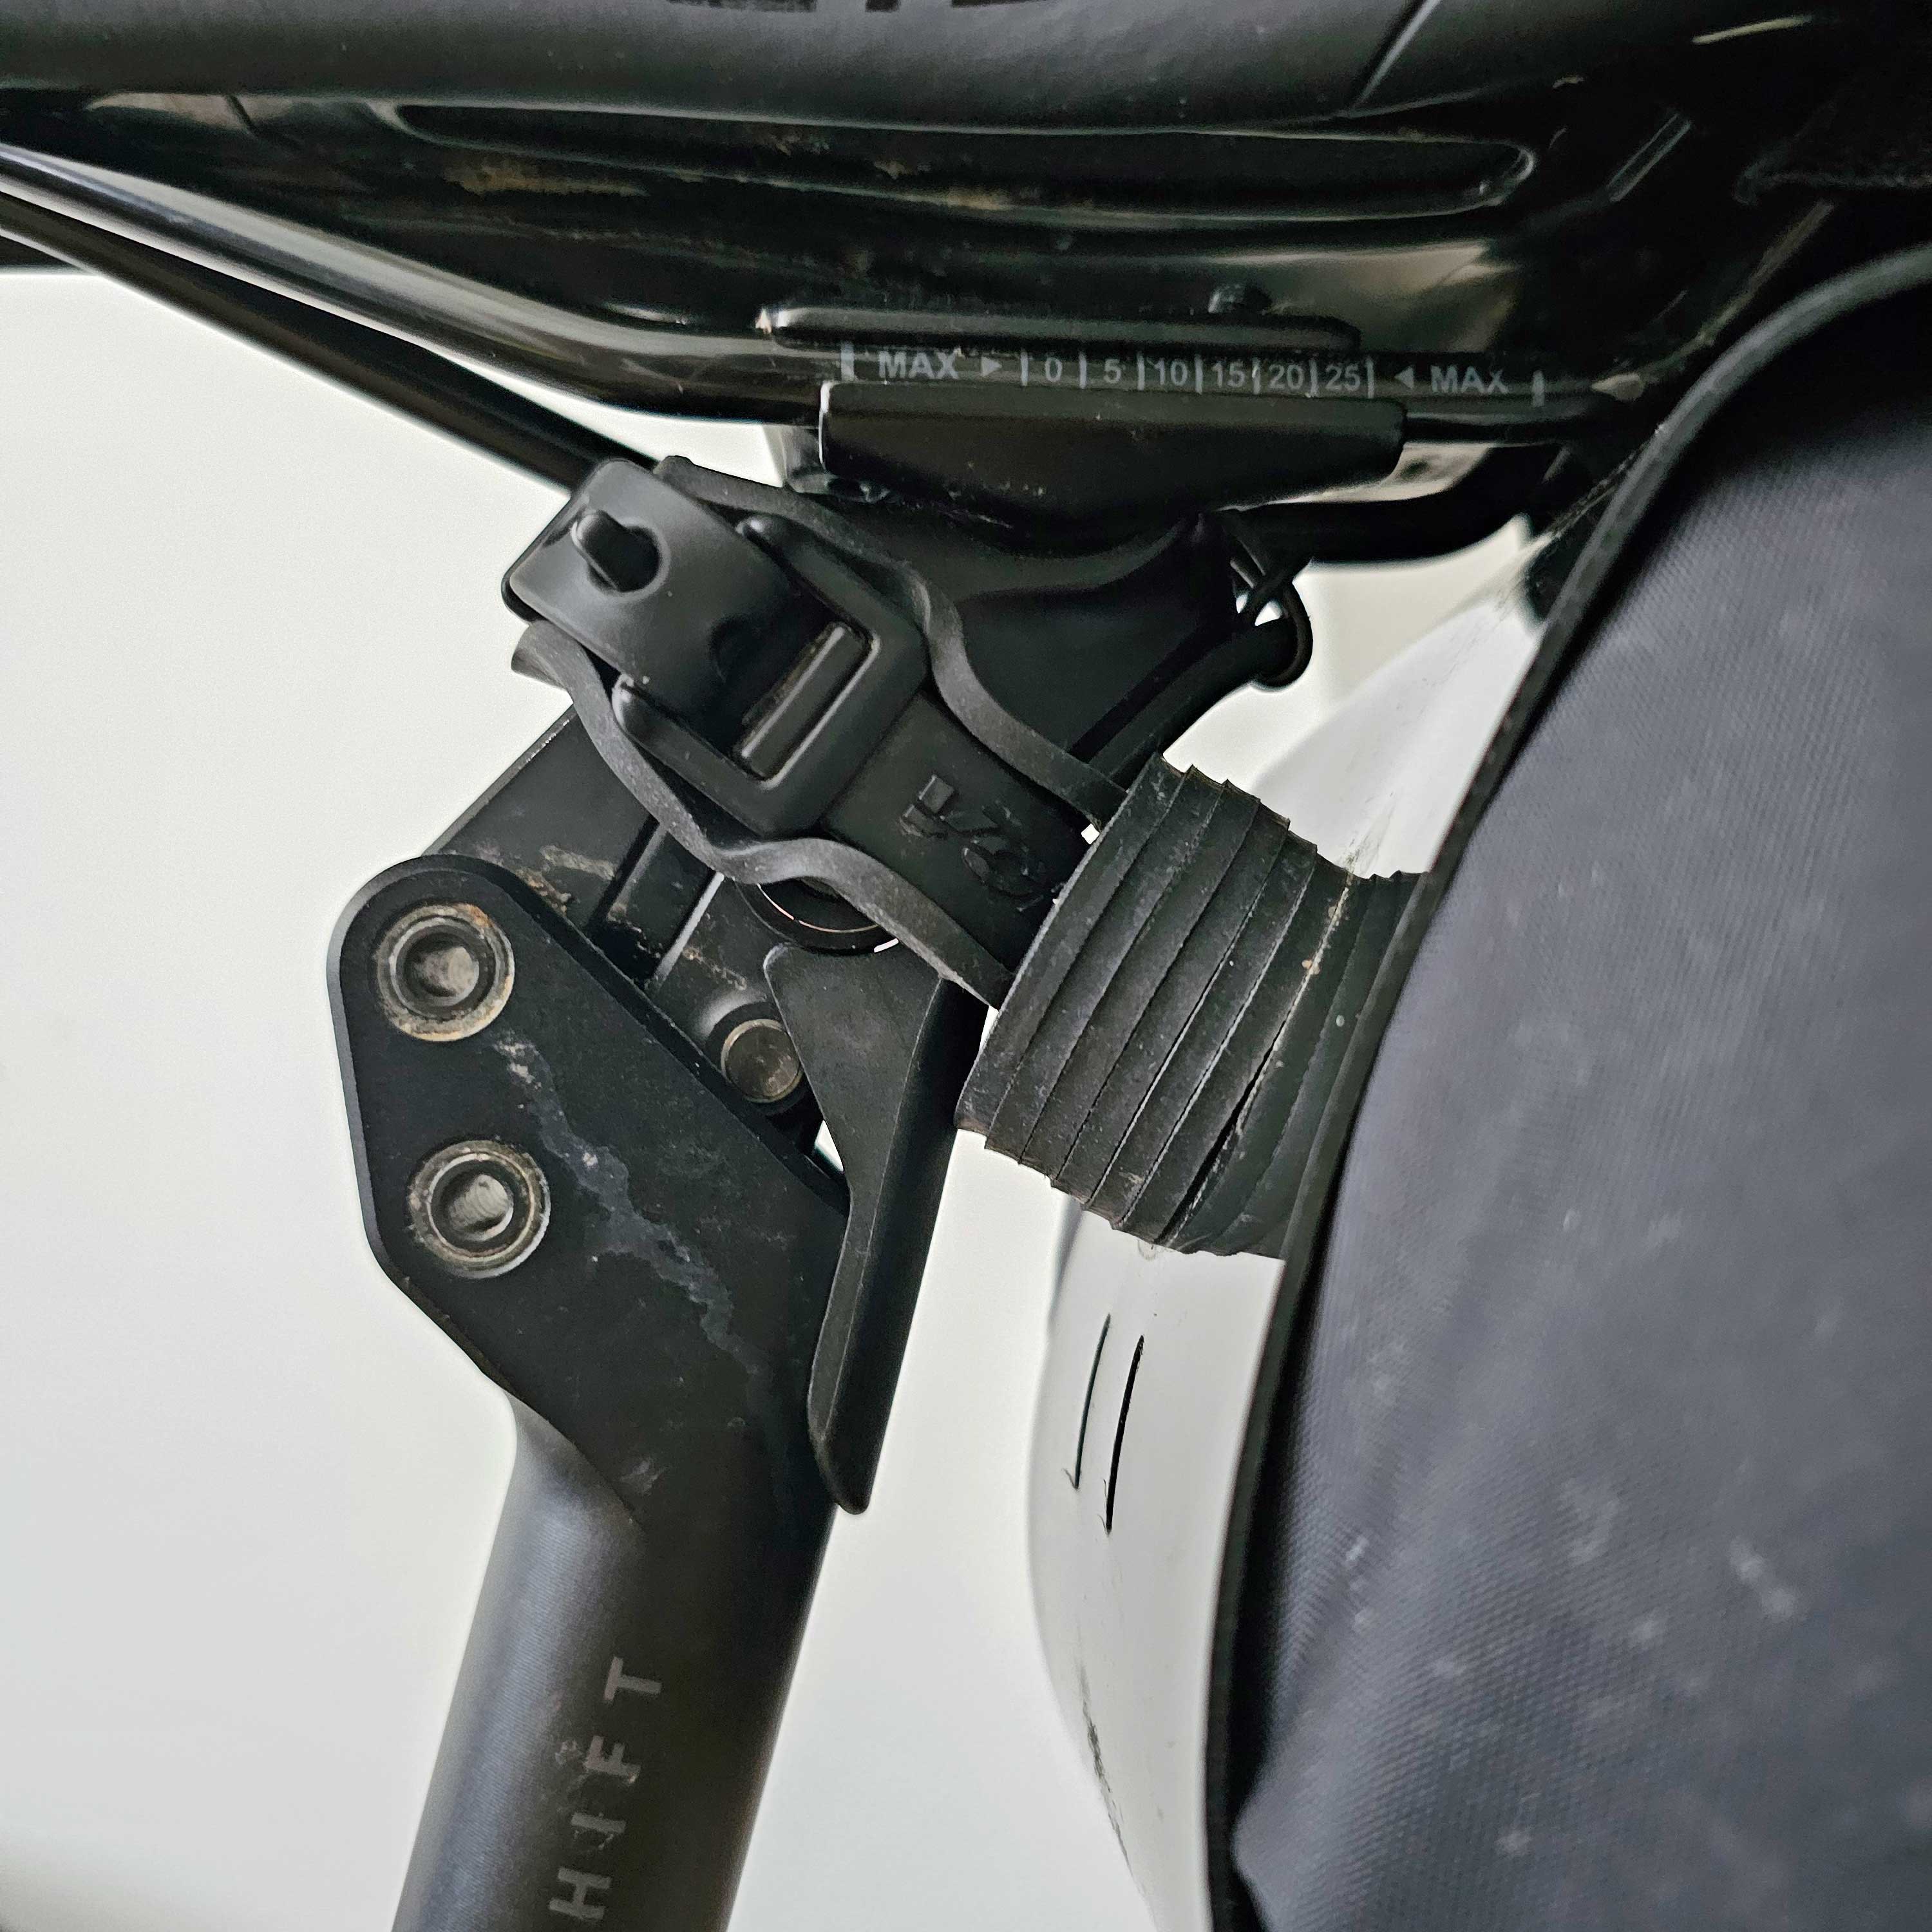
I am a 90kg rider, using a gravel bike with 29” tyres typically between 2.0” (50mm) and 2.25”(56mm) width. For the first install, Redshift provides recommended stiffness settings based on the weight of the user and type of riding: my weight placed me well in the highest firmness group. All I had to do before installing the seatpost was replacing the green/soft elastomer with the red/medium elastomer included in the box and turn the coil springs to low/medium stiffness as a starting point. I took a measurement of my crank-to-saddle distance and as recommended by Redshift, I set my saddle slightly higher than usual to compensate for some compression and settlement of the seatpost while in normal use.
The Redshift recommended settings are a good starting point based on their testing and experience, but it is worth fine-tuning the seatpost to achieve one’s desired configuration and level of “bounciness”. In my case I ended up not changing much as I found the seatpost comfortable and would not want it any less stiff. You might want to experiment with different settings, especially if your body weight places you between two groups.
Bags
On normal rides, I carry a spare tube and repair tools in a small saddlebag. This attaches to the seat rails and to the top of the seatpost: exactly where the parallelogram is. I haven’t noticed any issues with the saddlebag, all I had to do was keep the seatpost strap a bit loose and make sure the seatpost was able to compress and move freely.
When bikepacking, I either use a Tailfin Aeropack or a lightweight saddlebag. There are obviously no issues with using the Shockstop seatpost in combination with the Tailfin as the Aeropack only attaches to the bottom of the seatpost. I haven’t found any issues with the saddlebag either: I use a harness+dry-bag system made by myself which attaches to the saddle rails with nylon strap and to the seatpost using a voile strap. I found I had to place the voile strap either at the very top of the parallelogram – so that it moves with the saddle and there is no change in distance between saddle rails & attachment to the seatpost – or further down the parallelogram. The latter sees some movement between the saddlebag attachment points but the system is flexible enough to accommodate it and I had no issues. I expect most similar systems to behave in the same way.
First impressions
For my first ride with the ShockStop seatpost, I planned to ride the Mary Towneley Loop. Originally created as a horse-riding route, the loop is a 47 mile (75 km) circular route through the Pennines of East Lancashire and West Yorkshire. Starting from Manchester and joining the loop in Rochdale, that becomes a 75 mile (120 km) ride on a mixture of tarmac, canal towpaths, cobbles, packhorse trails, singletrack and bridleways. If there's one varied ride this is probably the one and with 2.500m of climbing it is not a walk in the park either.
I was a bit distracted when I first got on the bike, I felt the saddle going down and instantly thought I just had a flat tyre. I couldn’t believe it - the ride had not even started! Only that it wasn’t a flat tyre, it was the seatpost sagging under my weight (obviously!). Having accepted the fact that my bike now had some “bounce” at the rear, I added a few psi to the 2.25” Schwalbe Racing Ralph tyre to make sure I was using the shock-absorbing properties of the seatpost rather than the suppleness of the tyre. I thought this would also get me a bit faster on-road, so I set off.
Just like the Redshift suspension stem, you quickly become accustomed to the feel of the Shockstop seatpost and can easily forget its presence while riding. I forced myself to pay attention to its movements, especially off-road, and I was positively impressed. On the cobbled flat sections along the Rochdale canal, I could immediately feel that I didn’t need to lift my weight off the saddle as I normally would to spare my lower back from excessive vibration. I fought the habit of getting off the saddle and on the pedals and stayed seated. The seatpost took care of the small and closely spaced bumps. Not only that, it also allowed me to keep pedalling without breaking my cadence.
The ride carried on over paving slabs, gravel, chunkier gravel, punchy climbs and fast descents. I benefited from the seatpost especially on the gravel sections, as expected, but also on the climbs where I didn’t have to get off the saddle to avoid some larger bumps and I could stay seated and put power down the pedals. At the same time, especially when climbing on tarmac, I never felt I was wasting precious power through the suspension. People putting down 500 Watts at a high cadence and for long stretches might have a different experience!
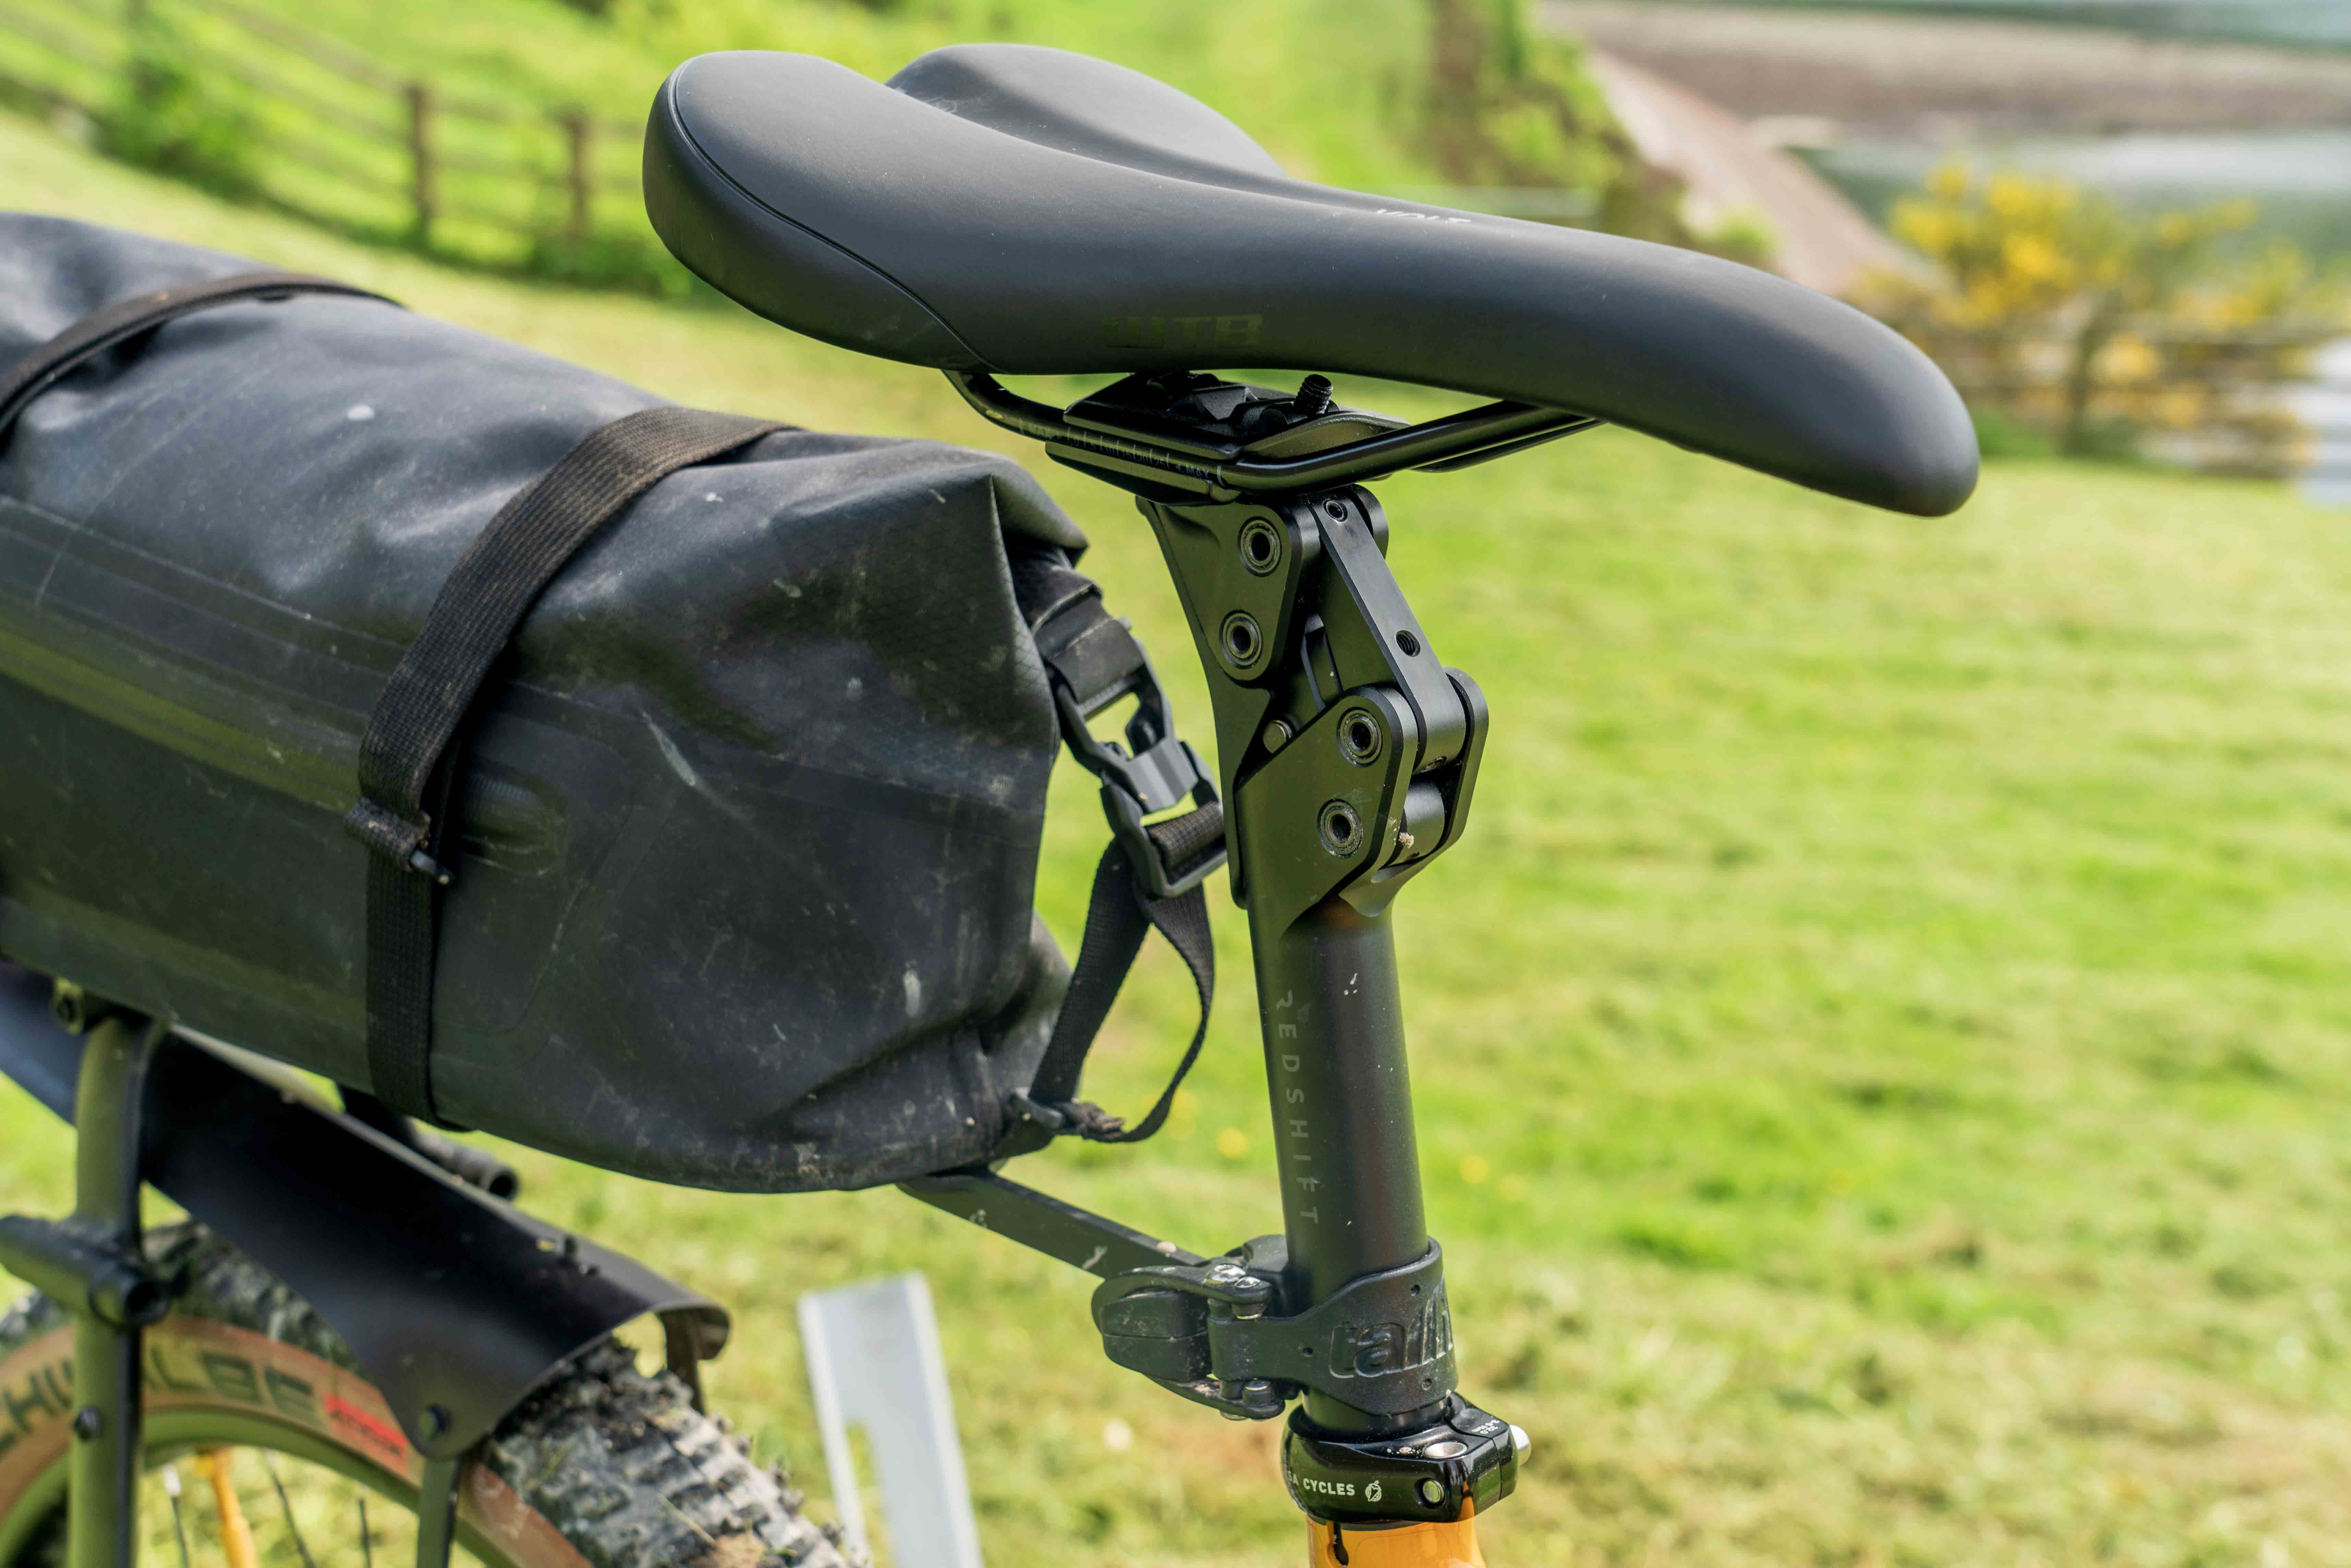
Image courtesy of Connor Furness
More rides
Since installing the seatpost I have had the chance to ride a long event (235 km, 55000m+) on some of the most treacherous terrain (and weather) South Yorkshire and the Peak District have to offer. That required 21 hours (elapsed) riding time which is pretty long in my book for a bike ride. I also used the seatpost on much shorter rides and it now lives on the bike meaning it even gets some time on the turbo.
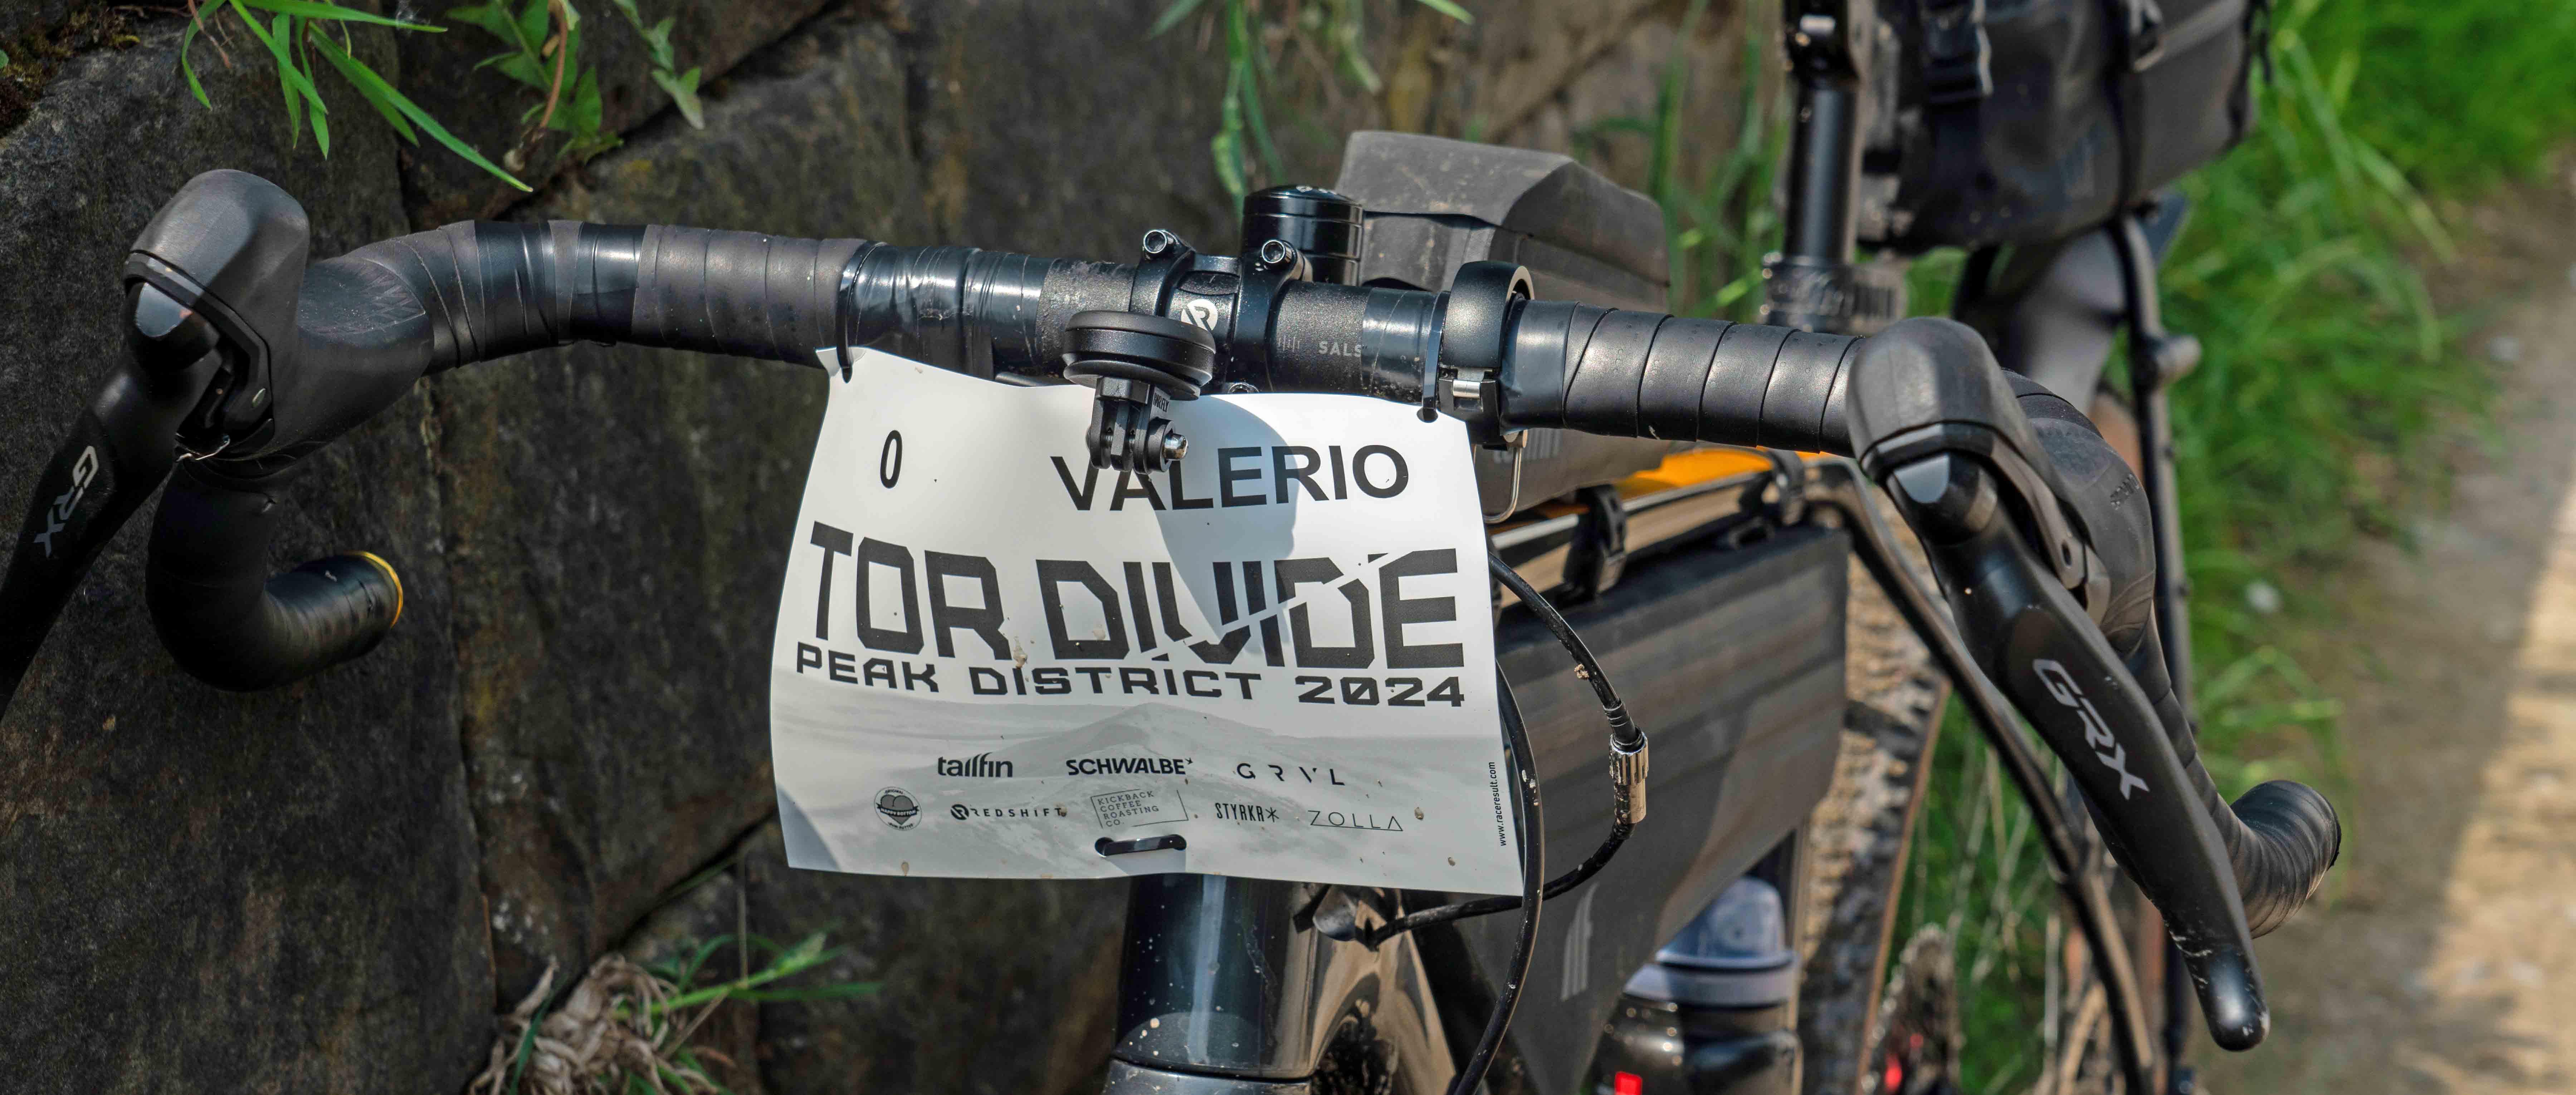
Image courtesy of Connor Furness
The Shockstop seatpost comes with a profiled mudguard/shield which attaches to the parallelogram with a magnet. I have found no debris, mud or other contaminants in the Shockstop and it requires enough force to pull the shield away meaning it won’t dislodge itself during a ride (it does come with a short rubber lanyard for added security).
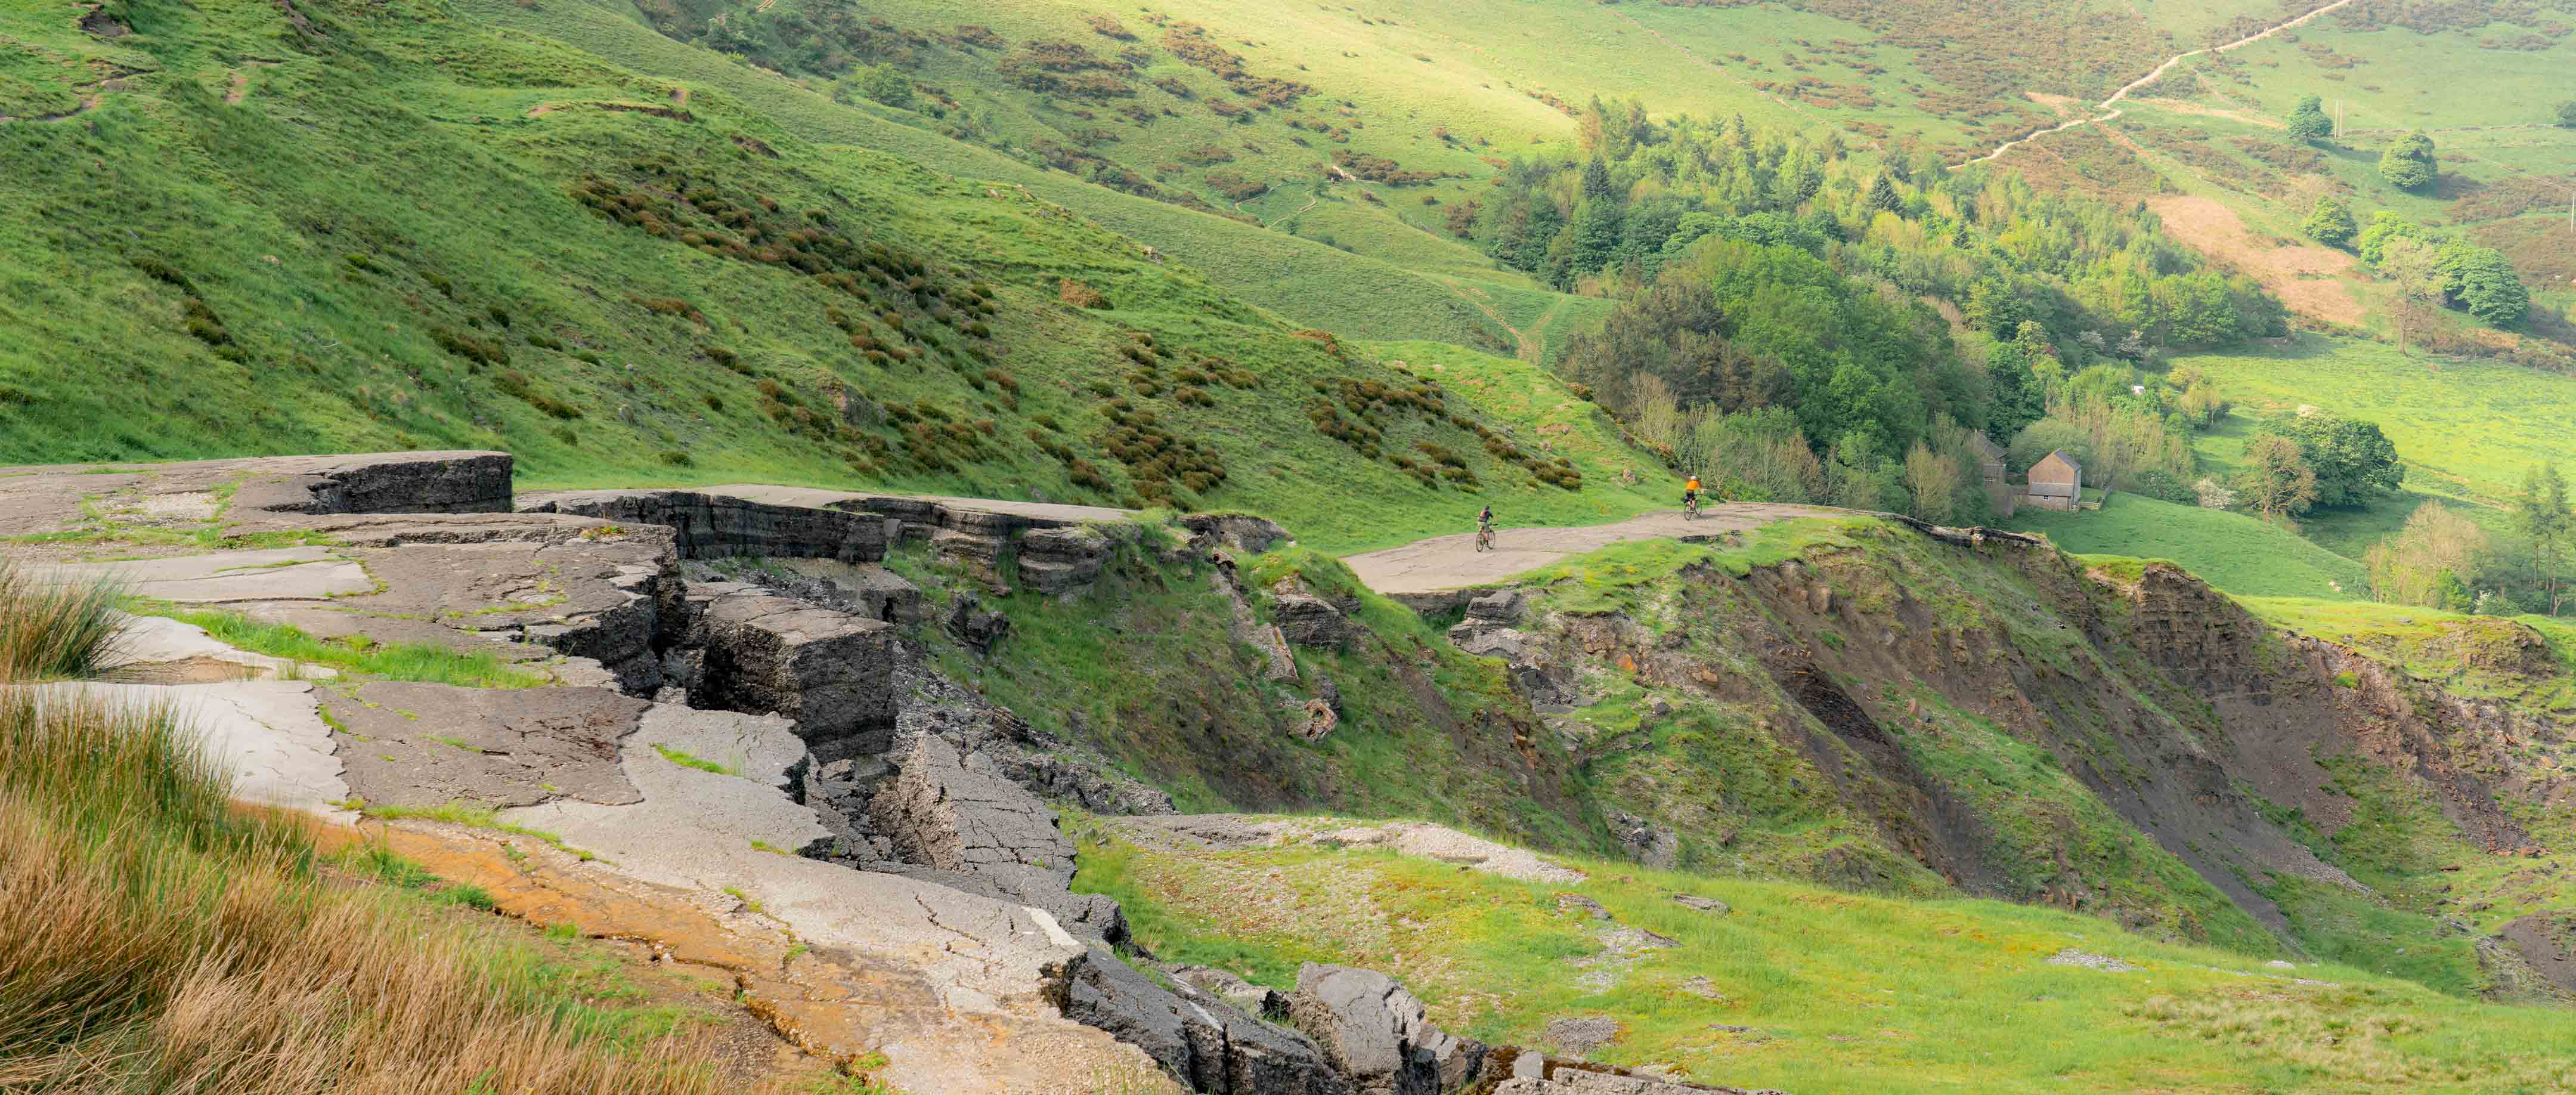
Image courtesy of Connor Furness
On some very steep and rough descents I find I have to get myself off the saddle regardless of the seatpost, just to get my weight and balance right to tackle the descent, which is expected and it would be too much to ask to the seatpost to take care of drops in the terrain. On flat ground and climbs, I almost never need to get off the saddle and I can put power down more consistently.
Final thoughts
Can you live without a suspension seatpost on your gravel/bikepacking bike? Yes, of course. Just like MTBs didn’t have suspension in the past, or I thought I didn’t need 29” tyres on my gravel bike. Would anyone go back after trying them though? I don’t think so. In my experience and for my type of use, I can see a lot of benefits with the ShockStop suspension seatpost and I don’t plan to take it off the bike anytime soon even for more mellow rides.
The ShockStop suspension seatpost introduces not only additional comfort, which on long events translates into speed, but it also allows you to stay seated on rough climbs. That for me was one of the major advantages of the seatpost. Staying seated, I am more in control of the bike, I do not have to slow down when going over small bumps and it is easier to keep the weight on the rear tyre. Similarly, on flat ground I can keep pedalling from the saddle hence maximising efficiency, which is crucial on long events. I would say the seatpost excels especially while riding fast on cobbles and gravel, where the 35mm travel takes care of vibrations and absorbs small but closely spaced bumps.
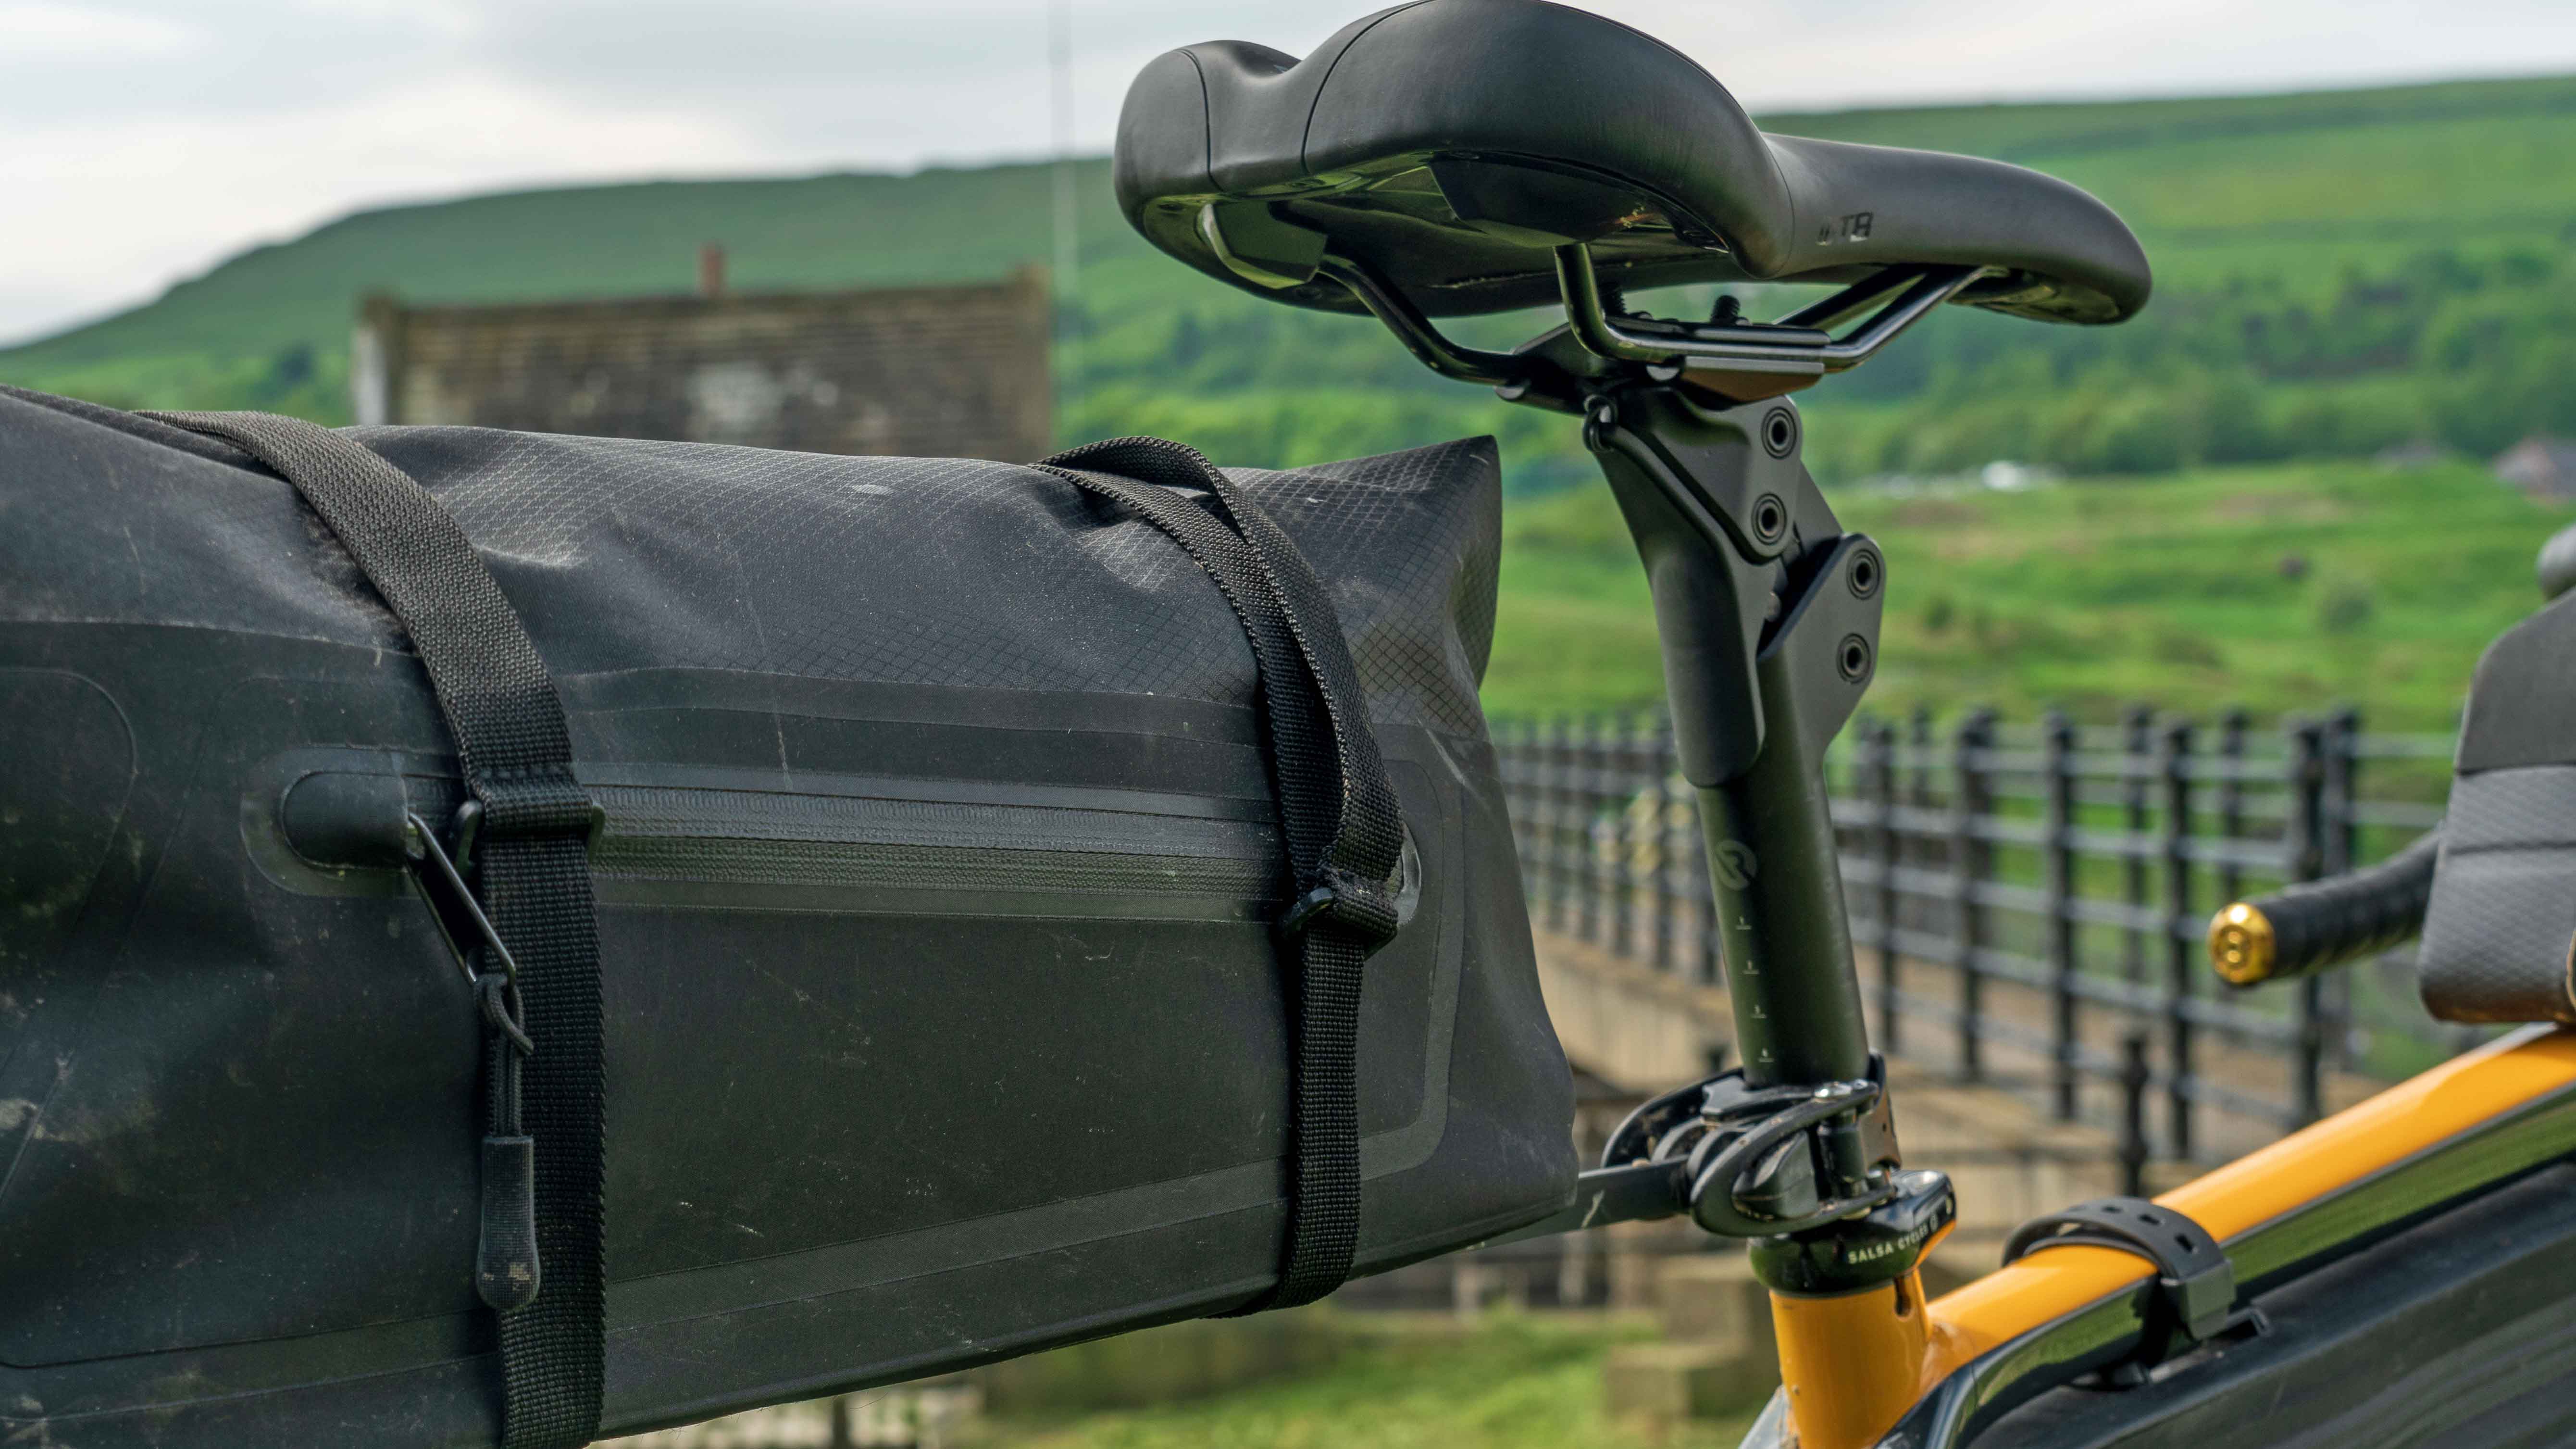
Image courtesy of Connor Furness
Obviously, when compared against a standard seatpost, the ShockStop seatpost is heavier. I am just not a strong/experienced enough rider to notice an increase of 200gr. When considering the weight of my system (unloaded bike & myself) that accounts to a 0.2% weight increase. Lightweight riders on ultralight set-up might notice it but even in that case I’d expect the benefits in comfort to outweigh the additional grams. The rides I do are off-road and can be fairly bumpy and hilly, with long rides sometimes exceeding 3000m of climbing. That means I do have to keep an eye on the weight of components, but I don’t let that drive my gear choices. Comfort is king for me, followed by cost and durability.
I’m curious to try the seatpost on my new gravel/all-road bike which runs up to 40mm tyres. I expect the benefits of the suspension seatpost to be even greater while riding smaller tyres on a more aggressive set-up.
Maintenance-wise, I rode my bike with the ShockStop seatpost in awful weather conditions and I haven’t done any specific cleaning apart from regular post-ride bike wash. I cannot see the post needing any particular maintenance, nor I can see much going wrong with it while riding.
The Shockstop PRO Endurance suspension seatpost costs £279 which is a significant investment. A cheaper alternative may be the Canyon VCLS seatpost (£199, carbon) however it has significantly less travel. Other alternatives such as Cane Creek Eesilk range in price from £249 to £369 so the Redshift offering seems to be well priced and good value for the degree of travel and tunability it offers.
From personal experience experience, anything that increases rider comfort and allows me to focus on enjoying the riding is a worthy investment.
**STOP PRESS - It's not directly relevant to this story, but Valerio is going to be organising a Peak District overnight gravel weekend on the weekend of 21/22 September, so if you ever wanted to test out the comfort of your gravel bike in some hilly & scenic terrain, now's your opportunity! You can find all the details here.**